Showing posts with label tutorial. Show all posts

Tuesday, April 21, 2015

Rusty Crusty Goodness

The weather in my neck of the woods is finally getting warmer.

That means soon my garage door will be open and I will be creating both inside and outside.

Last summer I had a blast rusting all sorts of goodies.


I love the rusty, crusty look of age on a metal piece.

I covet little bits that have aquired that look over time.

But I am impatient.

So sometimes I help nature along.
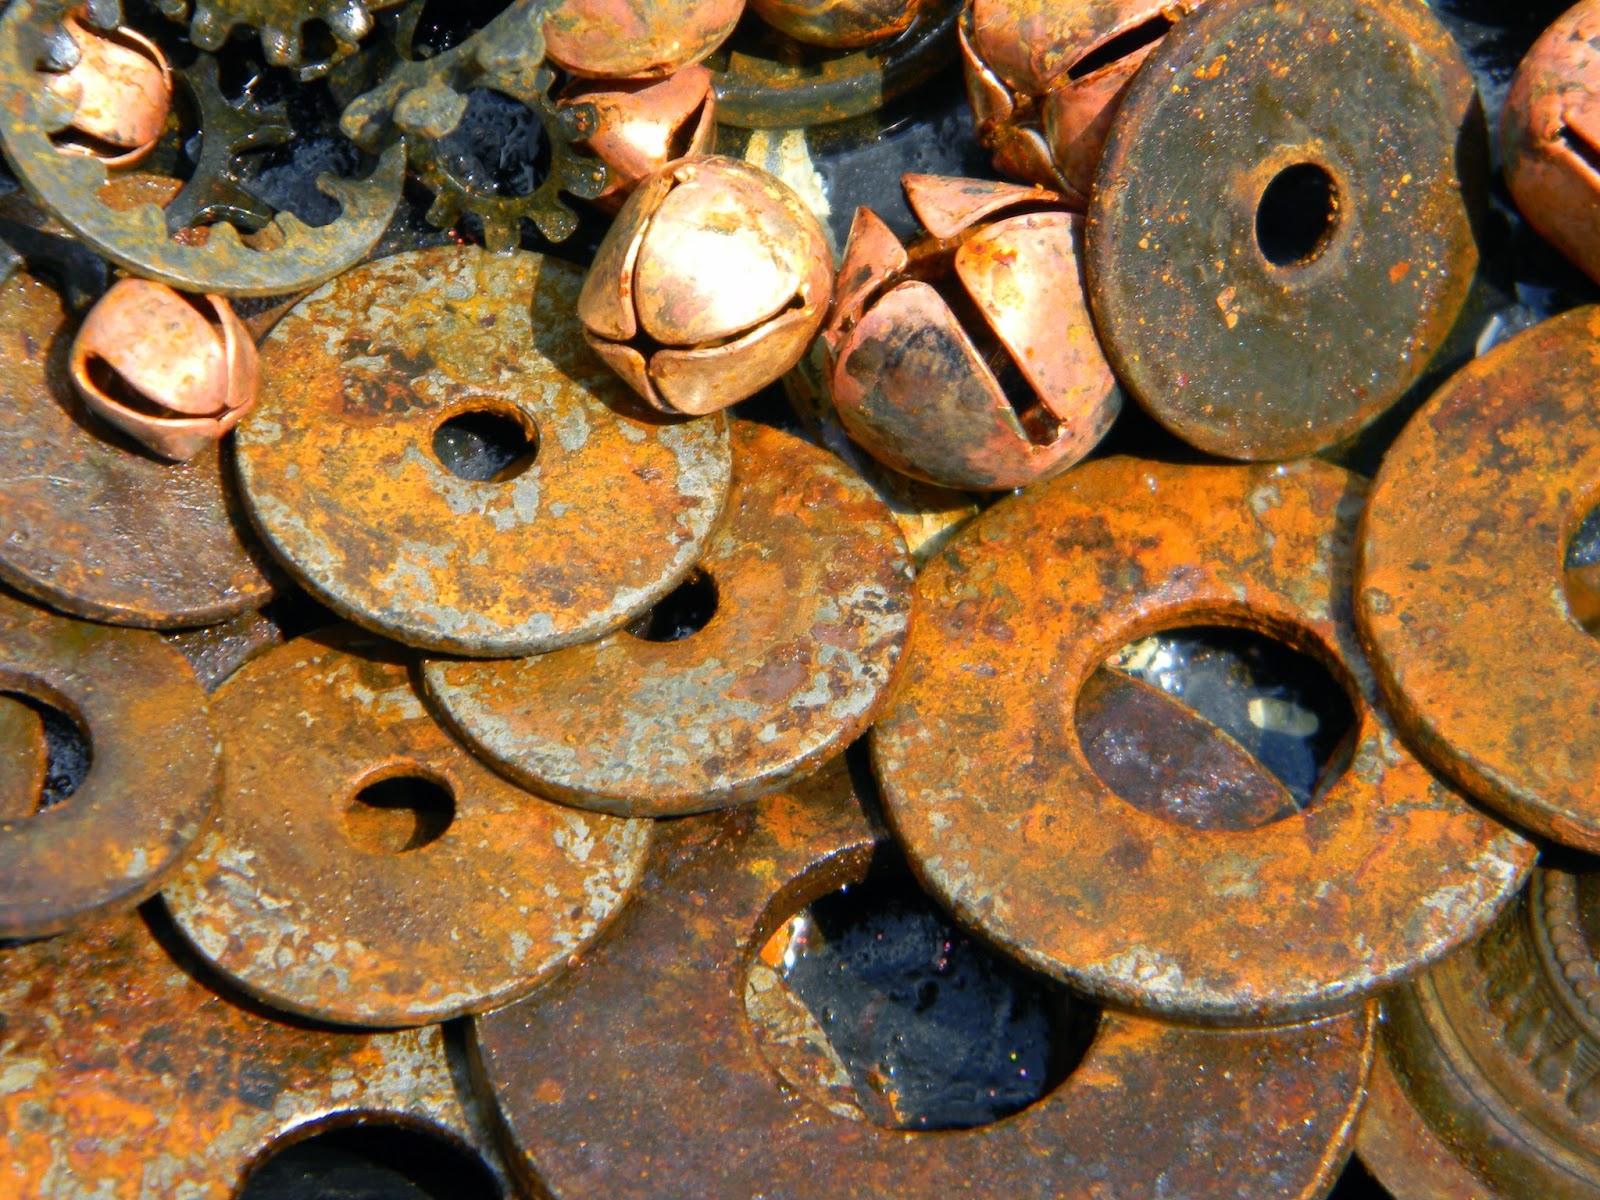

These pictures show the pieces at their raw state.  

Many will receive an additional treatment of patina.

They will all be sealed in some manner before they are used to keep the rusty goodness on the piece, not on you.


Last summer I even started to write a tutorial for this process.

Sadly in the fall, I got a nasty virus  on the computer and lost all the work I originally put into the tutorial.


I was going to list my tutorial in my Etsy shop.

What do you think?

Should I start over and make it again?


Looking at these photos from last year makes me say, I think I just might.


Time to get out there and make some things!

Thanks for stopping by....

Friday, December 26, 2014

Bleached pinecones


I am certainly not the first to bleach pinecones.

Nor will I be the last...

In fact, I encourage you to give it a go yourself.

All you need are

Pinecones
bleach
water
a bucket

The first time I tried this, my bleach mixture was too weak.

I added about 1 cup to the gallon bucket of water and let them soak overnight

When they opened and dried, they were just a bit lighter.

So I tried it again with about a gallon of water and half a bottle of bleach.

I also let them soak several days.


I just dump mine out in the rocks next to our sidewalk. 

 I don't mind if it kills anything growing there.

Then I let them drain a bit.

I take them in the house on a tray or plastic box lid and put them in our sun room with the woodstove.

Because they were completely saturated, they took a couple days to fully open and dry.

But once open, they were lovely.


My favorite beauty is natural beauty.


The natural symmetry of nature is fascinating...


These pine cones will be perfect for some upcoming projects...


Some of these had a light  coating of white spary paint before I started.


The next time I make these, I will probably do a much stonger bleach solution.


I think they will bleach faster and whiter that way.


I can't wait to show you what I use them for.


In the background you can see my Chalkboard Tote from this summer is ready for the Holly-days...


Thanks for stopping by....


Linking up with these great blogs....

Wednesday, November 12, 2014

Coffee Filter Trees


If you have been following my blog a little, I think you can tell that I like to recycle, up cycle and use materials in new ways.

One of my favorite materials to use is coffee filters.

They are inexpensive and very versatile. 

I have used them for many projects.

With Christmas around the corner, I wanted to share an easy project today.

Coffee Filter Trees!


These are a great project for a creative day with family or friends.


You will need:

Coffee Filters
RIT Dye
hot glue gun and glue sticks
a piece of wire
a cardboard cone 
and 2 stars (I used white tin)


First Dye your coffee filters.

You can follow directions here.

or find directions in my RIT Studio.


You can choose a traditional color like green.

You can leave them white.

Or you can come up with any color you like.

Here I have a green tree and a coffee dyed tree (as well as a little burlap tree).


I have actually made a dusty rose one as well.

I sold it at my fall show.


To make the tree, fold each coffee filter into fourths and twist the end.

I gave similar directions for my recycled sheet banner here.

I fold and twist my filters while watching tv.


Then I just start at the bottom of the cardboard cone and begin gluing the tips on.

I continue to add and fill in the cone until I get a few inches from the top.

When you get close to the top, stop to add the star.

Cut a piece of wire about 12 inches long.

Poke a hole in the top of the cone to be sure the wire will go through.

Now make a loop in the end of the wire.

 Feed the end of the wire up the inside of the cone by holding the loop on the inside.

Once the wire comes through the hole in the top, grasp it and pull it until it is the whole way out and the wire loop is just inside the top of the cone.

Trim the wire to be just a little shorter than your star.

Hot glue the stars on either side of the wire.


Then finish adding coffee filters until the tree is full.

Super Easy.

This is a great project to do with family or friends.

It is cheap for materials and everyone can do it.


Don't you love it when right as you take the photo, a bug lands on your project?!

Thanks for stopping by....

Linking up with these great blogs...

Friday, October 24, 2014

Mercury Glass Pumpkin Tealights


I have been wanting to try making my own mercury glass.

I had a couple Halloween ideas in mind for them.

I got a can of  Looking Glass paint from Krylon.

I gathered my supplies:

clear glass jars from the thrift shop

painter's tape

 scissors

Krylon Looking Glass Paint

water bottle

paper towels


I cut shapes from the painter's tape for my pumpkin face and adhered them to the inside of the jar.


This little guy has feet.

Cute!


Gather your supplies...


Spray the inside of the jars with a light mist of water.


Then spray a light coat of the Krylon Looking Glass paint.


The hard part is waiting 5-10 minutes.

Then blot the water from the inside with the paper towel.

Now spray with a mist of water again and then another coat of paint.


Repeat to achieve the look you want.

Wait and blot the water each time.


If you get unwanted runs, you can rub or wipe them of with the paper towel.


You can see it is beginning to look more opaque.


I did a couple without the pumpkin face as well so I can use them year round.

I wanted a more opaque look on some of those, so I turned some of them upside down and repeated the process on the outside of the glass as well.


Once they were dry, I added tealights to them and tucked them into my fall vignette on the porch.  

You will be seeing more of that soon.


It is hard to photograph them well with the lights inside but the faces do show up nicely.


They add a fun touch to the porch.


I also painted a glass candlestick the same  to use as a base...


What fun!

 Now I am hooked on the Krylon Looking Glass paint and will be hunting for new things to try this on.

Thanks for stopping by...

Linking up with these great blogs...

Sunday, October 12, 2014

Darice Necklace Post

I am so tickled...

One of my necklace tutorials is over on the Darice blog:


It utilizes one of my very favorite jewelry making supplies...waxed linen cord.

And those Darice beads are amazing.

I love the ceramic flowers.

Hop on over to check out the complete tutorial.

Thanks for stopping by....

Wednesday, August 13, 2014

A Raggy Rug from Old Sheets... A DIY Tutorial

I showed you in an earlier post how my daughter dyes some old sheets from the thrift store to use for a rug.


After she dyed all the sheets, she ripped them in strips.


Each strip was about an inch wide and the length of the fabric.

She removed all those loose strings.

And she cut the strips to about 6 inches long.


She cut a piece of non-slip rug mat to the size she wanted.


Hers is quite small.

About 18 inches by 24 inches.

Then she just started looping the fabric pieces through the non-slip rug mat. 

Some tutorials she had seen had merely slid the strip in and centered it.

She wanted hers to be strong so she tied each one.

Yup!

Each One.


She worked on it for about a week while watching TV.

About 1-4 hours a day.


I adore her colors...

And they actually match another rug we bought her before so they will go together.


She did every square in a row and then skipped a row between.  

She also left two rows around the edge to keep it from curling.


The back is pretty too.


Viola!

Finished!


She was very pleased wit it.

She should be.

It is awesome.


I already had the RIT Dye since I am on the Rit Dyesigner Team.

Check out my board here.

But if I had purchased it, I would have spent less than $15 on dye.


The sheets were $3 total.

I have seen other raggy rugs where this is where they really racked up the cost.

You could use fabric you already have or use old sheets like we did.  

Our thrift store sells stained sheets as drop cloths for 50 cents to $1 each,

Since we were dying them, a couple stains did not show.


And we had the non-slip rug mat already.

Sizes vary but buying one big enough for your rug will run $7-10.

So you could do this for about $30.

Ours cost $3.

My daughter entered it in the fair.

When I went to enter it, the little girl that was carrying things back to the judging tables, held it up to her face and rubbed her cheek against it.

A good sign...


Thanks for stopping by...

We will be linking up with these great blogs.

Wile RIT Dye did provide me with the dye for this project, all opinions are my own.