Showing posts with label repurposing. Show all posts

Tuesday, September 1, 2015

The Keys to Loveliness

One of the things I collect is keys.

Vintage skeleton keys,

Old car keys, house keys, you name it.

To be more honest, I don't collect them.

I hoard them. 

 I buy them and love them and store them in little boxes, jars and tackle boxes.

Notice all those things are plurals.

So I decided I probably have enough keys to use a few in my designs.


I dressed some of them up with some polymer clay.


They will make fun little pandants.

Some will make fun big pendants.


To me, it is intriguing to take a common useful item and transform it in some way.

I love to give it a new life and purpose.


Thanks for stopping by....

                 Linking up with these great blogs.

Saturday, April 25, 2015

Some Favorite Pieces from the Pages of Belle Armoire Jewelry Magazine

On newsstands now is the Spring 2015 issue of Belle Armoire Jewelry.

I am so pleased to have some of my favorite pieces in the magazine.

This piece can be worn as a necklace or a wrap bracelet.


The beads are hand crafted, as are the clasps and loops.

The silk strips are repurposed from silk blouses and then overdyed.

I love the verigated color of the silk.


This bracelet is one of my all-time favorites to wear.


The silk is wrapped around and between the beads and adds a very bohemian gypsy vibe to the piece.


I love the muted color palette in this bracelet.


It goes with almost every outfit I put on.


The bird bead adds a touch of whimsy to the bracelet.


The very last piece from the article, actually was gifted to a very dear friend so I cannot show it to you now.

Thanks for stopping by....

Tuesday, January 6, 2015

A Ballet Shoe Keepsake

Do you have a ballerina in your life?

I do not, but I always dreamed of dancing.

This is as close as I will get.

I found some ballet slippers at the thrift store and snatched them up. 

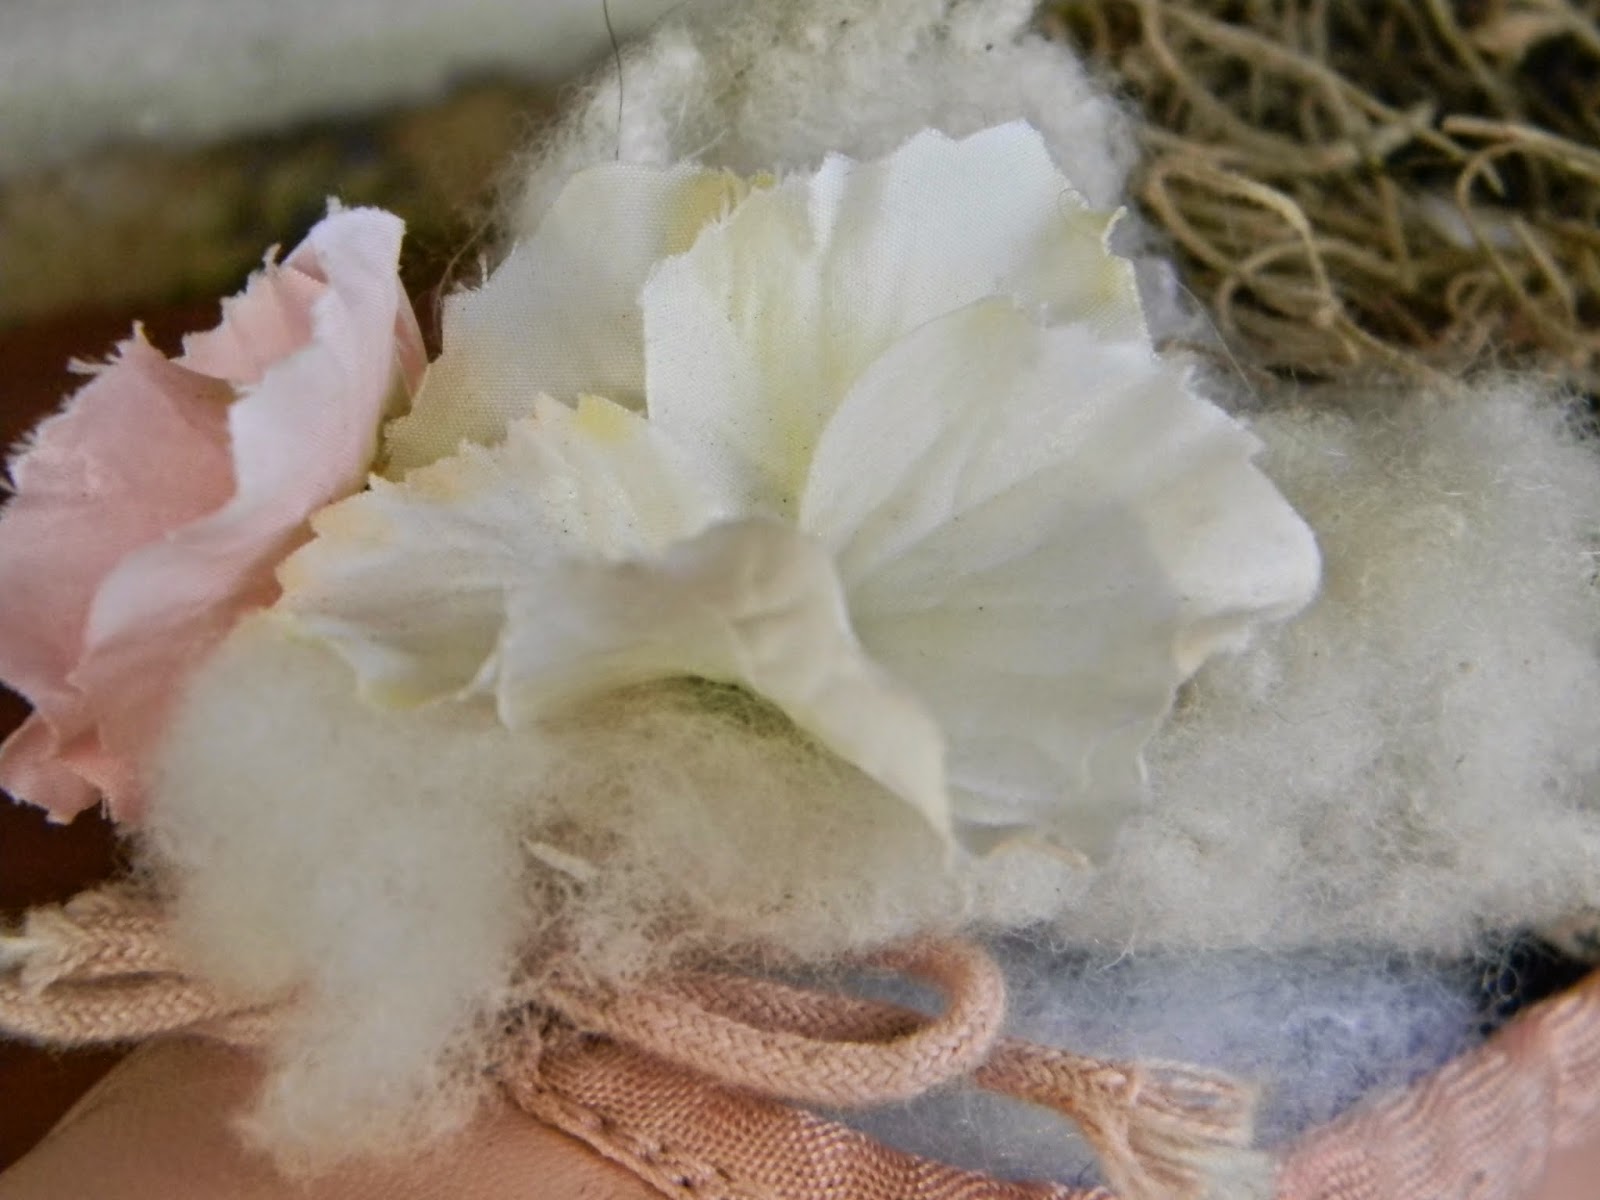
 I transformed this one with a little nest and some sweet touches.

It would look so sweet on a dancer's shelf or nestled among the branches of her tree at Christmas time.


To give it some shape, I stuffed it with polyfil stuffing.


I built a little nest in the heel with Spanish moss and some polymer eggs.


Beneath it, some tea stained strips of newspaper peek out.

I ran some newspaper through the shredder and then sprayed it with very strong tea.

  I turned it and resprayed it until it had the look I was going for.


The nest was constructed in a small grapevine wreath lined with delicate lace.

The Spanish moss sits atop the lace.


I love the textures...


In front of the nest, I added some natural sheep's wool.

You can see it resting on the polyfill here from the side.


I added a couple little blossoms to finish it off.


This would be such a great little memento for a dancer, her mother, grandmother or teacher.

I hope maybe you decide to create one of your own...

Thanks for stopping by....

Linking up with these great blogs...

Wednesday, August 13, 2014

A Raggy Rug from Old Sheets... A DIY Tutorial

I showed you in an earlier post how my daughter dyes some old sheets from the thrift store to use for a rug.


After she dyed all the sheets, she ripped them in strips.


Each strip was about an inch wide and the length of the fabric.

She removed all those loose strings.

And she cut the strips to about 6 inches long.


She cut a piece of non-slip rug mat to the size she wanted.


Hers is quite small.

About 18 inches by 24 inches.

Then she just started looping the fabric pieces through the non-slip rug mat. 

Some tutorials she had seen had merely slid the strip in and centered it.

She wanted hers to be strong so she tied each one.

Yup!

Each One.


She worked on it for about a week while watching TV.

About 1-4 hours a day.


I adore her colors...

And they actually match another rug we bought her before so they will go together.


She did every square in a row and then skipped a row between.  

She also left two rows around the edge to keep it from curling.


The back is pretty too.


Viola!

Finished!


She was very pleased wit it.

She should be.

It is awesome.


I already had the RIT Dye since I am on the Rit Dyesigner Team.

Check out my board here.

But if I had purchased it, I would have spent less than $15 on dye.


The sheets were $3 total.

I have seen other raggy rugs where this is where they really racked up the cost.

You could use fabric you already have or use old sheets like we did.  

Our thrift store sells stained sheets as drop cloths for 50 cents to $1 each,

Since we were dying them, a couple stains did not show.


And we had the non-slip rug mat already.

Sizes vary but buying one big enough for your rug will run $7-10.

So you could do this for about $30.

Ours cost $3.

My daughter entered it in the fair.

When I went to enter it, the little girl that was carrying things back to the judging tables, held it up to her face and rubbed her cheek against it.

A good sign...


Thanks for stopping by...

We will be linking up with these great blogs.

Wile RIT Dye did provide me with the dye for this project, all opinions are my own.