Showing posts with label butterflies. Show all posts

Tuesday, September 1, 2015

The Keys to Loveliness

One of the things I collect is keys.

Vintage skeleton keys,

Old car keys, house keys, you name it.

To be more honest, I don't collect them.

I hoard them. 

 I buy them and love them and store them in little boxes, jars and tackle boxes.

Notice all those things are plurals.

So I decided I probably have enough keys to use a few in my designs.


I dressed some of them up with some polymer clay.


They will make fun little pandants.

Some will make fun big pendants.


To me, it is intriguing to take a common useful item and transform it in some way.

I love to give it a new life and purpose.


Thanks for stopping by....

                 Linking up with these great blogs.

Sunday, August 23, 2015

Mixed Media Collage

Ok, I am going to be honest.

I have never really played around with that layered mixed media style.  

It seems so complicated and mysterious.

But this summer I bought a Tim Holtz burlap wall hanging with numbers on it that seemed perfect to test the process out on.

I picked it up at the thrift store for $2.

Here is the finished product.


This dialogue is one of my favorites.

I started by using some gesso over the existing numbers/design.


I did not think to take pictures on that journey.

Only the destination.

I used a variety of stencils from DecoArt as well as their Media Misters.

Man, are those things awesome.  

They are so saturated with color. 

I really liked using them with the stencils.


The only part of this I tried and did not like was when I tried to use the large tree branch stencil with the yellow mister.

On this design, it just does not stand out.


I also used the One Step Crackle to add some very subtle texture.


To make the texture pop, I used a wash of black paint and then wiped away the excess.


Some little punched butterflies add some dimension as well.


This canvas sums up how I am feeling about my art lately...

I just try.

It may work, it may not.

Every little part of it teaches me something.


And every little bit of experience adds a little more wind beneath my wings.

Every attempt is a chance to soar....


I'll take it!

Thanks for stopping by....

                Linking up with these great blogs.

Wednesday, July 8, 2015

Workbench Wednesday: Stamping Tin

I am so excited this week to share my newest passion with you: stamping tin.

Now, from the title and the name, you are probably picturing something different than what I am actually doing.

I am melting tin and then stamping it with rubber stamps.

What I get it these amazing pieces.


Some of these are almost paper thin.


It is a learning process to see what rubber stampers work the best.


It depends on what you are hoping for.

These butterfly pieces have a large design with a lot of rubber to displace the tin.


These coins were made from a silicone mold made from a jewelry charm.


These pieces used some of those silicone molds I made a few weeks ago with the botanicals from the yard.


I love the texture of these.


I did a bunch with one of my favorite child face stampers.


I think it is neat how it is sort of an abstract image.


The angle has to be just right to see what it is.


What fun!

I also did some with script stamps.


Some have irregular edges.


I am starting to learn how to control the tin.

Some are more round like coins.


My husband is the key to the success of the process.

The way I created them is a two person process I will share later.

I cannot wait to show you how they look when they are patinaed and used in designs later.


Thanks for stopping by....

                 Linking up with these great blogs.


Thursday, January 15, 2015

8 Quick And Easy Butterfly Cards

I really like butterflies.

They are delicate and beautiful and magical.

They add a sweet touch to an art piece.

Here are 8 Quick and Easy butterfly cards.

Most use scraps and paper punches or die cuts.

Paper strips and some letter stickers make this card easy.


A little bit of twine and some embossed paper add interest to this card.


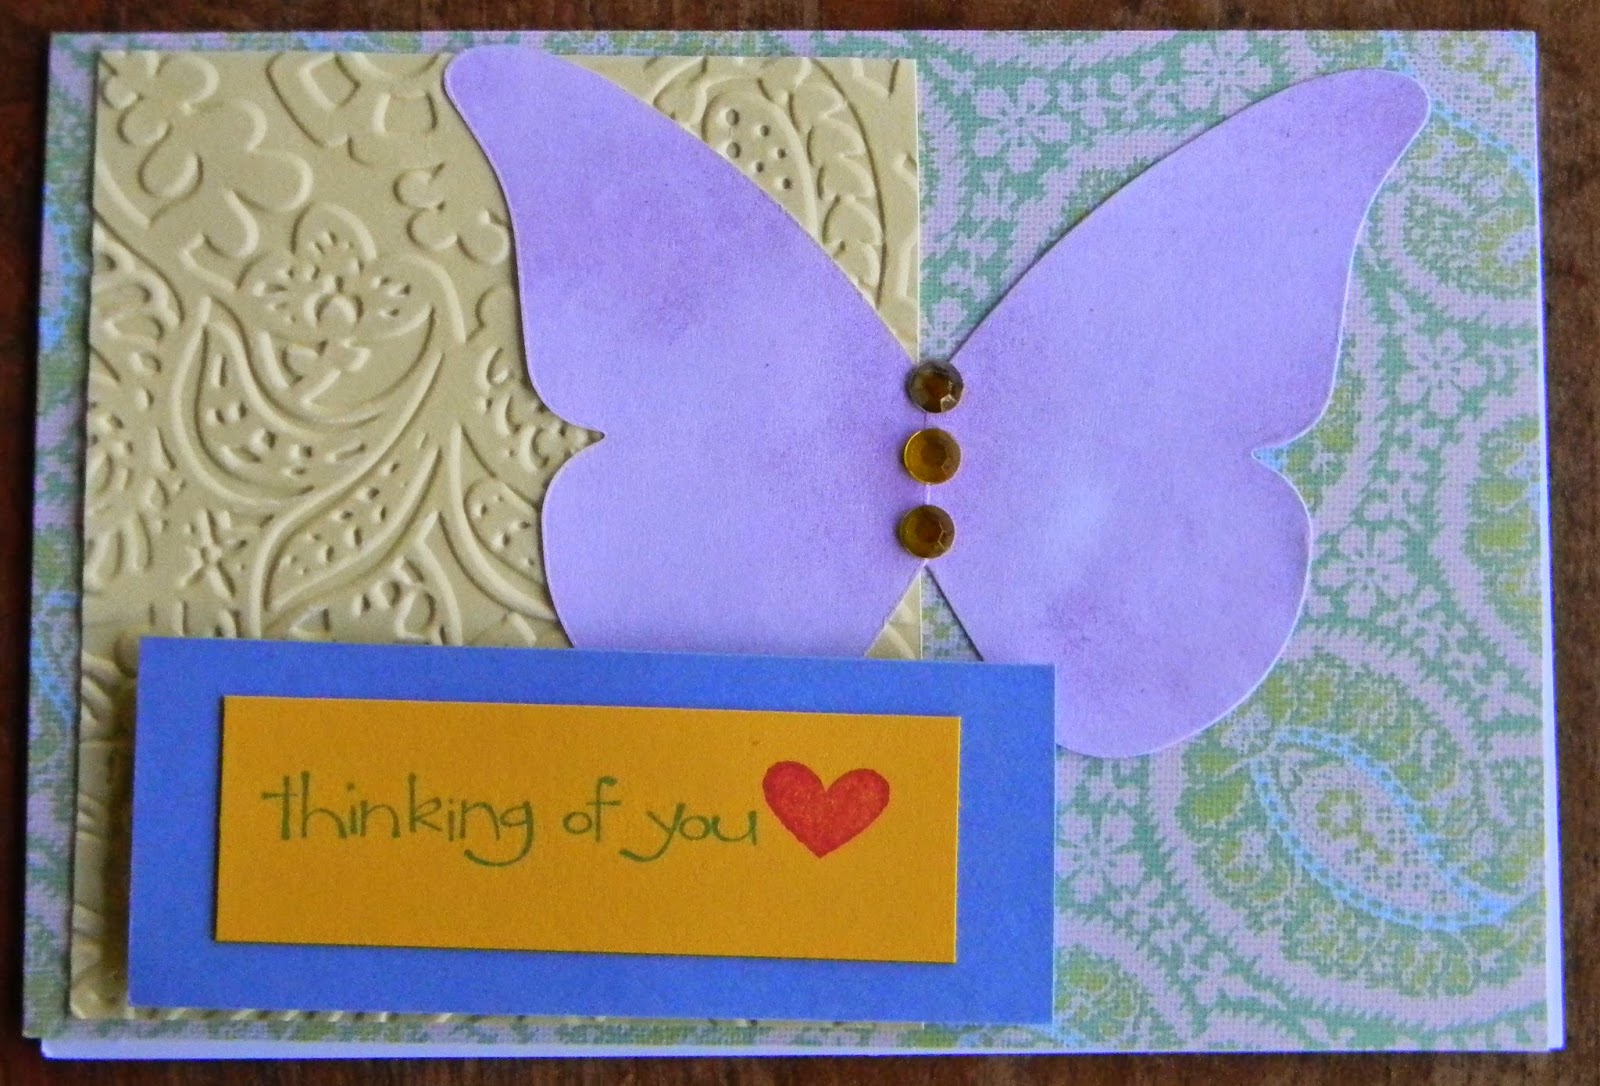
More embossed papers and a few rhinestones..


I love color blocked cards.


Some circle punches and a butterfly stamp get elevated to award status with the addition of some ribbon.


This technique layers several punched butterflies tied with twine.  

The twine ends become antennas.

The layers can be fanned out to give the card some dimension.


Here is a side view so you can see the layers.


This card has the embosed tree and a sweet quote.

It looks more time consuming than it is to create.


 And last but not least, another color blocked card.

I like the graphic appeal and the fact that they use up scraps.

Yay!


 Thanks for stopping by...

Wednesday, January 14, 2015

DIY Polka Dot Cards


I love polka dots.

They can be whimsical and fun.

They can be quiet and understated.

Today we are going with whimsical and fun.

Grab your paper scraps and some paper punches and let's get busy...

I bought some pretty cards that were nubby and polka-dotted on clearance.

I got out some glue, paper punches and rhinestones and had a blast.


I kept mine pretty plain but you could personalize them with birthday wishes or any other sentiment...

Any small punch will work...


What if you don't have polka dot cards?

No worries...

Make your own.

Use a one inch circle punch to punch out circles from scraps.

I eye-balled the placement but you could pencil in a grid if you like things precise.

Then use pop dots to add your shapes.

I used birds here...

  
And butterflies here.

I love these cards.

They are easy and fun.

I hope you try out  making some as well.


Thanks for stopping by....