Showing posts with label coastal colors. Show all posts

Tuesday, February 10, 2015

Jewelry Case Makeovers With DecoArt Chalky Finish Paints....


A couple years ago a friend from work gave me three jewelry cases.

They were well made but very large.

I was not sure what to do with them so they stayed in the upstairs of my shed.

This summer a saw a shadow box done in a tan and coastal blue that I loved.

It was just the colors I had at home from the DecoArt Chalky Finish line of paints.


So this summer, on a hot, hot day I ventured into the upstairs of the shed and carried these down.


I wiped off the dust and grime from the shed.


Let the fun begin...

I do love the silky consistency of these paints.


It took a couple coats to color them the way I wanted.
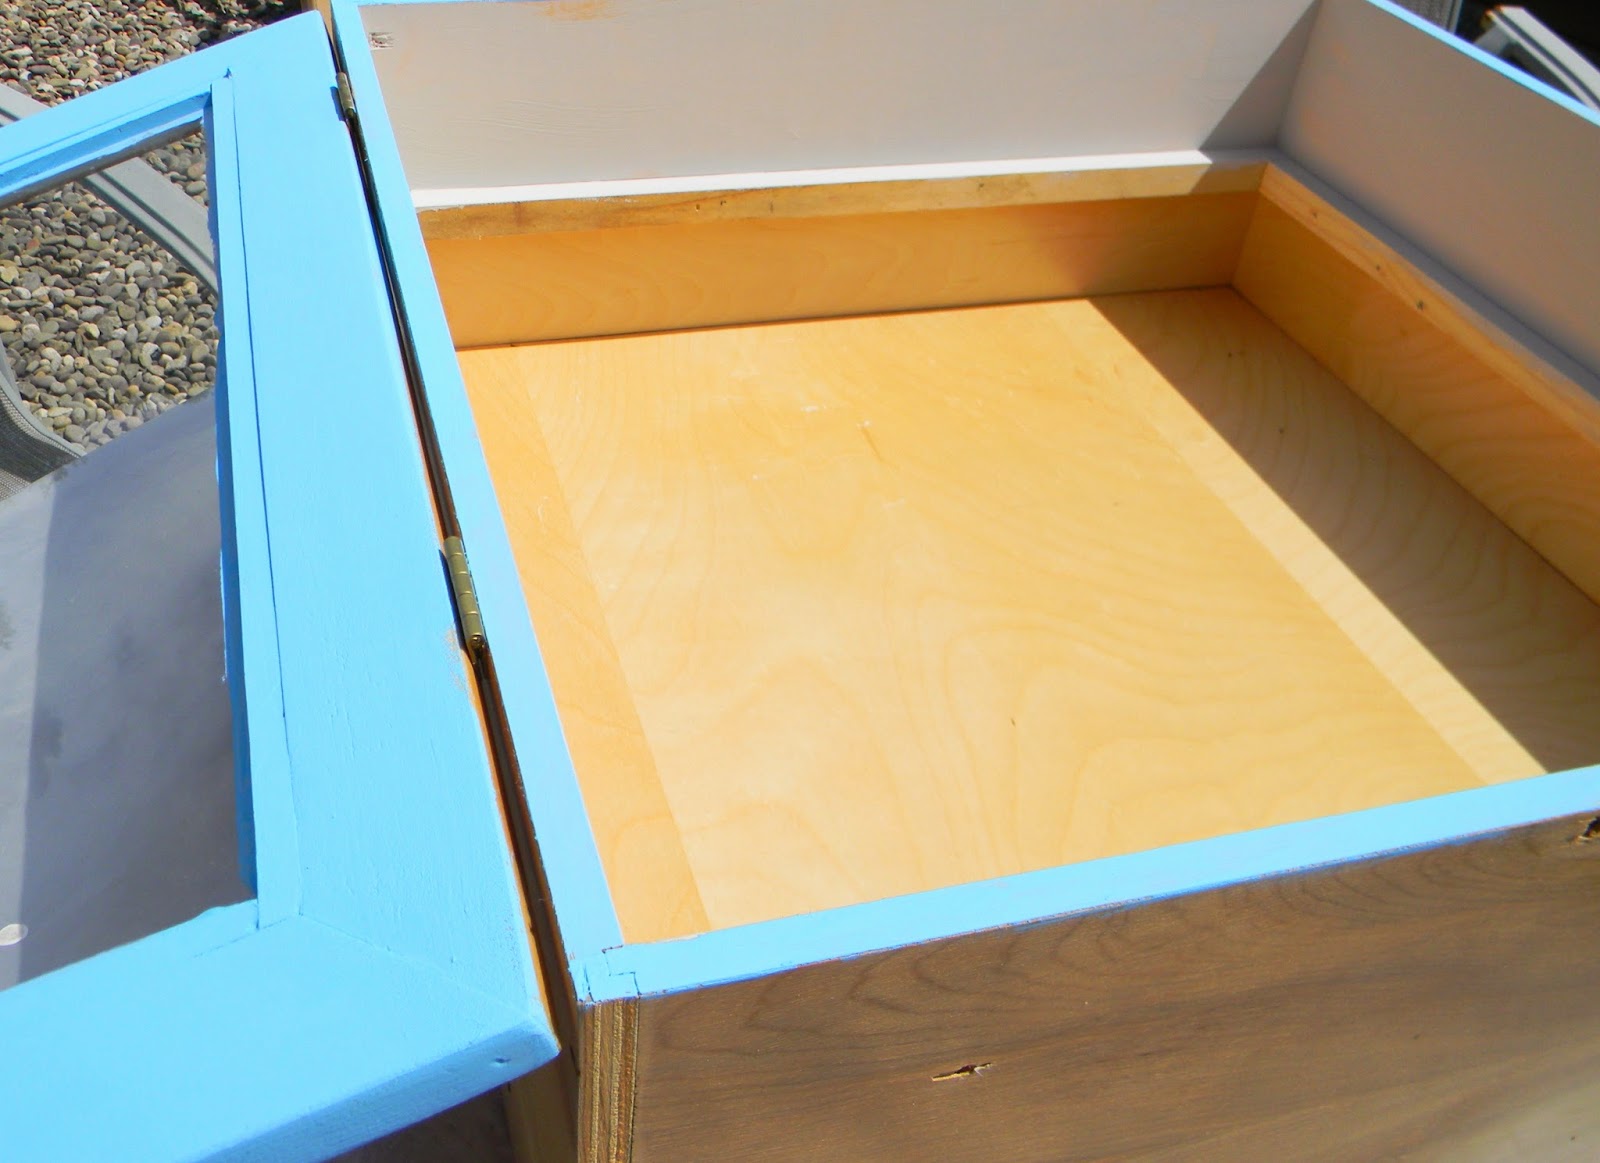

These originally had display boards covered with black velvet.


I removed the velvet and recovered the boards with burlap from coffee sacks my daughter brought home.


I painted everything with two coats of paint.


It took two afternoons since I had to do the outside of the boxes one day and the insides the next.


Once painted, I used a razor to scrape the window edges.

I also sanded the edges to scuff them up a bit.


I used these at my fall show.

They made a pretty place to display my polymer clay and primitive finished jewelry.


I like the burlap much better than the velvet.


I used vintage folding tape measures to prop the lids open.


I have not used them for every show because they do take up a good bit of space but I do love the transformation...

Thanks for stopping by...

Wednesday, August 13, 2014

A Raggy Rug from Old Sheets... A DIY Tutorial

I showed you in an earlier post how my daughter dyes some old sheets from the thrift store to use for a rug.


After she dyed all the sheets, she ripped them in strips.


Each strip was about an inch wide and the length of the fabric.

She removed all those loose strings.

And she cut the strips to about 6 inches long.


She cut a piece of non-slip rug mat to the size she wanted.


Hers is quite small.

About 18 inches by 24 inches.

Then she just started looping the fabric pieces through the non-slip rug mat. 

Some tutorials she had seen had merely slid the strip in and centered it.

She wanted hers to be strong so she tied each one.

Yup!

Each One.


She worked on it for about a week while watching TV.

About 1-4 hours a day.


I adore her colors...

And they actually match another rug we bought her before so they will go together.


She did every square in a row and then skipped a row between.  

She also left two rows around the edge to keep it from curling.


The back is pretty too.


Viola!

Finished!


She was very pleased wit it.

She should be.

It is awesome.


I already had the RIT Dye since I am on the Rit Dyesigner Team.

Check out my board here.

But if I had purchased it, I would have spent less than $15 on dye.


The sheets were $3 total.

I have seen other raggy rugs where this is where they really racked up the cost.

You could use fabric you already have or use old sheets like we did.  

Our thrift store sells stained sheets as drop cloths for 50 cents to $1 each,

Since we were dying them, a couple stains did not show.


And we had the non-slip rug mat already.

Sizes vary but buying one big enough for your rug will run $7-10.

So you could do this for about $30.

Ours cost $3.

My daughter entered it in the fair.

When I went to enter it, the little girl that was carrying things back to the judging tables, held it up to her face and rubbed her cheek against it.

A good sign...


Thanks for stopping by...

We will be linking up with these great blogs.

Wile RIT Dye did provide me with the dye for this project, all opinions are my own.