Showing posts with label burlap. Show all posts

Tuesday, February 10, 2015

Jewelry Case Makeovers With DecoArt Chalky Finish Paints....


A couple years ago a friend from work gave me three jewelry cases.

They were well made but very large.

I was not sure what to do with them so they stayed in the upstairs of my shed.

This summer a saw a shadow box done in a tan and coastal blue that I loved.

It was just the colors I had at home from the DecoArt Chalky Finish line of paints.


So this summer, on a hot, hot day I ventured into the upstairs of the shed and carried these down.


I wiped off the dust and grime from the shed.


Let the fun begin...

I do love the silky consistency of these paints.


It took a couple coats to color them the way I wanted.
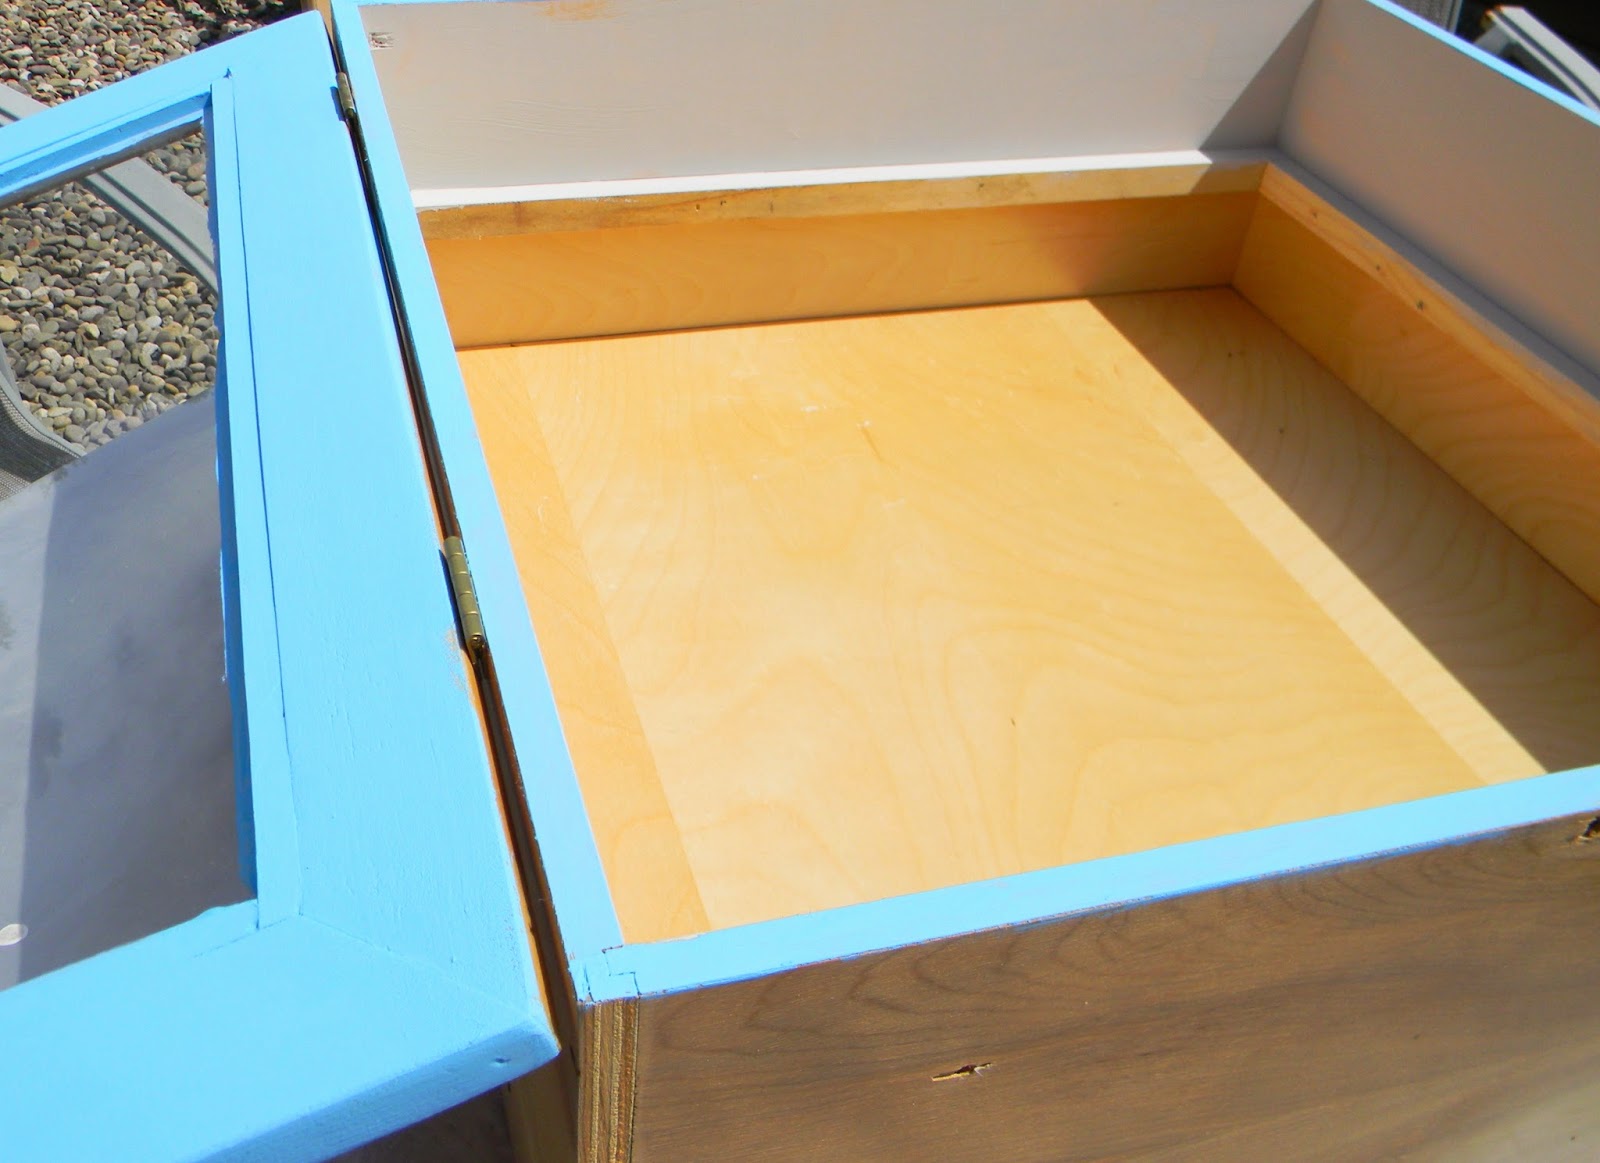

These originally had display boards covered with black velvet.


I removed the velvet and recovered the boards with burlap from coffee sacks my daughter brought home.


I painted everything with two coats of paint.


It took two afternoons since I had to do the outside of the boxes one day and the insides the next.


Once painted, I used a razor to scrape the window edges.

I also sanded the edges to scuff them up a bit.


I used these at my fall show.

They made a pretty place to display my polymer clay and primitive finished jewelry.


I like the burlap much better than the velvet.


I used vintage folding tape measures to prop the lids open.


I have not used them for every show because they do take up a good bit of space but I do love the transformation...

Thanks for stopping by...

Tuesday, December 2, 2014

Dyeing Burlap Ribbon with RIT Dye...

My apologies for the lack of a Mason Jar post yesterday...

We have a Christmas open house coming up this weekend and I miscalculated the time it would take to do the outdoor decorating, clean some brush and debris, clean out the building where we hold the open house, get the trailer, unload the trailer and do silly things like eat and such...

And none of that includes  ANY set-up.

Once we got it unloaded, we took the trailer back, parked it and locked the door for the night....

I have a couple mason jar ideas almost ready to photograph and write, but it was a no-go for Monday... 

 You will get one next week...

So, for now...

Recently I was shopping and saw some really neat colored burlap ribbon.

I had gathered a handful of colors  and then saw the uncolored burlap on another shelf. 

 It was twice as much ribbon for the same price....

Now, you may not know this about me...

I am thrifty.

I am cost-conscious.


am 

.....

cheap.

I could not bear to pay more for less.

So I bought a couple rolls and brought them home to dye my own.

I gathered supplies on one of the last nice days....


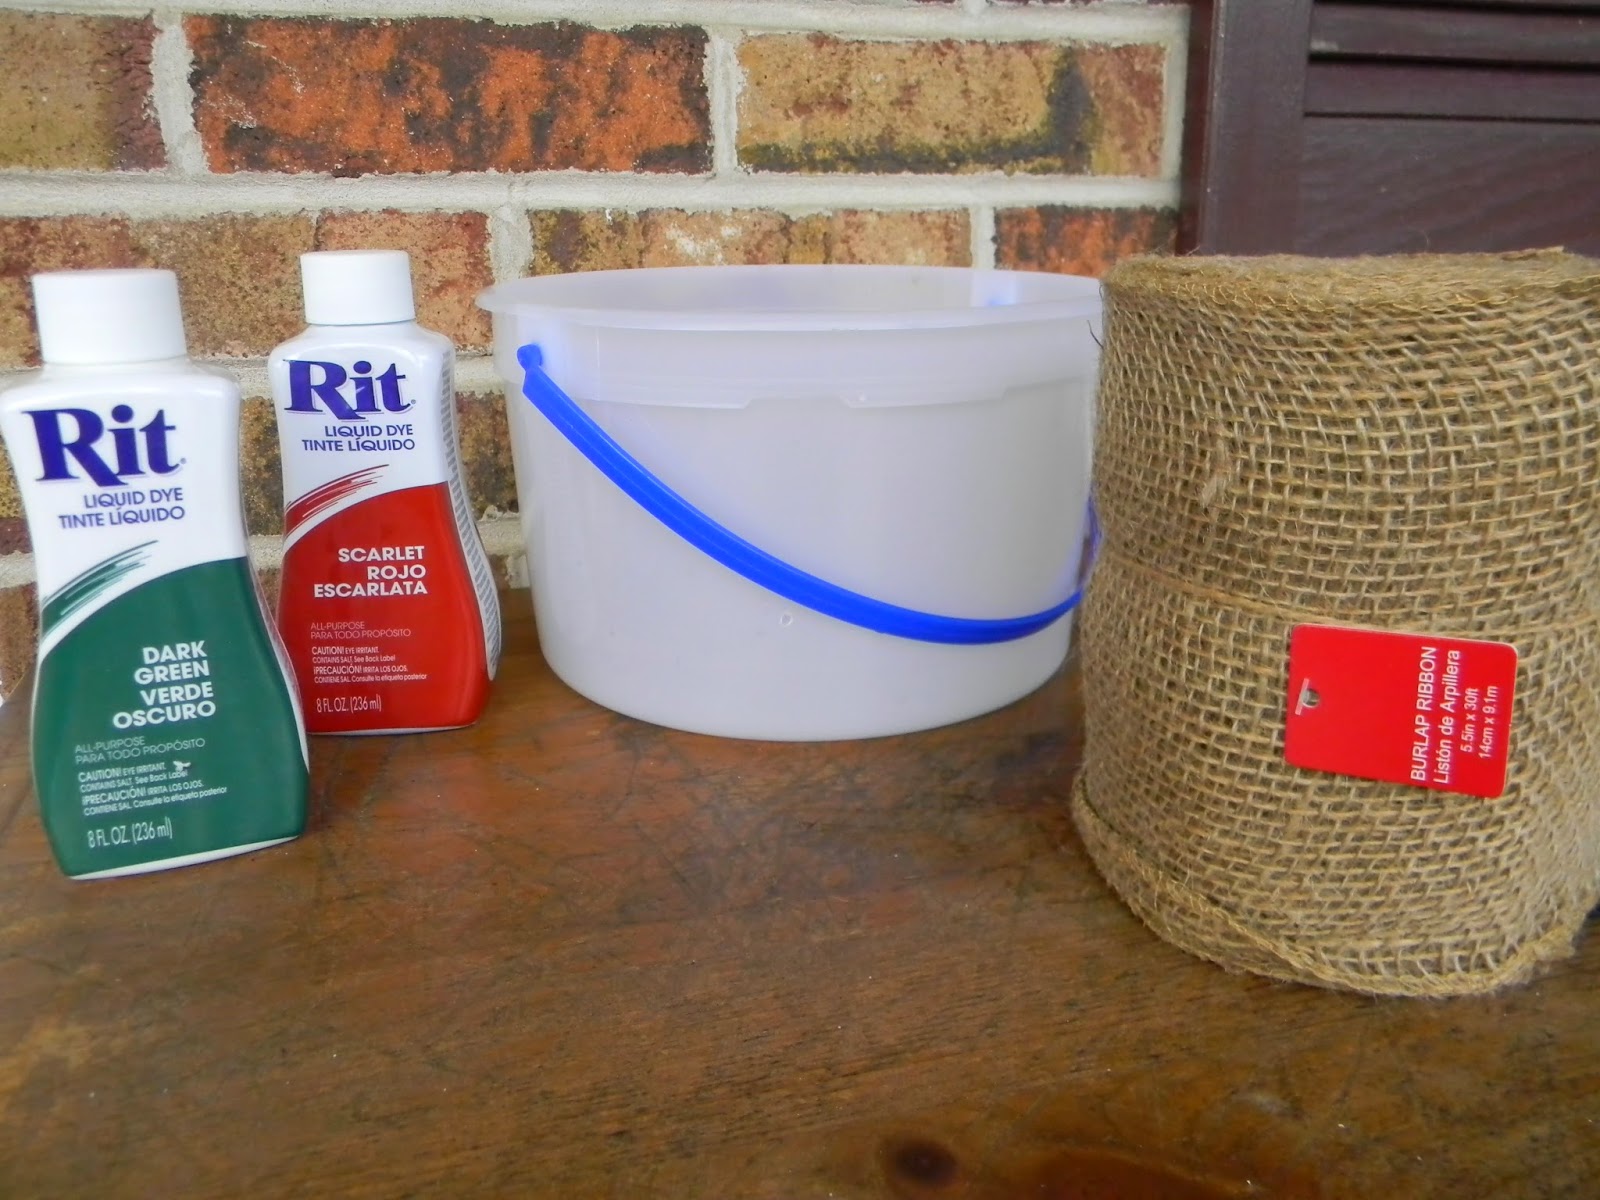
I mixed some Scarlet dye in an ice cream bucket with water.

I wanted to dye just one half of the ribbon red....

So I only filled the bucket half way.


I did another bucket with Dark Green.

You can see some pinecones from another post took a dip too...


I lifted the ribbon from the dye and let it drip back into the bucket.

Once it had mostly drained, I set it on this container to finish draining.


Once it stopped dripping, I flipped it over and set it in the bucket of green dye.

Half green, half red.


I removed it and let it drain as well.


I set them by the wood stove  for an evening.

The next morning, I rinsed the roll with cold water in the sink until the water ran clear.

Then I unrolled it and let it dry over the fence in the back yard...

Something cool happened....

Once I unrolled it, there is a tan stripe down the middle that did not dye....


What do you think?

It was an accident....

I LOVE IT!


I love the half green ribbon too...


I can't wait to show you some of the things I did with it...

Hint.

Most of it will be making an appearance for our open house....

Stay tuned...

Thanks for stopping by....

Monday, November 17, 2014

Mason Jar Monday #3... Burlap Roses Ornaments...

While I was in Michael's this summer I picked up a couple of rolls of burlap ribbon that were on sale.


I used it for the fair to wrap my frappachino bottles.

We like to use all the same jars so we can find our entries more easily.


After the fair, I took most of them off the bottles which left me with a bunch of burlap ribbon pieces 10-14 inches long.


I love to take materials from one project and use it for another....

so I made some Burlap Rose Christmas ornaments.


These have french page leaves.

I picked up some little french books at a local college book sale. 

They were already falling apart so no worries about using them for this project.


I wanted to share a quick way to make leaves with a circle punch.


Cut out your circles.


Then put your circle back in the punch.

You can see the leaf shape...


Cut them.


Turn your circle and cut some more.


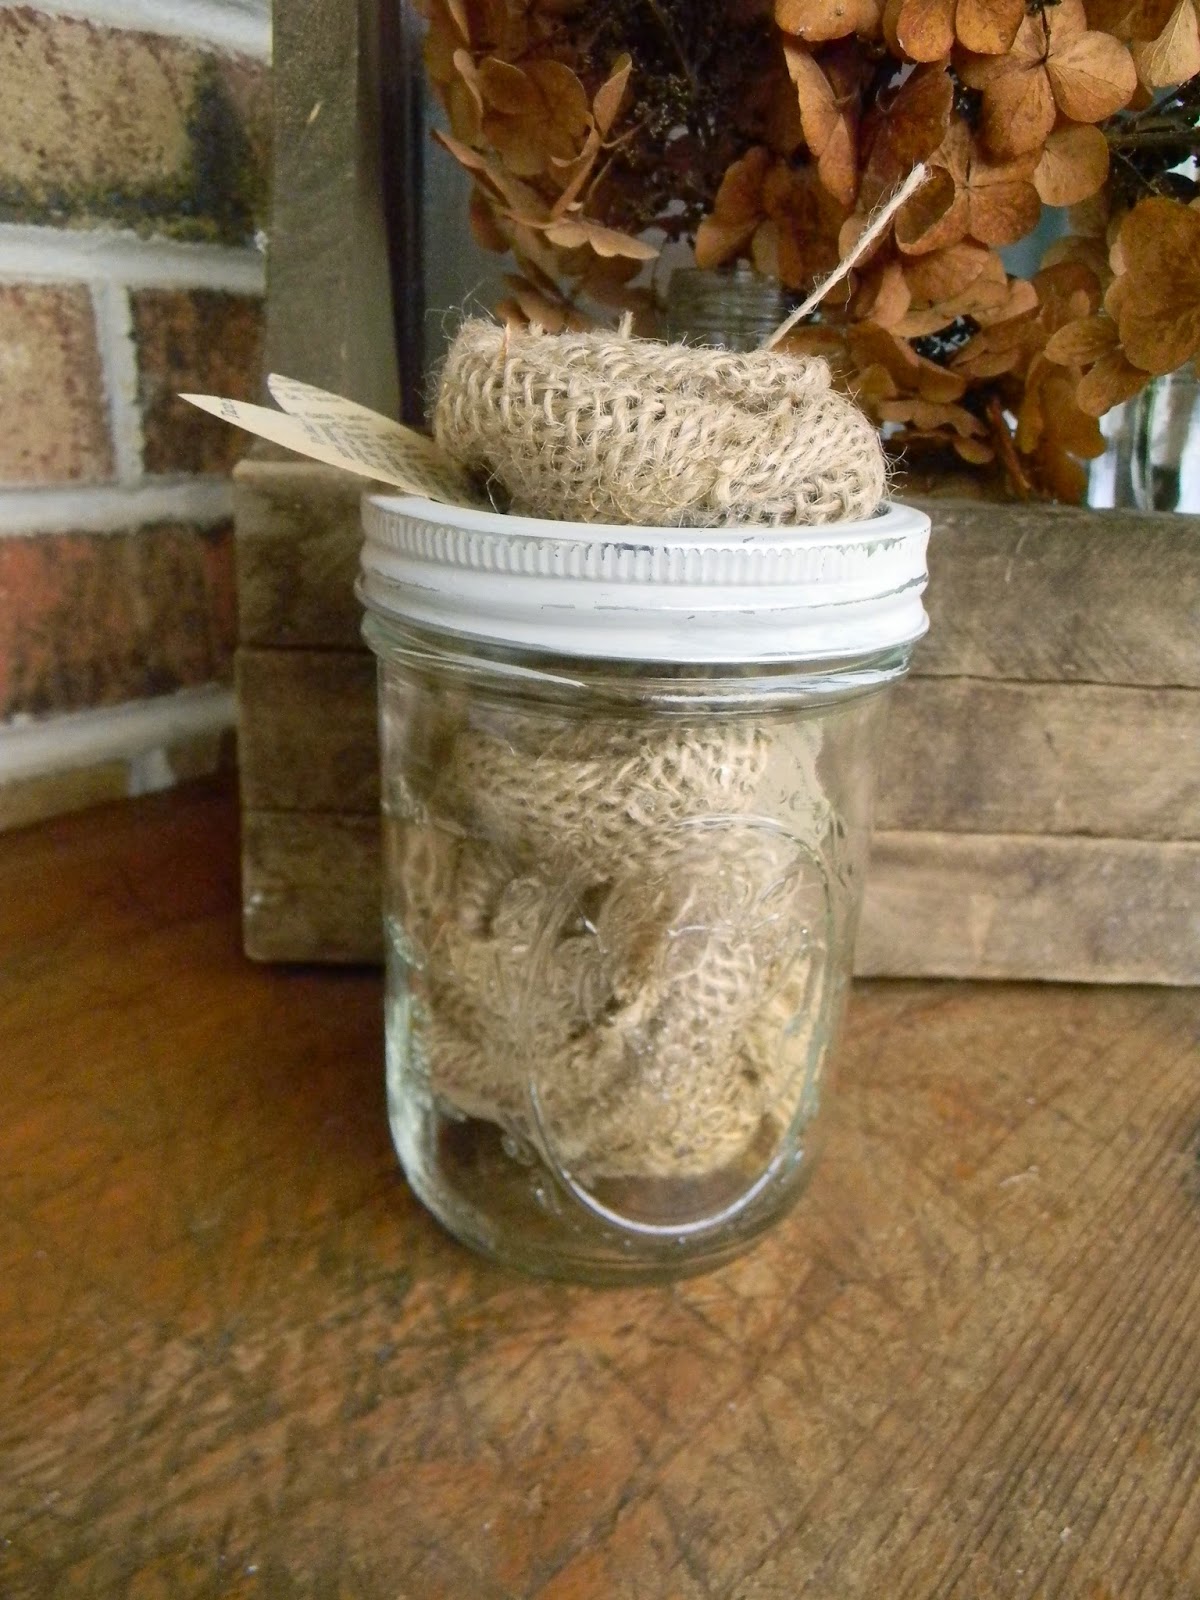
I made simple twisted roses with the burlap and a hot glue gun.


I added a piece of jute twine as the hanger and two french page leaves to each rose.


I glued one to the lid of the jar which I had already painted with DecoArt Chalky Finish paints.


These will be so sweet on someone's Christmas tree.


They transcend all the seasons so they can be used anywhere, anytime.


Boy, I did not notice that little string tail.

Now it needs to be clipped...


These tuck sweetly into the jar.


I plan to make many more for my next two Christmas shows and a few for Etsy.


What a charming rustic gift for Mason Jar Monday.


Thanks for stopping by...

Linking up with these great blogs...


Sunday, October 26, 2014

Burlap Pillow Cover from A Coffee Sack...


Having a daughter that is a barista has multiple benefits...

She can make really great drinks at home.

Sometimes she brings me amazing leftover coffee....

And she brings me coffee bags...

I love those burlap sacks.

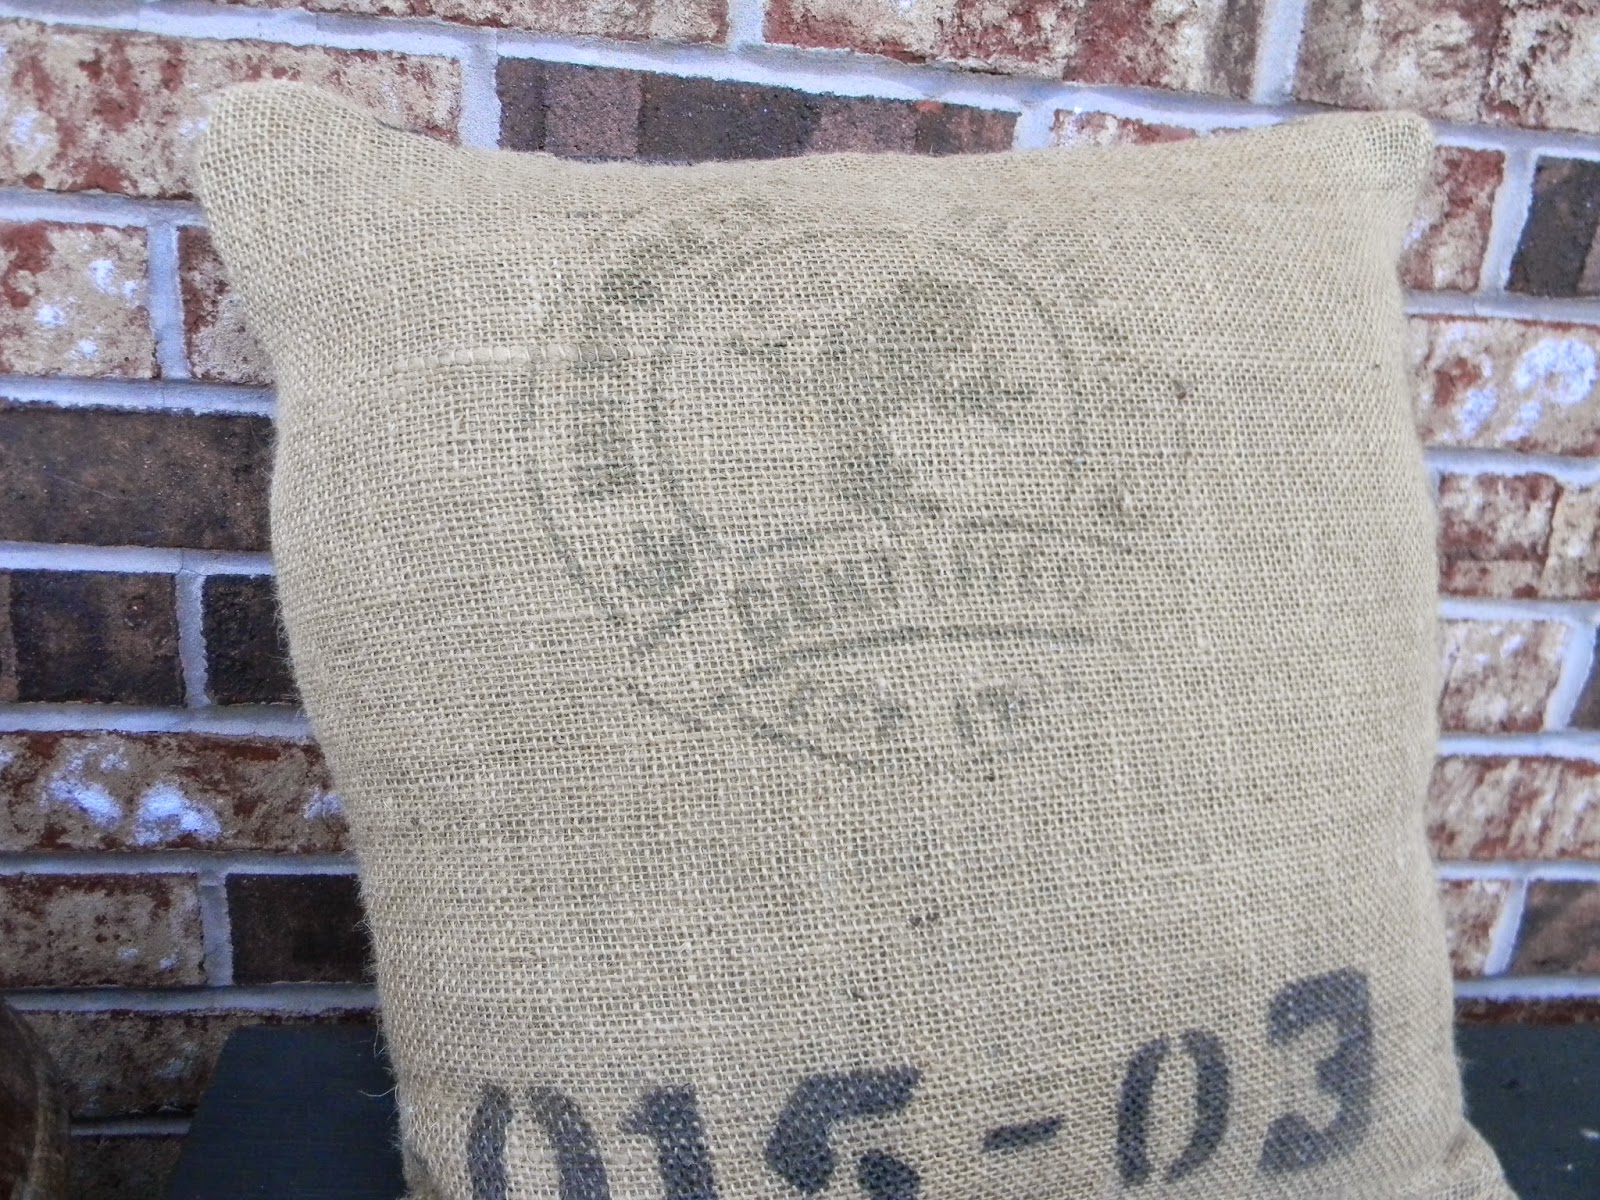
So this summer I used one to make a pillow cover for a bench outside the garage.


This one has that great frog graphic.

I cut my pieces from the burlap bag to maximize the bag graphics.


This is my first pillow cover and I was determined to do it without a pattern.

This can be very rewarding or very frustrating... 

This time it was good.

Here is the back of the pillow


It looks great on the bench.


I am proud of my first effort and have plans for a few more.


I like that little twine tail that I left intact from the bag...

I took this picture about 2 months after I put it outside.

You can see the frog really faded.

I like the look but learned to try something to preserve it in the future if it will be in the direct sun...


Thanks for stopping by...

Wednesday, October 8, 2014

Burlap Fall Wreath

For the fair this summer, I did a little something different for the silk wreath arrangement.

I picked up this grapevine wreath at the flea market while junking.  

It was decorated with garden stuff...

a glove, little flower pot, a rusty trowel.

I took them off to start fresh.


I made a bunch of burlap roses.

I do these by trimming the seams off burlap coffee sacks when I use the sacks for projects.


Then I glue and turn the seam so the trimmed edge  shows here and there.


I make these whenever I am doing a burlap project and then just hold on to them for later.


I also had this burlap pumpkin that I already made.


It has a burlap flower right on it.


I just hot glued all the pieces on the wreath.


I like the understated simplicity of it.

However, my husband is not a fan of wreaths actually hanging on our door.

They blow in the wind, scratch the glass and block the view when we look out.

So I came up with a great compromise.

I hung a hook with some twine from the porch light.


It is a great solution for hanging things on a brick house.


And it fits almost perfectly in the space between the window and the door.


Thanks for stopping by...

I will be linking up with these blogs.