Showing posts with label tree ornaments. Show all posts

Thursday, December 10, 2015

Jingle-Corn Ornaments

Today I share one sweet little ornament...

A Jingle Corn...


Have a great Thursday!

Thanks for stopping by...

                  Linking up with these great blogs.

Monday, November 23, 2015

Felt Snowflake Ornaments

I wanted to share another quick and easy ornament for the tree.

It can also be used as a package topper.

I love to cut all the felt circles and then lay them next to my spot on the couch.  

I find the stitching relaxing while I am watching tv.


This little guy just uses some felt, stuffing, cotton crochet thread, and an old button.

Stitch the snowflake design on one circle.

Sew on the button.

Blanket stitch the two circles together.

Before completely closing the opening, add a little stuffing.

Then finish closing and tie off.

Add another loop of string to hang it.


You can do a bunch of the same design or do all different snowflakes.


Thanks for stopping by....


Wednesday, December 3, 2014

Polymer clay Snowman ornaments


I was playing with polymer clay recently.

I wanted to make some fun Christmas ornaments for the tree.

I rolled a little ball of Sculpey Original white clay into small balls and pinched and rolled to make a little nose.

I used a skewer to make a more defined edge at the bas of the nose.

I cut a small piece of wire and bent it into a U shape.

I pushed it into the top of the snowman head.

I also pushed 2 half round eyes into the clay.

Then I followed the manufacturer's directions to bake them in the toaster oven.

I have one dedicated to clay only on my covered back porch.


It was really cold when I baked them.

This caused two issues.

Some of the noses got a little singed.

And the eyes got a little melted if they touched the tray.

They each got a quick touch up for their noses with DecoArt's Tangelo Orange.

I added a little twine loop for hanging.


This little fellow is so cute.  you can see his eye was touching the tray.

Gives him character.


These are little.

They would be perfect for a mini tree.

It is a great craft for kids and could be done in an evening.

They would also look sweet as a package tag...


Thanks for stopping by...

Linking up with these amazing blogs...


Monday, November 17, 2014

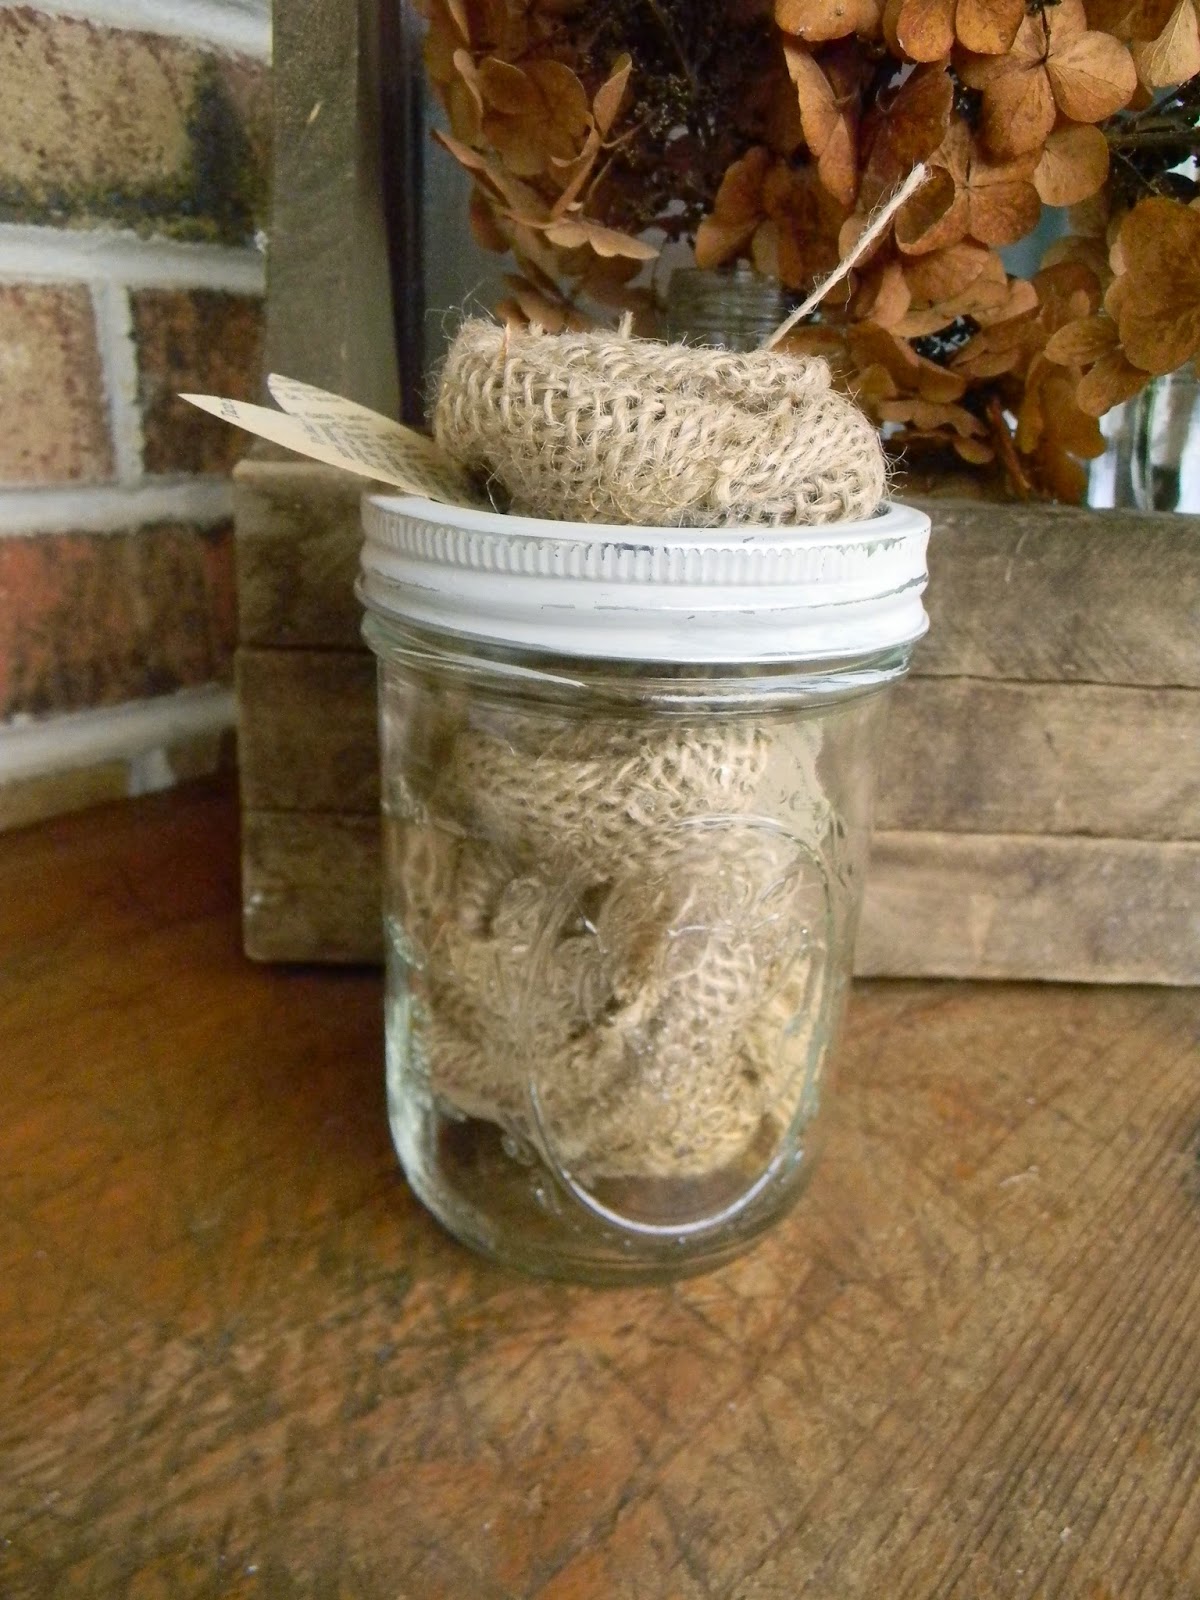
Mason Jar Monday #3... Burlap Roses Ornaments...

While I was in Michael's this summer I picked up a couple of rolls of burlap ribbon that were on sale.


I used it for the fair to wrap my frappachino bottles.

We like to use all the same jars so we can find our entries more easily.


After the fair, I took most of them off the bottles which left me with a bunch of burlap ribbon pieces 10-14 inches long.


I love to take materials from one project and use it for another....

so I made some Burlap Rose Christmas ornaments.


These have french page leaves.

I picked up some little french books at a local college book sale. 

They were already falling apart so no worries about using them for this project.


I wanted to share a quick way to make leaves with a circle punch.


Cut out your circles.


Then put your circle back in the punch.

You can see the leaf shape...


Cut them.


Turn your circle and cut some more.


I made simple twisted roses with the burlap and a hot glue gun.


I added a piece of jute twine as the hanger and two french page leaves to each rose.


I glued one to the lid of the jar which I had already painted with DecoArt Chalky Finish paints.


These will be so sweet on someone's Christmas tree.


They transcend all the seasons so they can be used anywhere, anytime.


Boy, I did not notice that little string tail.

Now it needs to be clipped...


These tuck sweetly into the jar.


I plan to make many more for my next two Christmas shows and a few for Etsy.


What a charming rustic gift for Mason Jar Monday.


Thanks for stopping by...

Linking up with these great blogs...