Showing posts with label up cycled books. Show all posts

Monday, November 17, 2014

Mason Jar Monday #3... Burlap Roses Ornaments...

While I was in Michael's this summer I picked up a couple of rolls of burlap ribbon that were on sale.


I used it for the fair to wrap my frappachino bottles.

We like to use all the same jars so we can find our entries more easily.


After the fair, I took most of them off the bottles which left me with a bunch of burlap ribbon pieces 10-14 inches long.


I love to take materials from one project and use it for another....

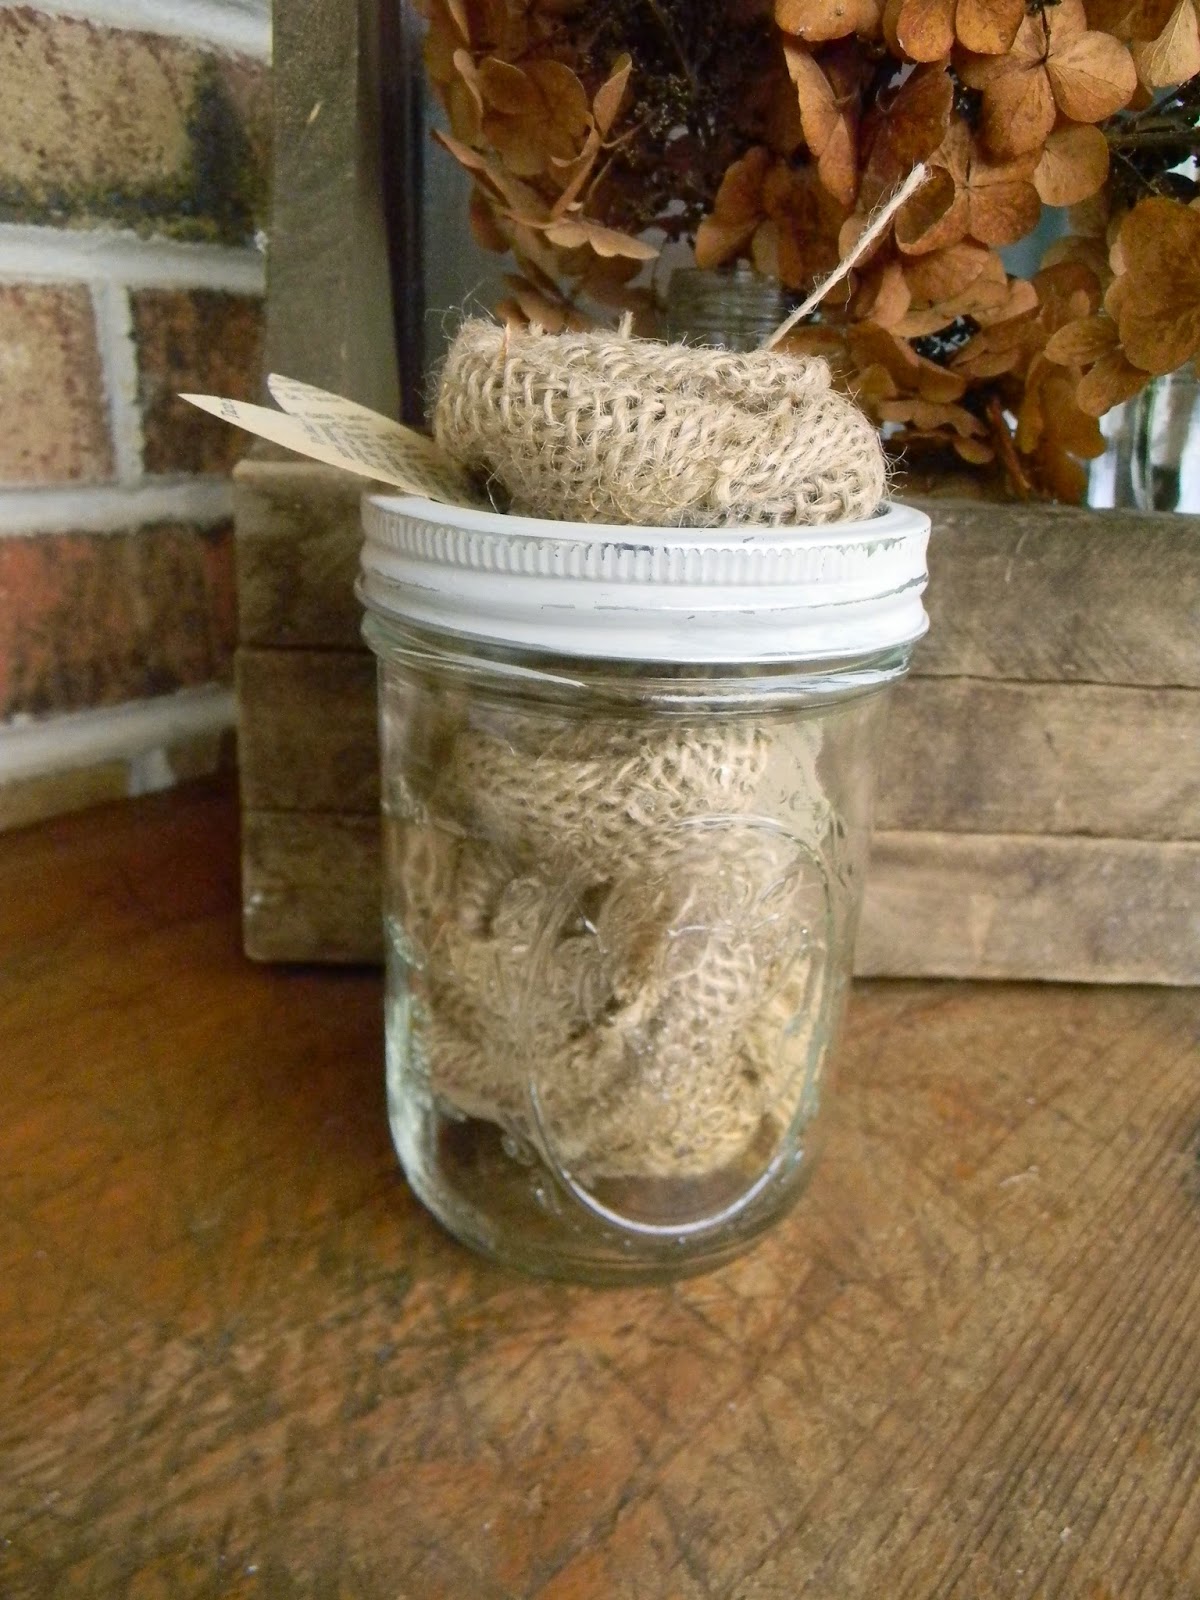
so I made some Burlap Rose Christmas ornaments.


These have french page leaves.

I picked up some little french books at a local college book sale. 

They were already falling apart so no worries about using them for this project.


I wanted to share a quick way to make leaves with a circle punch.


Cut out your circles.


Then put your circle back in the punch.

You can see the leaf shape...


Cut them.


Turn your circle and cut some more.


I made simple twisted roses with the burlap and a hot glue gun.


I added a piece of jute twine as the hanger and two french page leaves to each rose.


I glued one to the lid of the jar which I had already painted with DecoArt Chalky Finish paints.


These will be so sweet on someone's Christmas tree.


They transcend all the seasons so they can be used anywhere, anytime.


Boy, I did not notice that little string tail.

Now it needs to be clipped...


These tuck sweetly into the jar.


I plan to make many more for my next two Christmas shows and a few for Etsy.


What a charming rustic gift for Mason Jar Monday.


Thanks for stopping by...

Linking up with these great blogs...


Monday, October 20, 2014

Coffee Filter Wreaths


I love materials that are unusual or unexpected.

A very versatile and affordable craft material is coffee filters.

They are fabulous and fun.

I love them for wreaths...

The finished product is very lightweight which makes them great for hanging.

Today I just wanted to share a few of my coffee filter wreaths. 


Many of them I use RIT dye to color.


You can see my RIT Studio here.

This sweet pink oval wreath is a great accent.


You can find the complete instructions here.


Those basic directions can be used to create a variety of wreaths and projects.


This heart wreath uses the same directions but I cut the base shape from a large cardboard box.


 I used 14 flowers and really pushed them together to get a very dense look.


These make a great Valentine's day accent.


They would also be perfect for a wedding...


When I cut the base shape from cardboard, I wrapped it with scrap fabric strips that I also dyed.


If I hang it on a door or window, the back looks almost as nice as the front...


The great thing about the coffee filters is the variety of colors you can achieve with the RIT dye.


The next wreath color was achieved with a weaker Fuchsia dye bath that I added coffee to.


LOVE IT!!!


The following wreaths were done by coffee dyeing the filters.

You could also just use the unbleached filters.

It would be less work but I like the look of the dyed one.

This round wreath uses the flower method again.


This heart wreath does not.

I took each filter and folded into fourths and then twisted the point like I described here in my Rose Banner Tutorial.


I usually do a huge stack of them while watching tv.

I just toss them into a pop-up laundry basket that I can take to the garage/studio when I am ready.

The base for this wreath was cut from a piece of newspaper and then traced on a cardboard box.

You could use foam core too.


I just started at the top in one corner and glued them on, adding as I went. 

The little twisted point of the coffee filter gets stuck in the glue so your fingers don't get burned.

The wreath below is a favorite. 

I like the rectangular shape.

I donated this one to a local cause for a fundraiser.


I will have to make another one to keep.


Last, but not least, are a couple book pages wreaths that I used the coffee filter flowers for the center.


These are all over Pinterest...with good reason.

They are fabulous.

I am careful what kinds of books I use for the petals...

Only damaged and discarded books.

Very often, Reader's Digest books. 

Seems like no one wants those and they end up thrown away.

I can't let that happen!

So I rescue them from the trash and "to be recycled" bins...


They are simple to make.

Remove book pages.

Twist each into a cone and secure with clear tape.

Then staple about 1 inch from the tip.

I also do this while watching tv.

I fill that collapsible laundry hamper and then I go out and make as many wreaths as that many pages will complete.


At first I used a round shape for the base but I learned to just use a piece of rectangular foam core.

For the large size, I use a quarter sheet.

I sketch rounded corners on the foam core and use that for the base as I am gluing them on.


MUCH easier than measuring, cutting, etc...

This smaller one uses a 1/8th sheet of foam core.

And then I just finish it off with a coffee filter flower.


What common material do you use in unusual ways?

Thanks for stopping by...

Linking up with these blogs...

Thursday, October 9, 2014

Spider Spells Book Tutorial

I have been wanting to make a Spider Spells book for some time.

Actually, I had started the book last summer and recently found it when cleaning.


I just started with a discarded hardcover book with a plain cover.

I hate to cover amazing graphics with paint.

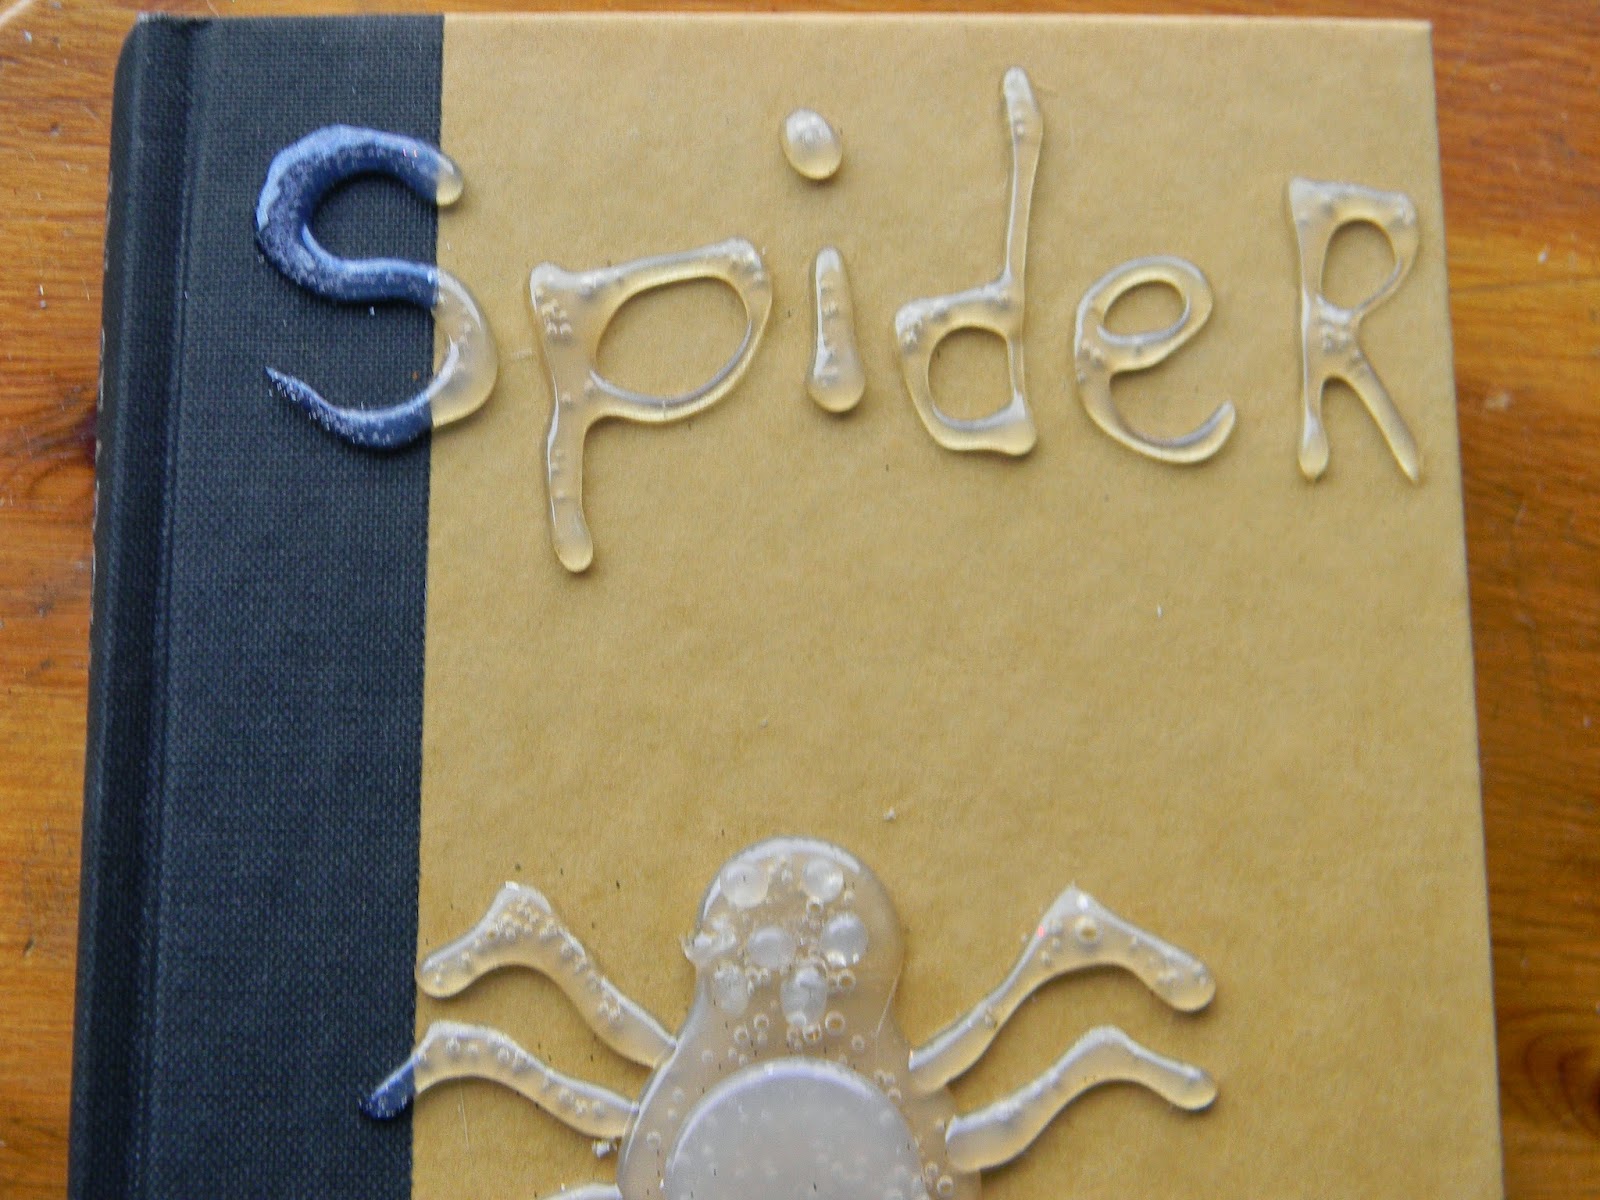
Using my hot glue gun, I wrote "Spider Spells" and drew my spider.

Once it cooled and hardened, I added a second layer on the spider's body for dimension.


And a second layer for the eyes.

If you look close, this fella only has 7 eyes....

Sorry.


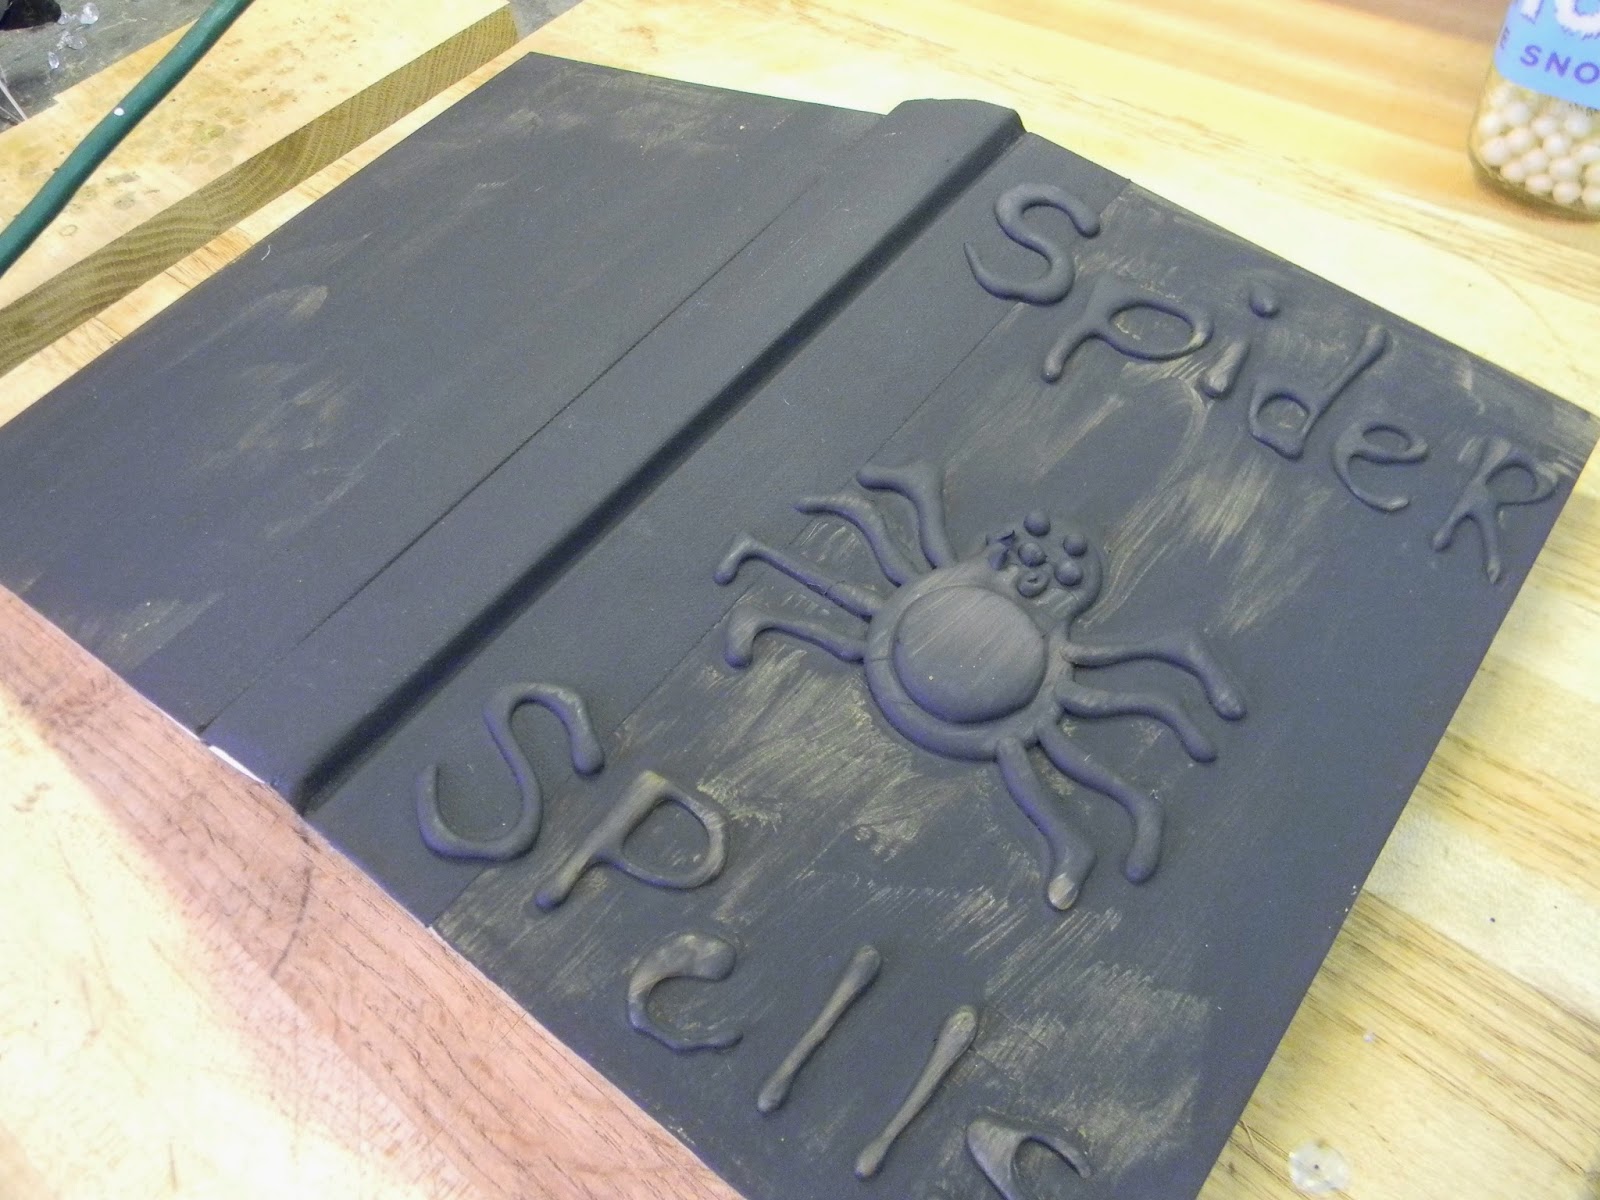
A layer of Americana DecoArt Chalky Finish paint in Carbon is added to the front and back.


Because I was dry brushing more color I was not worried about perfect coverage.


I dry brushed some Whisper Chalky Finish paint on also by DecoArt.


I love dry brushing.

I load a bit of paint into the bristles, swirl out most on a paper towel and then work the paint where I want it.

I increase pressure as the paint becomes fainter.


I also gave it a light brushing of Chalky Finish Remembrance.


I love purple and black for Halloween.

I like the outside but thought the pages looked too new.


Time to "drop it in a mud puddle" as my daughter says....


I mixed my witchy aging brew.....coffee, cinnamon and hot water...


Looks bubbly amd spooky....


Then a dunked all the pages in the aging bath.


I wiggled it around a bit to make sure all the edges got wet.


Then I took it out and put it on a tray in the sun.


I checked every few hours and fanned pages to get them dry and wrinkled looking.


Now  it makes the perfect accent for Halloween.


It looks great with some spooky spiders and stained cheesecloth.


I think I will make a whole library...


I like spooky but not scary.

This is just right for me... 


Thanks for stopping by...

Linking up with these fabulous blogs.