Showing posts with label DIY Christmas decor. Show all posts

Saturday, December 27, 2014

An Ornament and a Snow Globe....Two Recycled Light Bulb Tutorials

I don't think I am alone in being fascinated with  hollowed out light bulbs.

Last winter I found directions online for removing the inner workings of the bulb and tried it with a few.

I found this tutorial from Team Droid and really liked it.

I removed the inner workings from several burnt out bulbs I had.

 Then they sat on my workbench until recently....

Here is what they became....


I love the way this little ornament turned out.


There are a couple tips and tricks here.

These bulbs have fairly large openings in the base so the trees do fit through with the wooden base still attached.


Before you start, check this.

Also be sure to have a set of tweezers that are long enough to reach the bottom of the bulb while you are holding the ends.

Practice navigating the tree to the bottom a couple times.

It reminds me of the old kid's game Operation.

Once you think you can do it well without touching the sides, add a drop of hot glue to the bottom of the wooden base and carefully guide it to the bottom of the bulb.


 I added two so each is a little off center.

Wait for them to cool and add some fake snow.

I used purchased snow.

For my hanger, I used a piece of snowy holly garland.

I bent it into a U shape, stuck it into the socket with some hot glue and sealed it up by pushing a white pom pom in.


I am tickled with how they turned out.


I only wish I was better at photographing glass.


You could put anything inside that fits through the hole.


Definitely a reason to save light bulbs....

The second thing I made was this cute little light bulb snow globe.


The directions for this one are a bit different.


The tiny trees barely showed up in here so I used a larger tree and removed the wooden base.

Add your snow first with the bulb upside down.

Stick the tree up through the base of the light bulb while it is still upside down.

You can see mine bent a bit but I like the character it adds.


My tree is actually down into the metal base.

Then I added hot glue and put a wooden block on the bottom.

I turned it over and set the block down so the glue would flow down while it was still hot and create a good seal.

Then I wrapped the bottom with twine to cover the glue and tied a bow.


The blocks came from the flea market this summer.

A big cloth heavy tote and a couple dozen blocks for $2.

Some of the blocks were chewed on by someone's puppy, but I don't mind.

They work perfectly for me.


Even though the tree is not perfectly straight inside, it looks different depending on how it is turned.


I love to recycle things that would be thrown away...


This is versatile and can stay out all winter.


Thanks for stopping by.....

Friday, December 19, 2014

Polymer Clay Ornaments


I love polymer clay.


It takes me back to playing with play doh when I was a kid.

I wanted to make some simple Christmas ornaments for our open house.

I took a trip to the craft store and got a few new cookie cutters and a big box of Sculpey Original clay.


I like how soft it is.

I rolled out the clay and cut a few shapes.


I used some letter stampers to add a few words.


Ok.  Here is where I had a glitch.


In the winter, sometimes my toaster oven singes things if it is very cold outside.


That happened here.


They are no longer the snowy white I wanted.


Some got quite singed.


Ouch!

So I thought I would add some crackle and paint.

Always follow the directions on the product.

I did not seal these first as instructed so the crackle could not slide around and crackle.

It did leave some subtle texture.


Next I used some DecoArt Chalky finish paint.


That stuff covers a lot of mishaps.


Once they were dry, I scuffed each one with a sanding block for a primitive look.


I love the way they turned out despite all the issues...


You can tell these have the subtle texture from the crackle glaze.


It left them just a little bumpy.

These would be really easy to do with kids.

And they would last longer than traditional salt dough ornaments.

I love that about Sculpey.

They don't get damp and moldy.

Mice and critters do not nibble on them in your attic.

They are durable and seldom break.

They look great!


I do love the way they turned out but they are not what I planned when I started the project.

That happens to me often....

Sigh...

I just roll with it.


Thanks for stopping by....

Linking up with these great blogs.


Thursday, December 11, 2014

Outside Christmas in the Country

One of the things that has kept me very busy lately has been our Christmas open house.

We have it the first 2 weekends in December.

Today I thought I would show you my minimal holiday decorations that customers see between leaving their car and entering Christmas in the Country.

Welcome.

Right outside the door is our welcome sign and a new chicken wire dress form.

This little gal is for sale.

She is taller than the ones I made earlier this summer and does not require a separate base.

She can be secured anywhere in your garden with a couple of pieces of wire bent into a u shape and pushed into the ground.


Earlier this year, I shared a little Christmas banner  in a jar displayed here.

Now it welcomes guests and displays birdfeeders and garden totems.


A quick chalk sketch will probably have to be redone if it snows or rains....

Below is " the Annex".

It is a sweet little workspace behind my shed.

My husband gave me his old garage workbench and it makes a great outdoor workspace for gardening or creating. 

I also store things underneath... 

This is real world, folks...

Not blogland perfect.


Here is a twin to the chicken wire dress form.

This one is mine and she is decked out for winter with a lit garland wrapped skirt.


This shutter I got from that great neighbor of mine that drops off goodies from his truck.

I actually got to pick this one from his old barn...


Here's that little snowman again.

 You can see the whole vignette here.

The summer display just gets a winter makeover with some greenery.

 I love those Wooden Mushrooms...

So simple...


I always end up adding silly little things here and there....

This wreath on the birdhouse for example...


My handmade hypertufa birdbath gets a seasonal makeover.

Now it is filled with greens and goodies...

Honestly, they are bits that have fallen off other decorations nestled in a faux wreath.


That base is getting pretty chippy looking. 

It needs a makeover this summer but for now, I am enjoying it's chippy goodness.


This mini potting bench next to the shed doors always ends up being more of a display area than a work area.

That thermometer hasn't worked in years but it was here when we bought the house and I still love it.

The wooden ladder is literally on its last rung. 

That butterfly stepping stone on the bottom shelf was made by my daughter when she was small...


Most of my greens I get at the thrift store or yard sales in the summer.

I buy them up when someone has a big bunch for a reasonable price.

The skate swag was a thrift store score...

The birdhouses come from an Amish man that sets up at my favorite flea market.

He sells these for about $3.

I am not kidding...

I buy at least one new one each summer.


So these pallet flags are about 20 years old. 

I made them before pallet art was cool.

When it is really windy they blow off the shed doors.

From all the blowing around, they have lost their star centers.

I still love them.


This area actually hides our trash cans.

I built the cement block wall to hide them.

They are just stacked with landscape timbers on the top.

I added the flower boxes to further camouflage the trash cans.

I left the grasses from this summer and added greenery.

The greenery here is actually branches from an old Christmas tree.

It's the kind you assembled one branch at a time...

I stick the bent end into the soil to keep them in place.


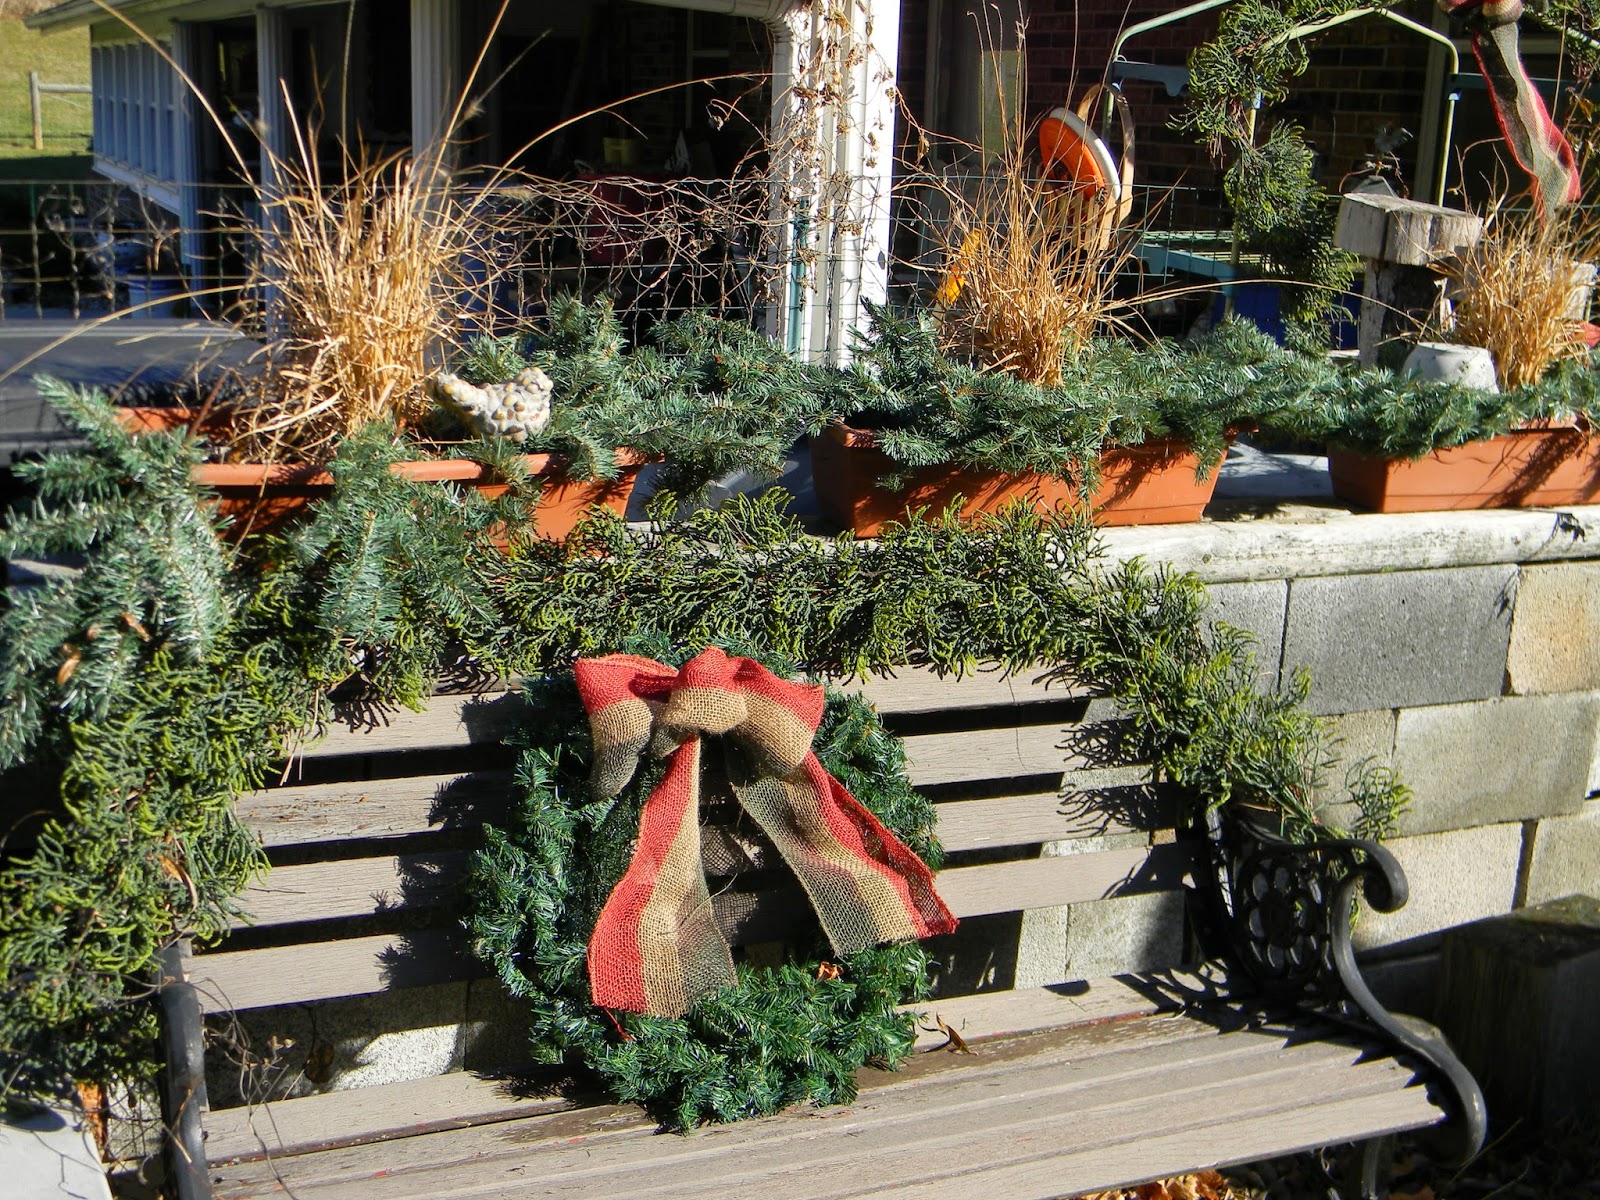
Hey!  Here is that burlap ribbon I dyed.

If you missed the tutorial, you can find it here.


The princess pine garland was actually from my in laws.

  They bought me a bunch at a yard sale.

It is artificial but you don't really notice unless you touch it.


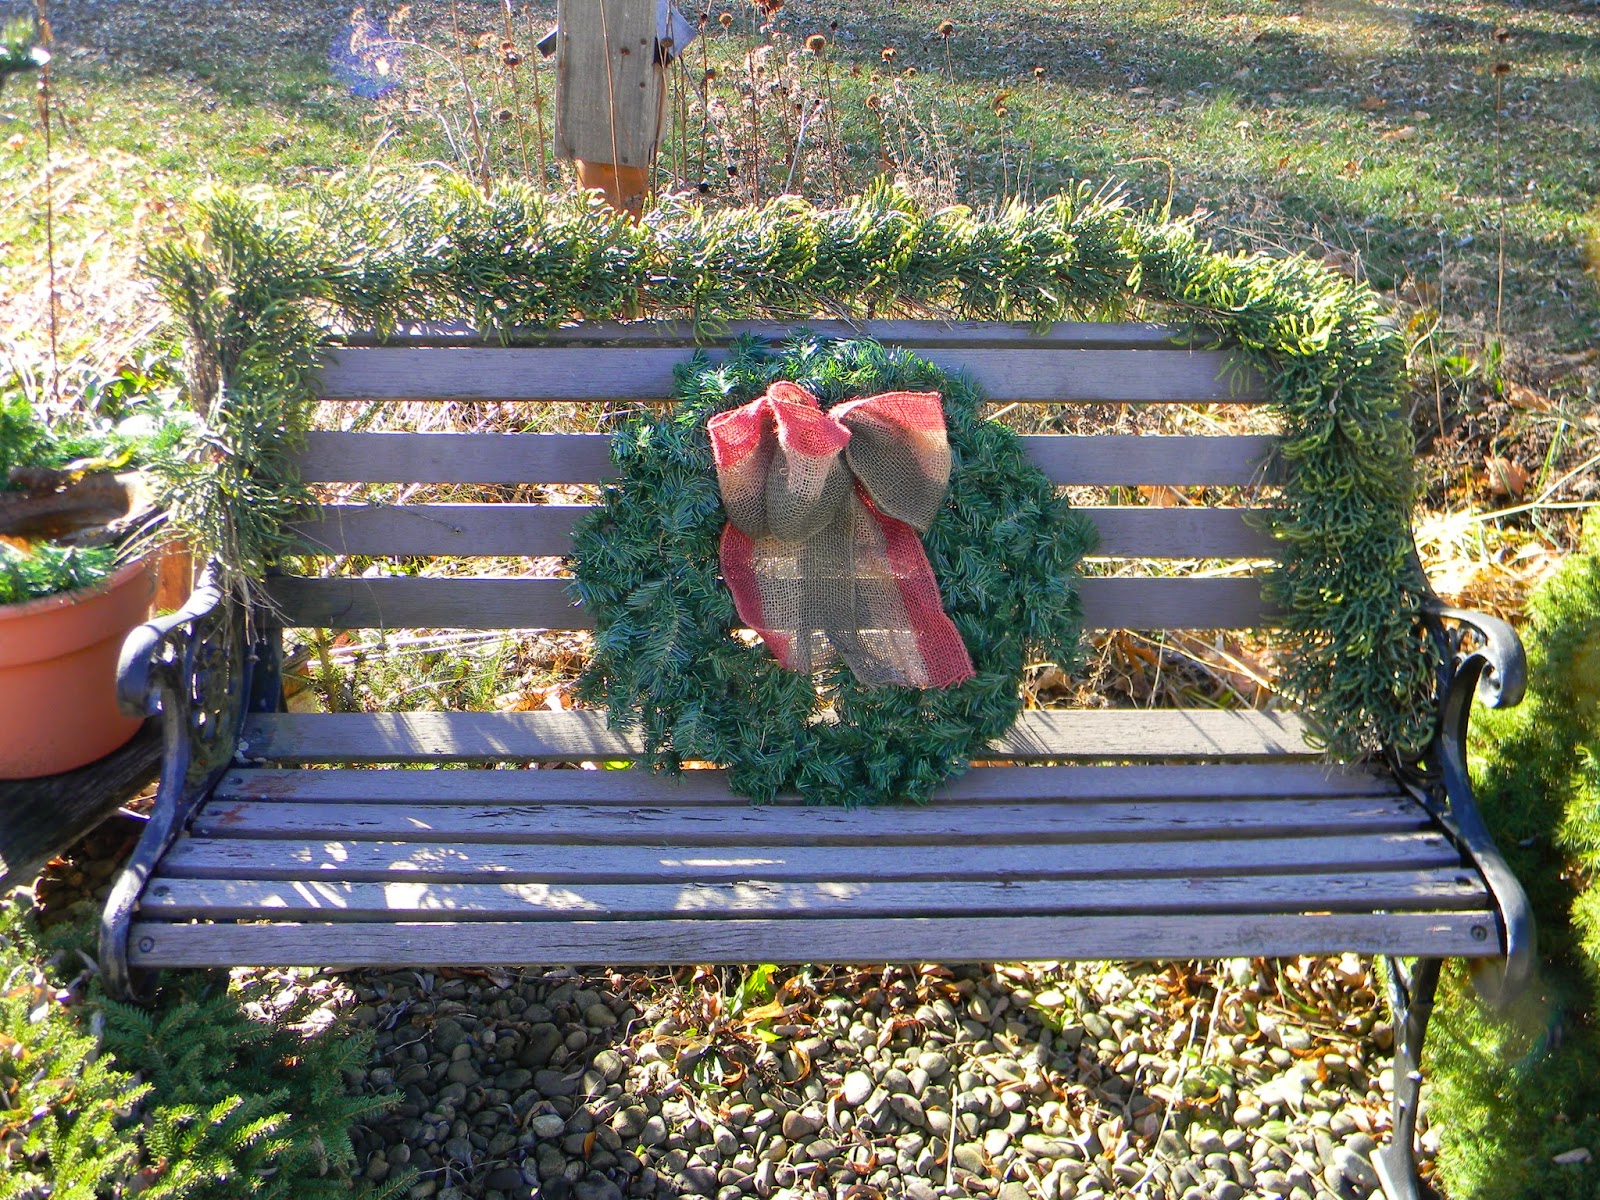
Both these benches were here at the house when we bought  it.

Though I seldom sit here, I do think there is something so welcoming about a bench....

Makes me want to sit....


Here is another goofy little touch around the candle bases.

It will look pretty when it snows...


A little bird feeder nestled in a pot with some greens...


For pots that stay out all winter I add some greens or a wreath.

I still need to add a wreath to that hook.


This little vignette is actually on our well cover.

That sweet little white cart also came from the neighbor's barn...

I know!

I have the best neighbors....


I nestled some greenery around the little thrift store pots of succulents.


I think this is actually a Christmas tree top from one of the yard sale Christmas trees.

You would never know....


Love these little pots.


Some years I just pile birdseed on the shelves in the winter....


I sort of worked backwards...

This is the display in the driveway.

That was a $3 tool bench from a yard sale...seating AND storage.

I painted it with OOPs paint from the home improvement store...

The milk can also came from that old barn several years back...


The sled was a $3 yard sale find a few years ago. 

It gets a holiday look with a thrift store swag and one of my burlap bows.


The slate came from one of my husband's coworkers. 

 I think he gave me 4 pieces...


Heading back the walkway...


This pot was here when we bought the house...

I nestle different goodies from time to time. 

My bamboo trellis is probably done.

I tied it together with twine for morning glories to climb in the summer.


These little guys are not quite done. 

 They need scarves and maybe a hat...

They will be little woodsman snowmen...


We are back to the door....

I hope you will stop back to see a peek at the inside.


Thanks for stopping by...

Linking up with these great blogs.