I have long been fascinated and inspired by fabric books.
I love the old and shabby look of creations by amazing artists such as Viola from Shabby Chic Inspired....
So with the fair coming up soon, I decided to finally tackle one of my own....
Here is the result.
I started with some quilt squares I got at a local surplus store.
They came 4 in a pack and were already assembled as a finished square with button holes around the edges so you could easily build a quilt.
This is the cover.
I bound my book with yarn and fibers.
I cut a variety of ribbons and fibers and used a crochet hook to pull them through the button holes.
Then I tied them loosely in a knot.
The cover already had the lace as part of the quilt square.
I attached the word "Dream" by basting each letter on.
I bought the letters at the thrift store a couple years ago.
I think they are the ones you use on signs.
I cut the little tabs off with scissors.
I added a twisted satin flower and a piece of fabric that I dyed from a discarded set of curtains from my brother.
I wove an old pearl necklace through the button holes around the edge and attached a charm I made from hardware, rhinestones, one of my polymer beads, a frozen Charlotte head, and resin.
When you open the book, you can see the first two pages....
The other end of the pearl necklace from the front got a vintage music resin bottle cap charm added.
The secret here for the aged look resin is to use car resin which is amber instead of clear.
The letters are made from polymer clay in a push mold.
I antiqued and sealed them.
This page also has a UTEE covered book page leaf, a polymer clay music charm, a cheesecloth twisted flower, and a resin cube encasing a vintage crocheted flower and lace.
I love this cheesecloth flower...
Behind the resin cube are two white feathers.
A little polymer flower accents the end of one feather.
The next two pages are butterfly inspired.
A seashell with another image from her transferred onto it.
I love this sweet little girl.
The little blue mirrors are button attachments I bought when I got the quilt squares.
This page has a library card sewn in as well as a butterfly poem from a children's poetry book.
The library card is a pocket so little treasures can be tucked inside.
This page also has butterflies and flowers galore.
I adore how inking the edge of a die cut really makes it pop.
Staz-on ink is my favorite...
Die cuts are accented with handmade polymer hearts and flowers or frosty acrylic accents.
The twine flower is made by making twine loops and the gluing them and adding a button on top.
The trick is to make it on a hot glue release mat.
Just pop it off when it is cool.
Here are the last two pages.
The left hand page has cheesecloth and burlap sewn on and then two of my tags were added.
Cheesecloth and crepe paper are two of my favorite materials.
This little handmade chalkboard tag is so sweet.
This last page was so much fun.
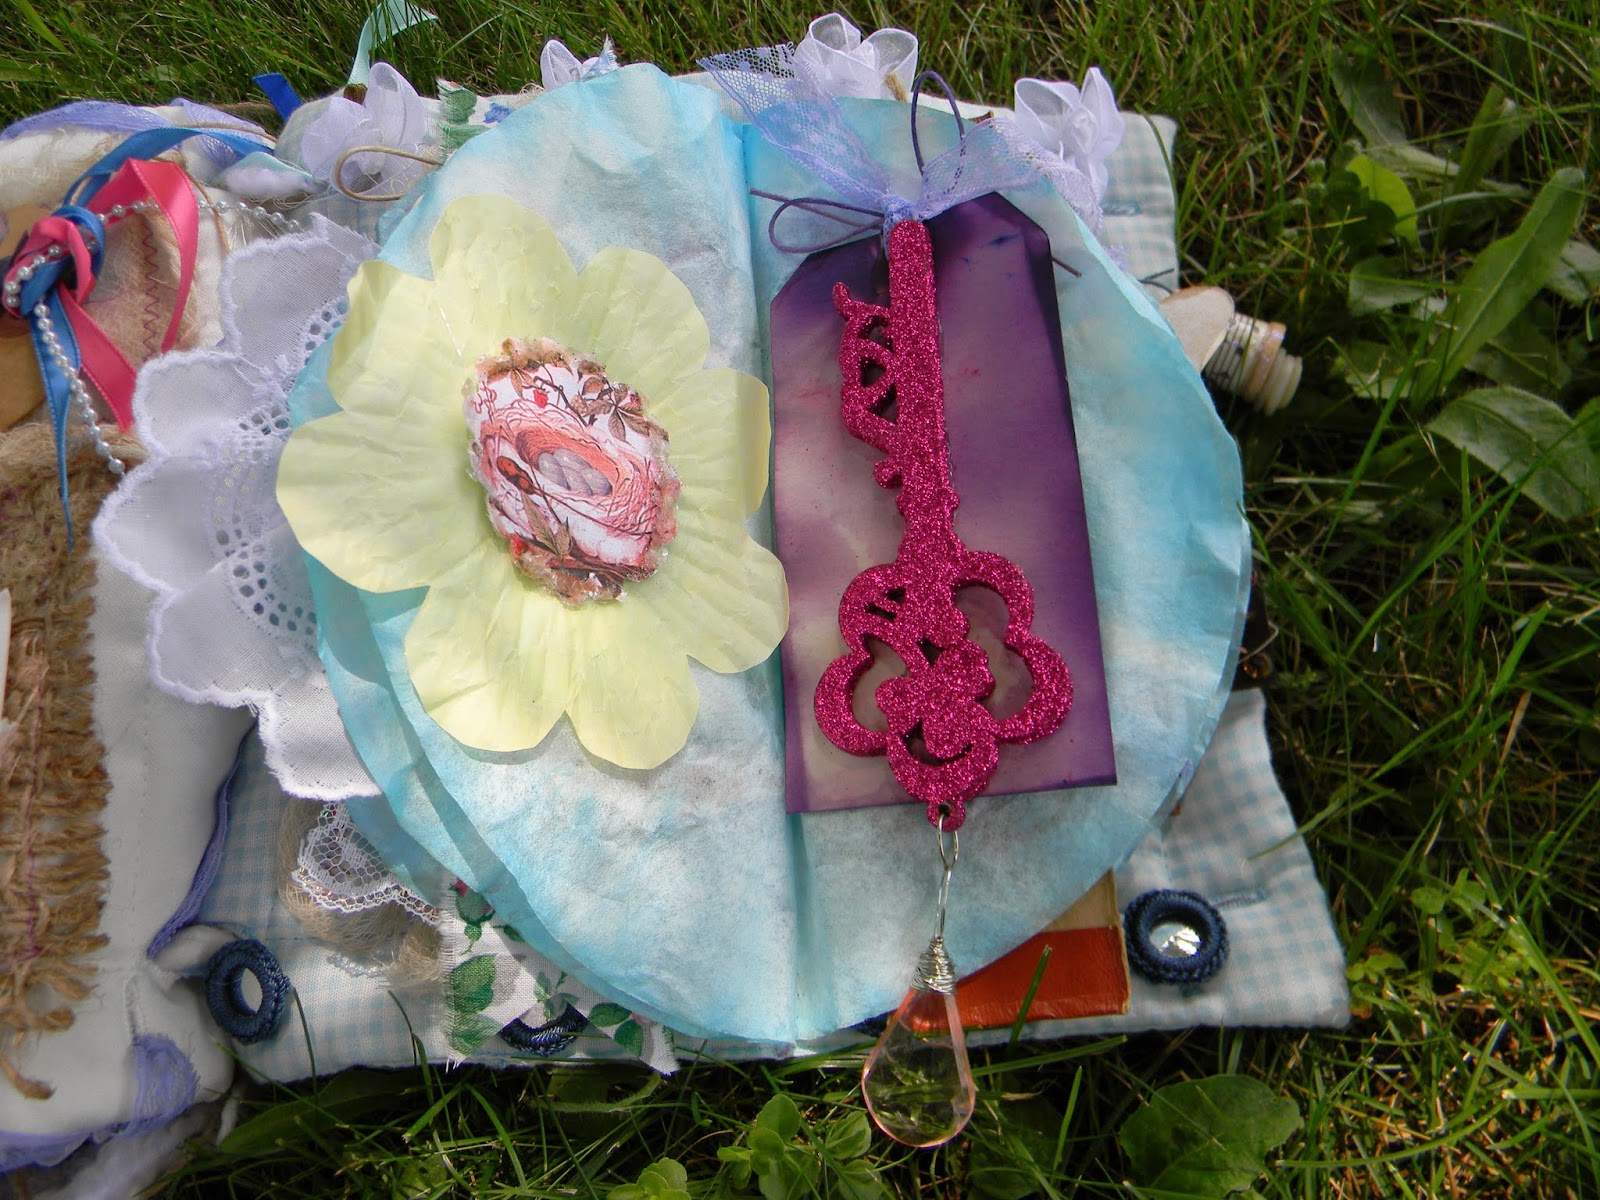
I sewed about 5 dyed coffee filters right down the middle of the page.
That creates about 10 more pages on this page...
What fun!
So Let's get started....
More butterflies and cheesecloth....
That vintage picture on the right cracks me up.
It's from an old postcard and says, "I am fully occupied!"
Next page....lace and polymer flowers and more crepe paper accents.
Alice in Wonderland and a little handmade vial...
Dress forms are an obsession of mine...
I like the three-dimensional accents....
Another sweet girl and a string flower....
Cupcake liners are such a sweet accent.
I got a couple of these glitter keys on clearance but had not decided what to do with them...
Every book needs a key, right?
So much texture and fun in these pages.
A book spine with dyed butterfly wings peeking out.
This darling girl is actually on a flattened toilet paper tube.
I wanted to create a pocket for a tag.
Last two pages.
I still feel like anything is possible if you BELIEVE and WORD HARD!
A sweet little glittered spool.
On the back of the book is a coffee filter flower.
Doesn't everyone need a fabric book?
I have to say, I LOVED this project.
It took me a couple hours to assemble all the bits and pieces.
Almost every single piece (except the glitter key) was made or altered by me.
Many things were already made and then just added.
Those jars I showed you before, hold lots of goodies...handmade and collected.
If there is anything you saw you want to see a tutorial on later, just let me know...either in the comments below or shoot me an email.
Thanks for stopping by....
I will be linking up with these amazing blogs.