Saturday, February 14, 2015

Redware Polymer Clay Jewelry

Sculpey has a terra cotta clay that they sell in bigger boxes.

I actually buy the large 8 pound box to work with.

It has a different look than traditional polymer clay.

You can change it even more depending on how you finish it.

I want to share a few of them here.


This necklace actually incorporates beads with a variety of finishes and looks.


These heart links are so easy  to make and I love the look.


The spiral focal has an unusual look.

It was accidental.

There were salt crystals still on the piece after dying and it reacted with the crackle step.

I probably would not intentionally replicate it but I know how to if I want to.


If you have been following my blog for a while, you know I have used beads to make this style bracelet a few times before.

To me, they are simplicity balanced perfectly with style.


Each bead is even more beautiful close up.


Some pieces do not string as easily.

This necklace uses wire links to join the components.  

It is rustic and artistic.


The sharks tooth is an homage to my daughter.


The shark tooth pieces were made from molding a real shark tooth.


The terra cotta clay takes word stamping so beautifully.


The Time to Love piece had mixed finishes as well.


Do you have a favorite?

Mine changes from time to time.

It depends on my mood.

I generally love the dark, almost black, pieces.


I tend to hoard my scavenged time pieces.

When I make my own, I can use them as often as I like.


The last bracelet I am going to show you has components that were just sealed and not antiqued or aged.


One box of clay with numerous looks.


Does it make you want to go get some?

Thanks for stopping by...

                             Linking up with these blogs.

Embedded Polymer Beads

One of the things that brings joy to my heart throughout the entire creative process is making polymer clay jewelry.

And yet, for  some reason, I seldom share the process or the pieces here.  

I decided to change that.

Here is a bracelet made with some of my embedded beads.


For the most part, the additives are rolled right into the beads.

You can see the one with the red microbeads also had them added to the surface as well.


I love stringing these on elastic cord.

The bracelet is so easy to get on and off.

The rhinestone rondelles add the unexpected touch of bling to the primitive piece.


This piece is very eclectic.

It has a mix of colors and additives.


I hope it catches your eye.

For me, it makes my heart sing.

Thanks for stopping by...


Friday, February 13, 2015

Fast and Easy Gratitude Cards

A couple of years ago, I found these great word rubber stamps in the Dollar Bins at Michael's.

They are my most-used stampers.

Today I used them to make two quick cards.

  I always use StazOn ink.

I stamp each word on a little piece of card stock.

Then I glue each one on a slightly larger piece of cardstock to mat it.


Then I just use pop dots to add them to the card.

A couple rhinestones finish them off.


You can add whatever sentiments you like.

I made a whole pile of these in an hour.

Thanks for stopping by....

Wednesday, February 11, 2015

Simple Sweet Valentine Gift Bags


I made some valentine bags for my daughter's friends.

They are a wholesome, outdoorsy bunch so I wanted the bags to be simple and natural.

I am pleased with the results...

I wanted them each to be unique but I stuck to just a few punches and materials.


Changing the paper colors or adding a paper doily changes the look just enough...


A feather from the chickens is a great natural touch.


My nephew had this tree punch and I have been in love with it forever. 

When he moved, he gave it to me...

Thank you!


I love the heart arrow.

It starts with a twig and two punched hearts.

I punched the holes in the bag and slid the stick in place before splitting a real feather and gluing on the fletchings.


I love how it turned out.


This one is just a heart on a stick...


This one was a variation on the arrow but with a heart for fletchings this time.


The paper fletchings were easier to glue than the real feather.


I love the double twigs as a bag closure.


Even the back of this one is cool where the twigs cross.


Here is a heart rose...


A couple more of those tree punches....


These subtle shades are my favorite....


Last, but not least, there are the owls...


Each is slightly different.


The first one is this little guy where his beak is actually formed by trimming the bag.

I think he's my favorite.


I hope everyone likes their little treats...


Thanks for stopping by....


Tuesday, February 10, 2015

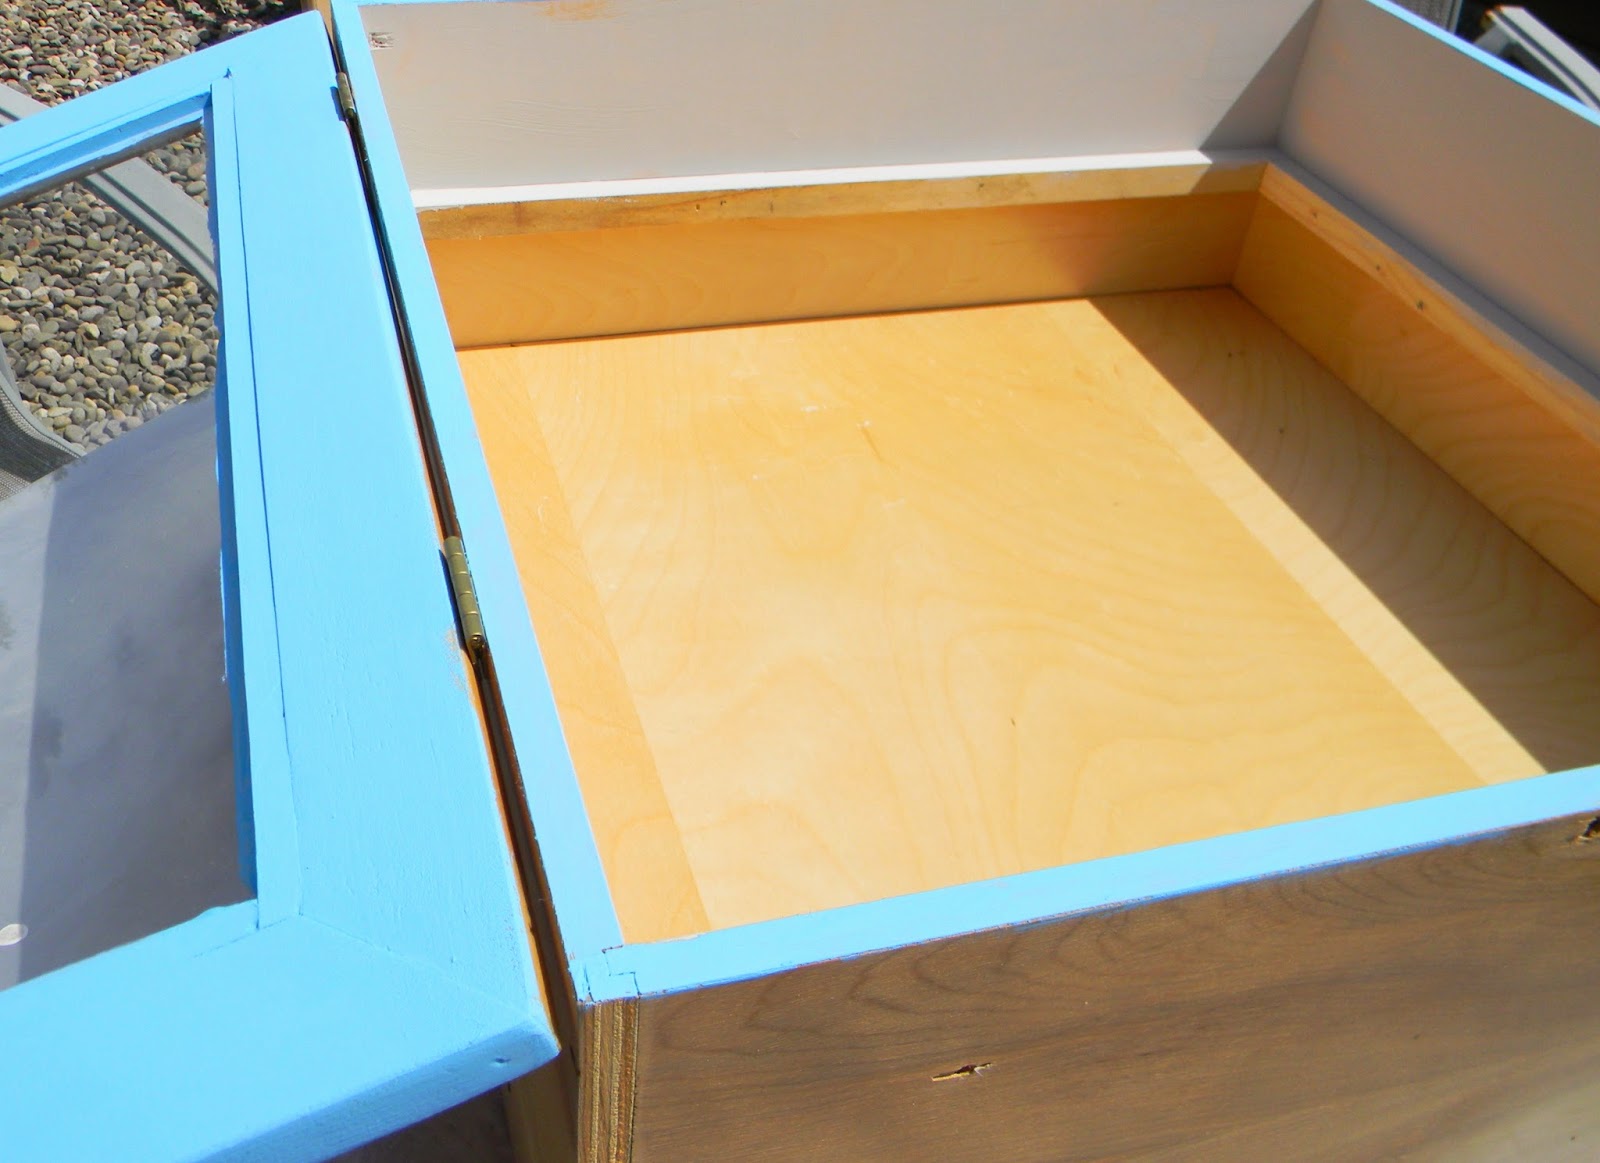
Jewelry Case Makeovers With DecoArt Chalky Finish Paints....


A couple years ago a friend from work gave me three jewelry cases.

They were well made but very large.

I was not sure what to do with them so they stayed in the upstairs of my shed.

This summer a saw a shadow box done in a tan and coastal blue that I loved.

It was just the colors I had at home from the DecoArt Chalky Finish line of paints.


So this summer, on a hot, hot day I ventured into the upstairs of the shed and carried these down.


I wiped off the dust and grime from the shed.


Let the fun begin...

I do love the silky consistency of these paints.


It took a couple coats to color them the way I wanted.


These originally had display boards covered with black velvet.


I removed the velvet and recovered the boards with burlap from coffee sacks my daughter brought home.


I painted everything with two coats of paint.


It took two afternoons since I had to do the outside of the boxes one day and the insides the next.


Once painted, I used a razor to scrape the window edges.

I also sanded the edges to scuff them up a bit.


I used these at my fall show.

They made a pretty place to display my polymer clay and primitive finished jewelry.


I like the burlap much better than the velvet.


I used vintage folding tape measures to prop the lids open.


I have not used them for every show because they do take up a good bit of space but I do love the transformation...

Thanks for stopping by...

Monday, February 9, 2015

Guest Contributor At Plucky's Second Thought

Check out my Peas in a Pod necklace over at Plucky's Second Thought.


You can find a quick tutorial.

It would make a fast and fun gift for someone for Valentine's Day.

Tell Jess I sent you.

Thanks for stopping by....

Sunday, February 8, 2015

Grubby Snowman Ornaments


Are you keeping up with the ornament ideas I am sharing each month?

Not to worry...

I will do a great round up post before Christmas in case you have missed any.

Today is a sweet Grubby  Country Snowman.


Believe it or not, this little guy starts with a couple white pom poms.

Use a glue gun to glue three together in a snowman shape.

Paint a toothpick orange.

Snip off the end and glue it in the top pom pom for a nose.

Add two black beads for eyes with the glue gun as well.

Mix some white school glue, water, strong coffee and ground cinnamon.

Put on a pair of latex or vinyl gloves to protect your hands.


Roll the snowman around in the glue mixture and sqeeze it into the pom poms.

Squeeze to remove excess glue.  

Lay on a plastic tray to dry.  

I usually wait overnight and then turn them and let the last side dry completely.


Tie a little strip on for a scarf and glue a button on as well.

For the string hanger, I use crochet thread and a needle to pass the string through the snowman's head.

I cut the string and tie a knot.

I also make a variation with one large pom pom.


It makes a cute snowman head ornament.

The nose is made from orange Sculpey clay this time and the eyes are bigger half round eyes.


I add a little garland around some for a halo.


I use the same method to add the string to hang it.


I usually make a whole pack of pom poms at a time.

I just change the details for each one.

Thanks for stopping by...