Showing posts with label outdoor decor. Show all posts

Sunday, September 21, 2014

A Rolling Cart Makeover


My neighbor periodically rolls into the driveway with goodies in the back of the truck. 

 This summer he pulled in with this ratty metal cart in the back which I quickly took.


It was covered in contact paper which someone has spray painted green.

I picked my paint colors and did not want to ruin the look of the finished piece with contact paper lines.

So I began trying to peel the paper off.

Not going well...

I spent about 30 minutes and only got off about  6 x 8 inches of contact paper.

I was even using a razor blade to get under it.

Now here is a killer tip for removing old contact paper.

Leave it in the direct sun for 30-45 minutes.

Now start to peel it.

After warming in the sun, I was able to remove all the rest of the contact paper in about 15 minutes.

Once warm, it easily peeled off in big sheets.

Those green strips were the metal, not contact paper.

So first I painted the posts in the corners.

I used Krylon Color Master  Paint + Primer in Almond.

I did 2 coats.


Then I used newspaper and painter's tape to tape off the posts and wheels.

You can see my daughter's tin ceiling tile from its makeover
in the background.

We both painted the same day.


Then I sprayed the shelves with several light coats of Krylon Color Master Paint + Primer in Island Splash.


I love that color!


I especially like that the paint and primer are all in one.

  I like a quick project.


Then I pulled off the newspaper and painters tape...


As much as I love the colors, I feel like it is not quite where it should be yet...


Break out the DecoArt stencils.

Their new line is my favorite...


A little bit of painters tape and some chalky finish paint in Primitive...

Here is my confession...

I am stencil challenged...

I think I load too much paint on the brush or swirl it too much or something.

So I am feeling some apprehension at this point...


I can't really tell with the stencil on still...

Deep breath...

Here goes...


Hey!

Not bad!

I love this stencil!


There is some texture where the cart was a little rusty.

You can see it under the paint but I am still pleased.

It looks so much better.

I wanted to make it so the bottom can be hidden storage.

I took a burlap coffee sack my daughter brought me and cut it to fit on the cart.

This was a No-Sew project.


See  how I just cut the bag and then used clothespins to clip it together....


I love the makeover.


A quick couple of coats of Krylon Clear in Satin to protect the stenciling.


Now it is all ready for whatever I want to use it for.

See it on the back porch here...


I think it is going to move around quite a bit...

Thanks for stopping by....

Friday, September 19, 2014

Back Porch Oasis for under $10


I did a quick and easy makeover on our back porch this summer.  

I will be honest...

I did not take a before photo.

There was LOTS of stuff on the porch.

You can use your imagination here.

I spent a day cleaning the porch off...

Putting stuff away...

Wiping things,

Vacuuming...

(We have carpet on the porch.

Not my choice.)

Once I was done, I wanted to make it a little oasis like the ones you see on Pinterest.

I do not have a Pinterest Designer budget.

So....

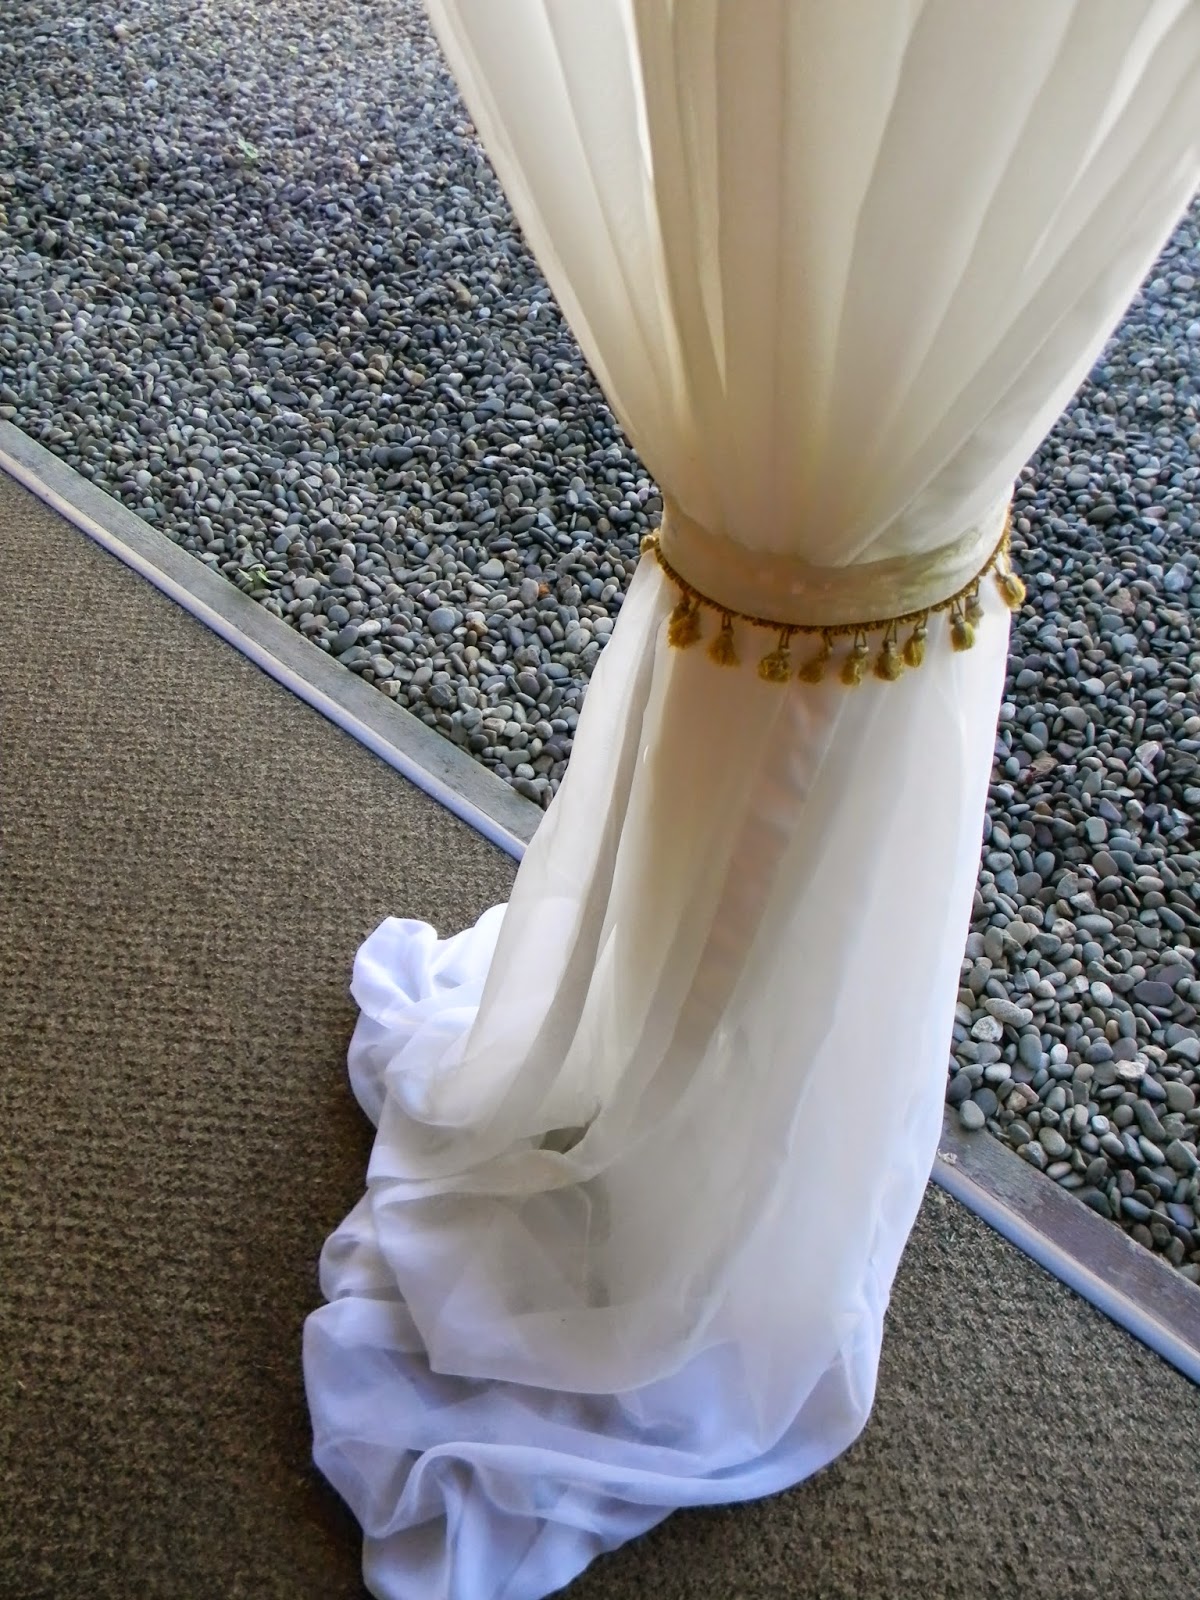
I bought 4 panels of sheer drapes from the thrift store for $2 each.

Curtains never go in bags  for "Bag Days" so I have to pay the full price.

You might get luckier at your thrift store...

I had a whole pile of those little drapery hooks my brother gave me with his old curtains.

I found 2 ways to hang them on my porch that did not cost me anything.

I already have a clothesline on my porch along the edge.

So I can hook them right on there like this.


Or I can hook them in the channel under the soffit on the porch with the hooks.

Here are the hooks.


This method has the top of the curtain right against the roof of the porch.


So, I took my husbands suggestion and hooked ours on the clothesline.

That way I can slide them to open or close them easier.

The sheers I bought have weighted bottoms which I like quite a bit.


I used a couple of tie backs from the curtains my brother gave me.

They were free and the size worked around the columns on the porch.


I moved a wicker chair from the sun porch out here to make a nice little reading spot.


I love how those curains make my back porch feel like a trip to an exotic island.

I know...

I have a great imagination...


I highly recommend adding curtains to your outdoor space.


My husband even let me keep them up.

I have to re-fluff them every so often if it is windy.

The tie backs sometimes slide down...

But I love them...


Thanks for stopping by....

Friday, July 25, 2014

Finished Mosaics and tips and tricks for Mosaic-ing

This post will give you some of our best tips and tricks for mosaic-ing....


If you missed them, we showed you our mosaic-ing journey here and here.

We purchased some per-mixed grout and some sanded grout that needed to be mixed.

My daughter wanted to start right away so she opened the premixed grout to use on her coasters.

This did not go well.

She was very grumpy.

It was extremely sticky and difficult to spread evenly.

She used the word "HATE" a lot.

She grouted just a couple coasters.


The excess did not wipe off either.

To tile your bathroom, I am sure it is a great grout.

For what we wanted to do, it was just not working.

In the meantime, I was mixing the sanded grout.

I had to guess water amounts since I was not using the whole bag.


The grout I had calls for it to be mixed, then set for 10 minutes and be mixed again before using.


Pretty easy to do.

The spoon and spatula were purchased at the Salvation Army specifically for crafting.

We learned this is best done out in the grass.

My daughter added the seat cushion to the work station.

It was a great idea, although our dog tried to take it from her when she got up for a minute.


I really liked mixing my own grout so I could make it thicker or thinner depending on what was needed.

Here's the charger.


And the satellite dish.


The bottles were fun.

I prefer to just wear gloves and scoop and spread the grout with my hands.

Grown up mud pies.

Maybe that was why I did enjoy it so much.


Now, a couple tricks.....

Our grout recommended letting it sit for 30 minutes and then wiping it.

I did not do this with one batch.

It got very hard overnight and required using a brillo pad to scrub away the grout over the tiles and pebbles.


My daughter also did this with a batch of coasters but she is much more meticulous than I am so hers were already pretty clean and were not too bad to wipe.


I also preferred to wipe each item 2-3 times to remove the grit.  

I let them dry completely between wiping sessions.

I sprayed my finished pieces with Krylon Clear coat for some protection from the elements.


I gave each piece 2-3 coats of sealer. 

 Now here are the finished pieces...

The Bottles turned out great!


You can see I added letters to the empty strips.


The little tabs on the letters helped them to stick in the grout.


This bottle is my favorite.


It was the only one I did with an actual pattern.


These will make great garden accents....


My daughter's coasters turned out as well.

We did learn that all items need to be the same height or the glass won't sit evenly.


I love the pebbles....


Water anyone?


These are just too clever.

They will make great gifts for her techie friends....


These actually turned out to be some of my daughter's favorites when they were finished.


  The shells are another of my favorites.


They are all ready for drinks on the porch.


Here is the funny little bird that puzzled my husband. 

 He looks better now.


I am pleased with how the eggs turned out...

They will be fun to nestle in the garden... 

A hidden surprise.


The little gazing ball my friend gave me turned out...


And the idea that started the madness is actually one of my least favorite pieces.  

Go figure.


Excuse the crooked stump.

I did not want to run around looking for a shim.


Another tip that worked for us was to put the tile adhesive in a sandwich ziploc bag.


We just snipped the end.

Just a little bit.

This was actually too much.


Then squeeze the mastic out onto the piece being covered or the item being added.

My husband's suggestion...

We did learn something about what sponges to use as well.


The one on the left did not work well for us.

The cellulose sponge (green) worked well to wipe wet grout.

The fine orange one worked perfectly for the final wipes.  

I highly recommend having brillo pads on hand as well.

I would encourage you to give it a go.

It was very fun and addictive.

Thanks for stopping by....

We are linking up with these great blogs.