This post will give you some of our best tips and tricks for mosaic-ing....
If you missed them, we showed you our mosaic-ing journey here and here.
If you missed them, we showed you our mosaic-ing journey here and here.
We purchased some per-mixed grout and some sanded grout that needed to be mixed.
My daughter wanted to start right away so she opened the premixed grout to use on her coasters.
This did not go well.
She was very grumpy.
It was extremely sticky and difficult to spread evenly.
She used the word "HATE" a lot.
She grouted just a couple coasters.

The excess did not wipe off either.
To tile your bathroom, I am sure it is a great grout.
For what we wanted to do, it was just not working.
In the meantime, I was mixing the sanded grout.
I had to guess water amounts since I was not using the whole bag.

The grout I had calls for it to be mixed, then set for 10 minutes and be mixed again before using.

Pretty easy to do.
The spoon and spatula were purchased at the Salvation Army specifically for crafting.
We learned this is best done out in the grass.
My daughter added the seat cushion to the work station.
It was a great idea, although our dog tried to take it from her when she got up for a minute.

I really liked mixing my own grout so I could make it thicker or thinner depending on what was needed.
Here's the charger.

And the satellite dish.

The bottles were fun.
I prefer to just wear gloves and scoop and spread the grout with my hands.
Grown up mud pies.
Maybe that was why I did enjoy it so much.

Now, a couple tricks.....
Our grout recommended letting it sit for 30 minutes and then wiping it.
I did not do this with one batch.
It got very hard overnight and required using a brillo pad to scrub away the grout over the tiles and pebbles.

My daughter also did this with a batch of coasters but she is much more meticulous than I am so hers were already pretty clean and were not too bad to wipe.


I also preferred to wipe each item 2-3 times to remove the grit.
I let them dry completely between wiping sessions.
I sprayed my finished pieces with Krylon Clear coat for some protection from the elements.


I gave each piece 2-3 coats of sealer.
Now here are the finished pieces...
The Bottles turned out great!

You can see I added letters to the empty strips.

The little tabs on the letters helped them to stick in the grout.

This bottle is my favorite.

It was the only one I did with an actual pattern.


These will make great garden accents....

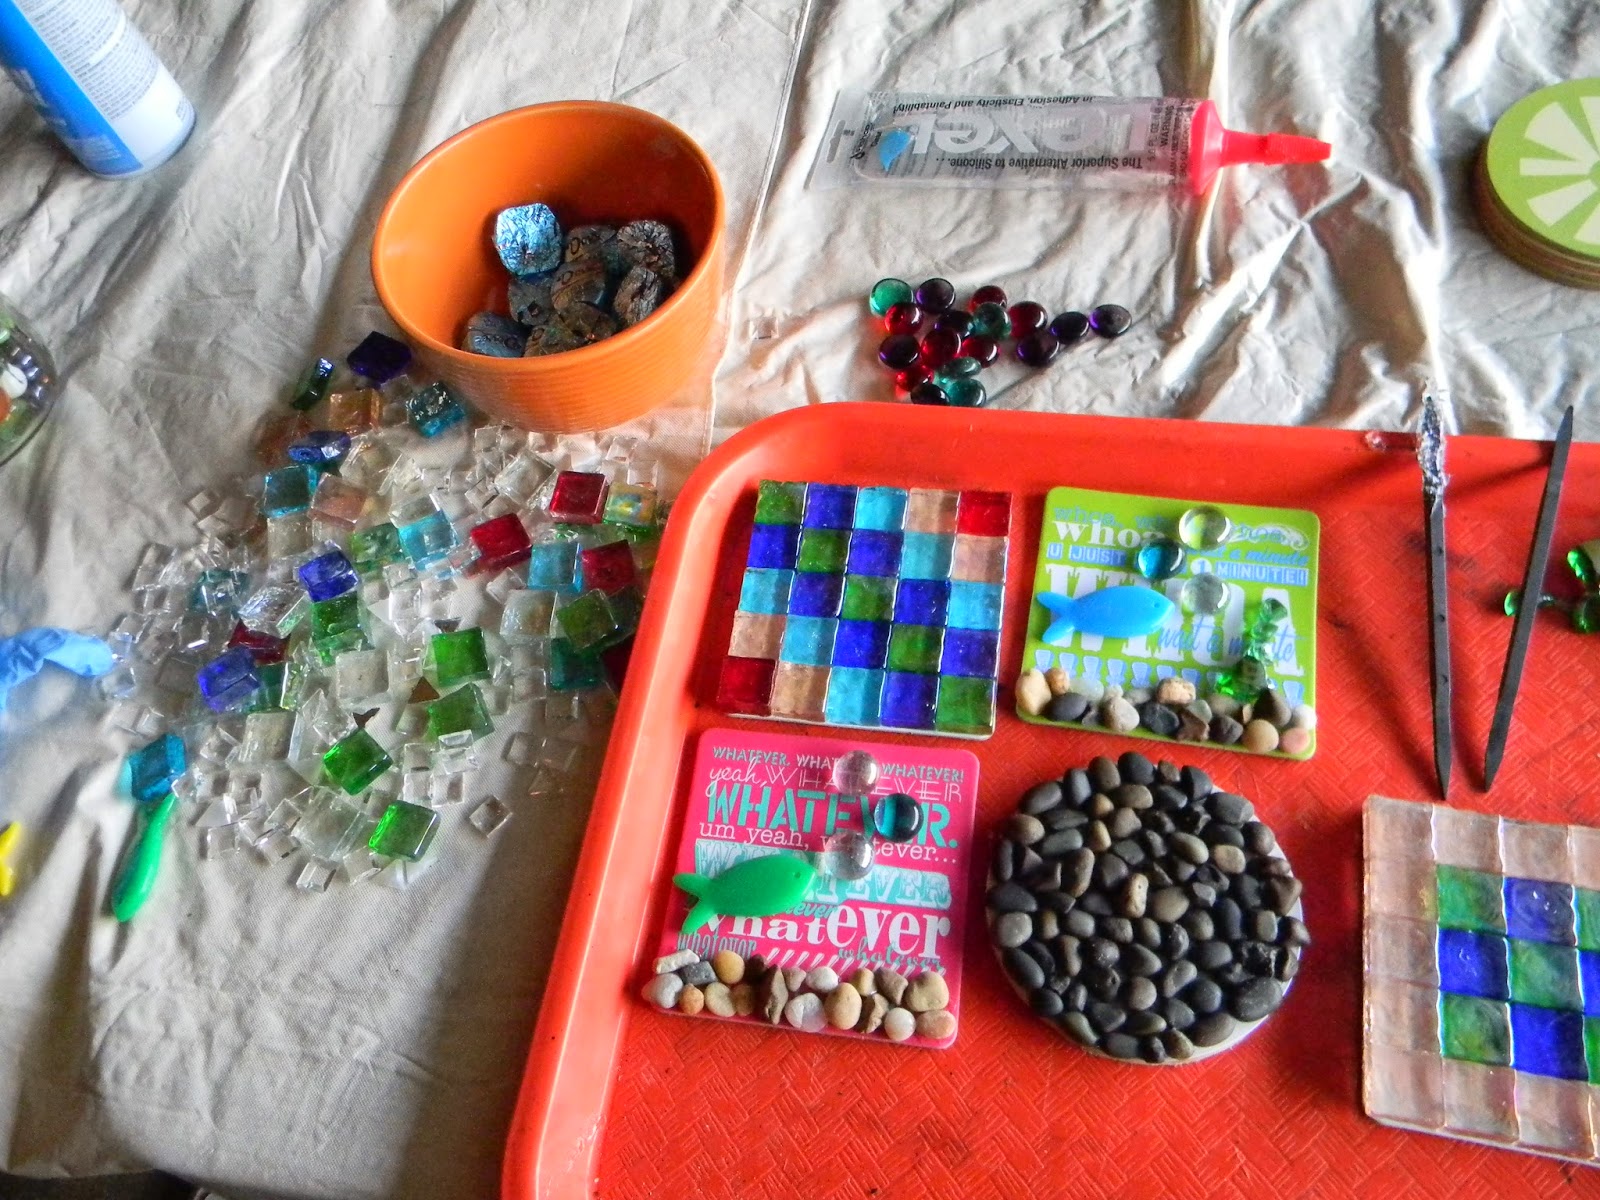
My daughter's coasters turned out as well.
We did learn that all items need to be the same height or the glass won't sit evenly.


I love the pebbles....

Water anyone?


These are just too clever.
They will make great gifts for her techie friends....

These actually turned out to be some of my daughter's favorites when they were finished.


The shells are another of my favorites.

They are all ready for drinks on the porch.

Here is the funny little bird that puzzled my husband.
He looks better now.

I am pleased with how the eggs turned out...
They will be fun to nestle in the garden...
A hidden surprise.


The little gazing ball my friend gave me turned out...

And the idea that started the madness is actually one of my least favorite pieces.
Go figure.

Excuse the crooked stump.
I did not want to run around looking for a shim.


Another tip that worked for us was to put the tile adhesive in a sandwich ziploc bag.


We just snipped the end.
Just a little bit.
This was actually too much.

Then squeeze the mastic out onto the piece being covered or the item being added.
My husband's suggestion...
We did learn something about what sponges to use as well.

The one on the left did not work well for us.
The cellulose sponge (green) worked well to wipe wet grout.
The fine orange one worked perfectly for the final wipes.
I highly recommend having brillo pads on hand as well.
I would encourage you to give it a go.
It was very fun and addictive.
Thanks for stopping by....
We are linking up with these great blogs.