Showing posts with label seashells. Show all posts

Saturday, July 2, 2016

Bracelet stacks

Sorry I have been MIA lately.

Sometimes life throws you some curve balls.

But I am back now.

How about some pretty bracelet stacks to celebrate?

I love this set for summer...


And this one is actually a single piece that looks like a bracelet stack.  

I wear this one all the time.

I made it just for me.

I never do that...


So what have you been up to?

Hope it has brought you joy and relaxation...

Thanks for stopping by....

Thursday, May 5, 2016

Collections in the Greenhouse

Hello there!

I recently shared the cleaning of the greenhouse.

I would like to say "annual" but it doesn't always work that way.

Anyway, I am loving that the space is clean now.

I wanted to share a few close-ups of some of the collections of things that live in my greenhouse.

My daughter would question why some of them would be in a greenhouse...

But since it is my space, I can put whatever makes my heart sing in there....

Under the potting bench my husband built for me many years ago, most of my clay pots are now hanging out together.

I don't think I need any more pots for quite a while...


For now, my two chicken wire dress forms are here.

Once the flower beds are clean, I will take them out and let them dance in the sunshine among the flowers.


I love vintage bottles.

Some I buy.

Some I find.

Some are given to me.

I have them scattered all over.

Here are a few in the green house.


I love these little decorative birdhouses.

I don't remember where I got them.

I bought a whole pile of them and they still make me smile.

They are tucked throughout the greenhouse.


More bottles and another birdhouse.....


A couple metal watering cans...

Every greenhouse needs watering cans.


My husband built this little bird feeder many moons ago.

I painted the tiny daisy slate...

And look!

Another little bird house!


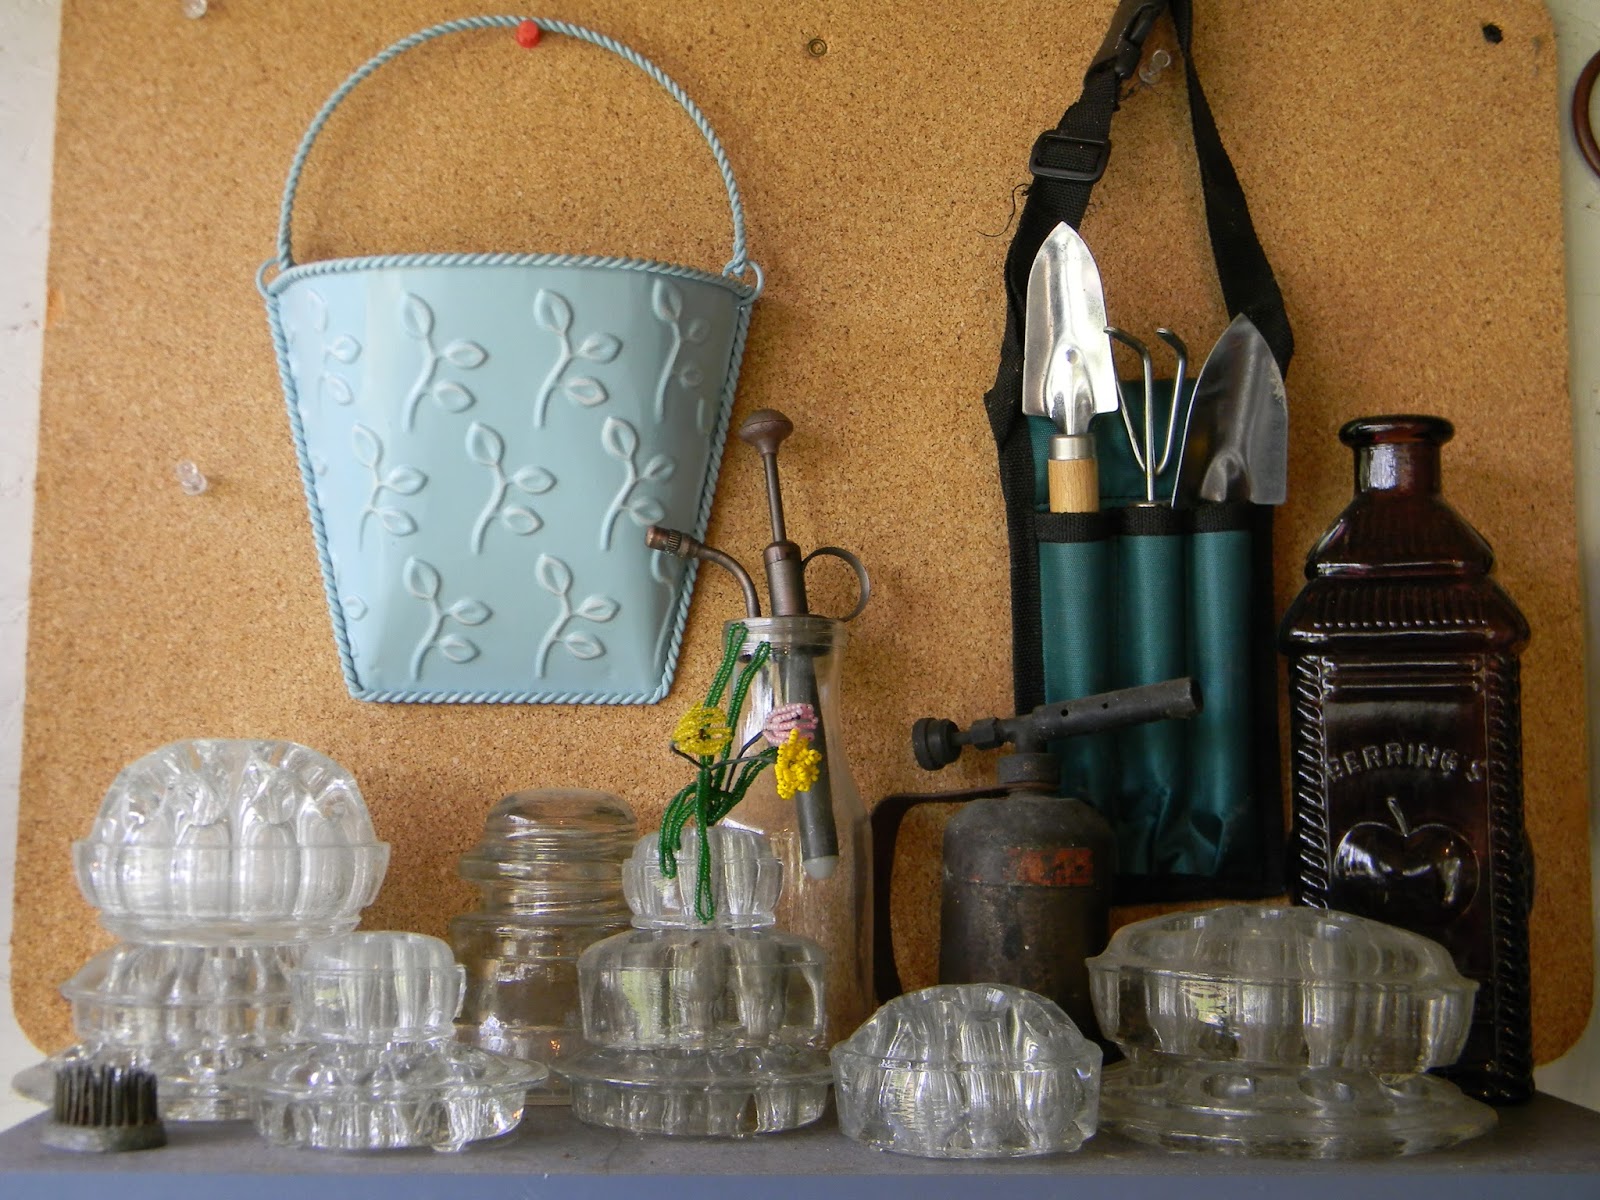
Most of these flower frogs came from the thrift store...

I bought a whole shoe box full for $3, I think.

I add new ones as I find them....


Glass insulators, seeds and plant markers...


More vintage bottles...


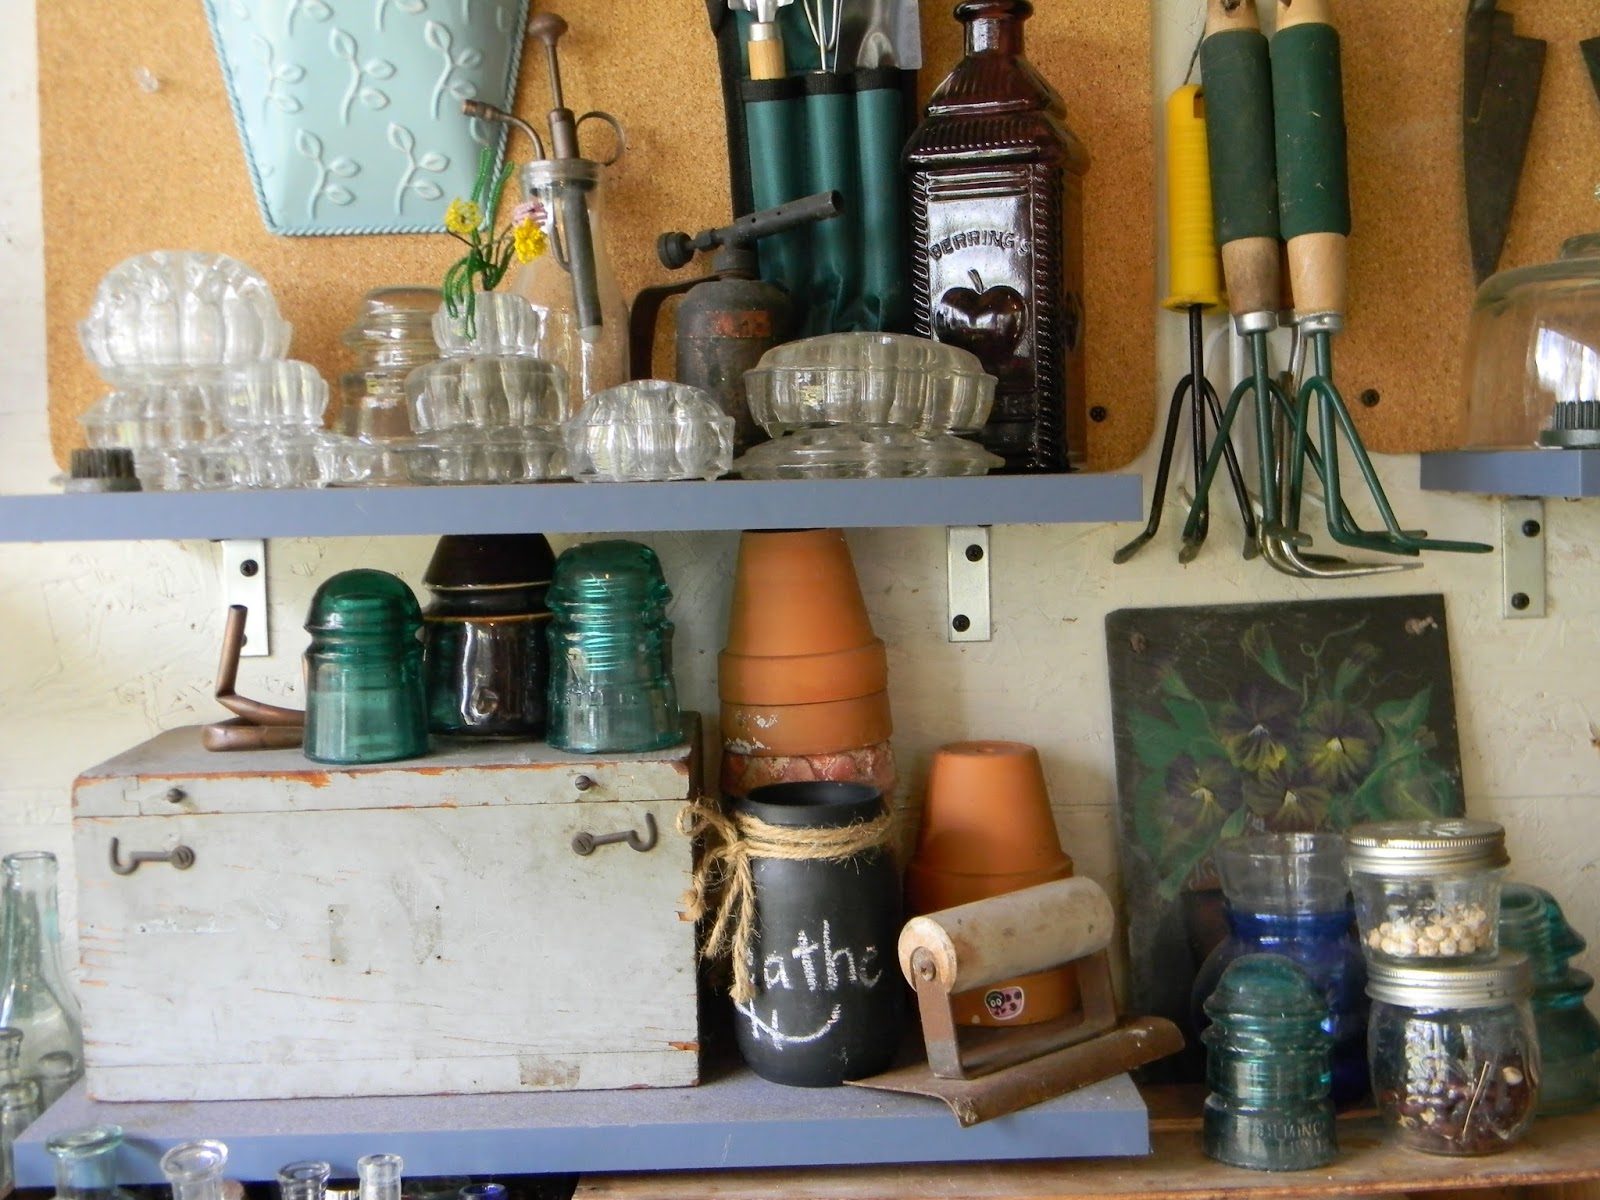
A step back to see the shelves above and below...


That little wooden box was found at a yard sale.

  It is still one of my favorite things.....

  Not sure why... 

 The color? 

 Those sweet little hooks?

I painted the pansy slate too.


More flower frogs and a few glass goodies I use as plant cloches...

A cheese cover and a few lamp light pieces.


A few seashell collections live in the greenhouse too.

While my daughter would question why they are there, it makes perfect sense to me.

Sometimes I add the shells in the garden.


I either tuck them in under the plants or line a bird bath with them.


My nephew is also a collector and he gave me some of his seashells.

They are among my treasures.


So there is a closer peek at some of the treasures in the green house for now.

Thanks for stopping by...

Monday, April 25, 2016

Mermaid Crown

I am fascinated with crowns.

Which is sort of funny because I do not consider myself a diva kind of girl.

I guess every girl has a secret princess inside.

So I wanted to take a hand at making my own mermaid crown.

Here she is....


Talk about fun....


You know when you get to use seashells, pearls and glitter that it is going to be a great time....


The tulle added just the touch I was looking for...


And I am in love with the graphic appeal of a starfish...


I am drawn to any piece that has starfish incorporated...


I love the additions of the little bits of tulle here and there....


I need a pretty mermaid model to wear it...


I used the finest glitter....

Love the tiny shimmer of it...


This was a great use for all the seashells I am always buying at yard sales and the thrift stores...


Truth be told, I have many jars filled with tiny (and not-so-tiny) seashells.


So I have my own little piece of magic now...


It is a bit heavy to actually wear, but it brings me joy none-the-less.


How do you celebrate your inner princess?

.
Thanks for stopping by....

Saturday, September 19, 2015

Shotgun Shell Vials....Inspired By Lynne Simon Suprock


I was looking through my pictures to see if there was anything I had missed sharing with you.

I realized I did not share these.

I gave you a taste of them when I shared the post for over dying silk strips.

Today I wanted to show you all of them.


Lynne Simon Suprock is an amazing artist.

You can find her blog here: Simply Pretty Stuff.


Her original pieces first appeared in an issue of Belle Armoire Jewelry.

I made my own after I tracked down the right size tubing.


Because my shotgun shells were not brass, the etching did not work the way I wanted.


I do like the patina I got on mine.


I love filling each little reliquary.

That is half the fun.


I also like determining what the rest of the necklace will be like....


Old hardware, crystals, silk strips, polymer beads, patinaed chain....

It is all good.


I gave a makeover to cheap mall jewelry chains with mad scientist patinas.

Because I do them myself, each has a whole different look.


I even stamped some of the vials with StazOn black ink.


Uh-oh!

Sometimes when I revisit something I made, it gives me an itch to make some more.


I am definitely feeling itchy...


Hope you have been working on something that inspires you too.


                       Thanks for stopping by...

                 Linking up with these great blogs.

Sunday, August 30, 2015

Plaster dipped silk flowers...


Have you seen plaster dipped silk flowers?

I saw them last fall and was enchanted. 

 I wanted to try it for myself.

Sometimes, the crafting gods deliver what I need right to my doorstep (almost).

Last winter, a small silk flower arrangement blew into our yard on a windy day.

There were red, white and blue silk roses stuck in a piece of styrofoam.  

The flowers were all faded and my husband was going to throw it away.

I saved it just for this project.


I mixed plaster with some water to make a little thinnner than pancake batter consistency.

Then I dipped each rose into the mixture and pushed it down several times to coat all the petals.

I hung them on this card display.

The newspapers below are very important.


The red and blue roses required more than one dipping to cover the flower as much as I wanted it to.


These were the white roses and I only dipped them once.  I liked the finer, more delicate look only one coating created.


They have the look of porcelain.


The blue and red ones were dipped twice and have a chunkier look to them.

You can also see where they were touching the hook below on my rack as it left a mark when the flowers were removed.


I wanted to make a coastal arrangement to say good bye to summer.

First I spray painted this hammered aluminum two-tiered stand.

Then I added my plaster flowers and some coastal touches.


I started with some spanish moss to fill the trays.


Then I added starfish, seashells and pearls.


I gathered another handful of smaller shells and went back to fill in some bare spots and cover  any chips in the plaster.


I also added some of the plaster-dipped leaves.


It is a fun coastal arrangement.


Right now it is on my front porch next to the door.


For these photos, it is on my workbench on the back porch.


I think something like this would be so fun to do for a coastal wedding.


Some sisal rope would be a great addition as well.


I really enjoyed this process.


It was fun and easy to do.


They are pretty fragile so it not something you want to do for things that will be banged around or handled a lot.


Once I am done with them in this arrangement, I may do a fall version with leaves and a Christmas version with either poinsettias or evergreen branches.


I removed my roses from the stems, but you could make an arrangement in a vase too.


The plaster hardens in the cup relatively quickly but it was hot and humid when I did mine, so they took a minimum of overnight to dry.


Thanks for stopping by....

                  Linking up with these great blogs.