Showing posts with label clear glass ornaments. Show all posts

Wednesday, November 11, 2015

Craft Lighting Holiday Edition 21015-Snowman Snowglobe Ornament


Well, Craft Lightning is back...


It's the holiday edition, so let's make a 15 minute or less ornament...

One of the things I love to stock up on in the fall is clear glass ball ornaments.

They beg for all sorts of creativity.

These have a tiny pompom snowman inside.


Glue two white pompoms together.

Paint a toothpick orange. 

 Cut off the end for a nose and glue it in place.


Use a pair of tweezers to squeeze the body. 

 Once you are sure it will fit, add a drop of hot glue to the bottom and carefully guide it into the ball without touching the glue on the sides.


Hold it down to the bottom until the glue cools.


Add some fake snow or glitter.


Replace the cap and add some jute for hanging.

Ta dah!

You could make enough for your whole tree in an evening.

Or one for everyone on your gift list.


Be sure to visit our hosts for all the other great projects!


Thanks for stopping by...

Wednesday, January 28, 2015

Soldering Glass Necklaces

  I am not an expert at soldering.

I am learning.

It is a technique I really love.

I wanted to share a few soldered glass necklaces.

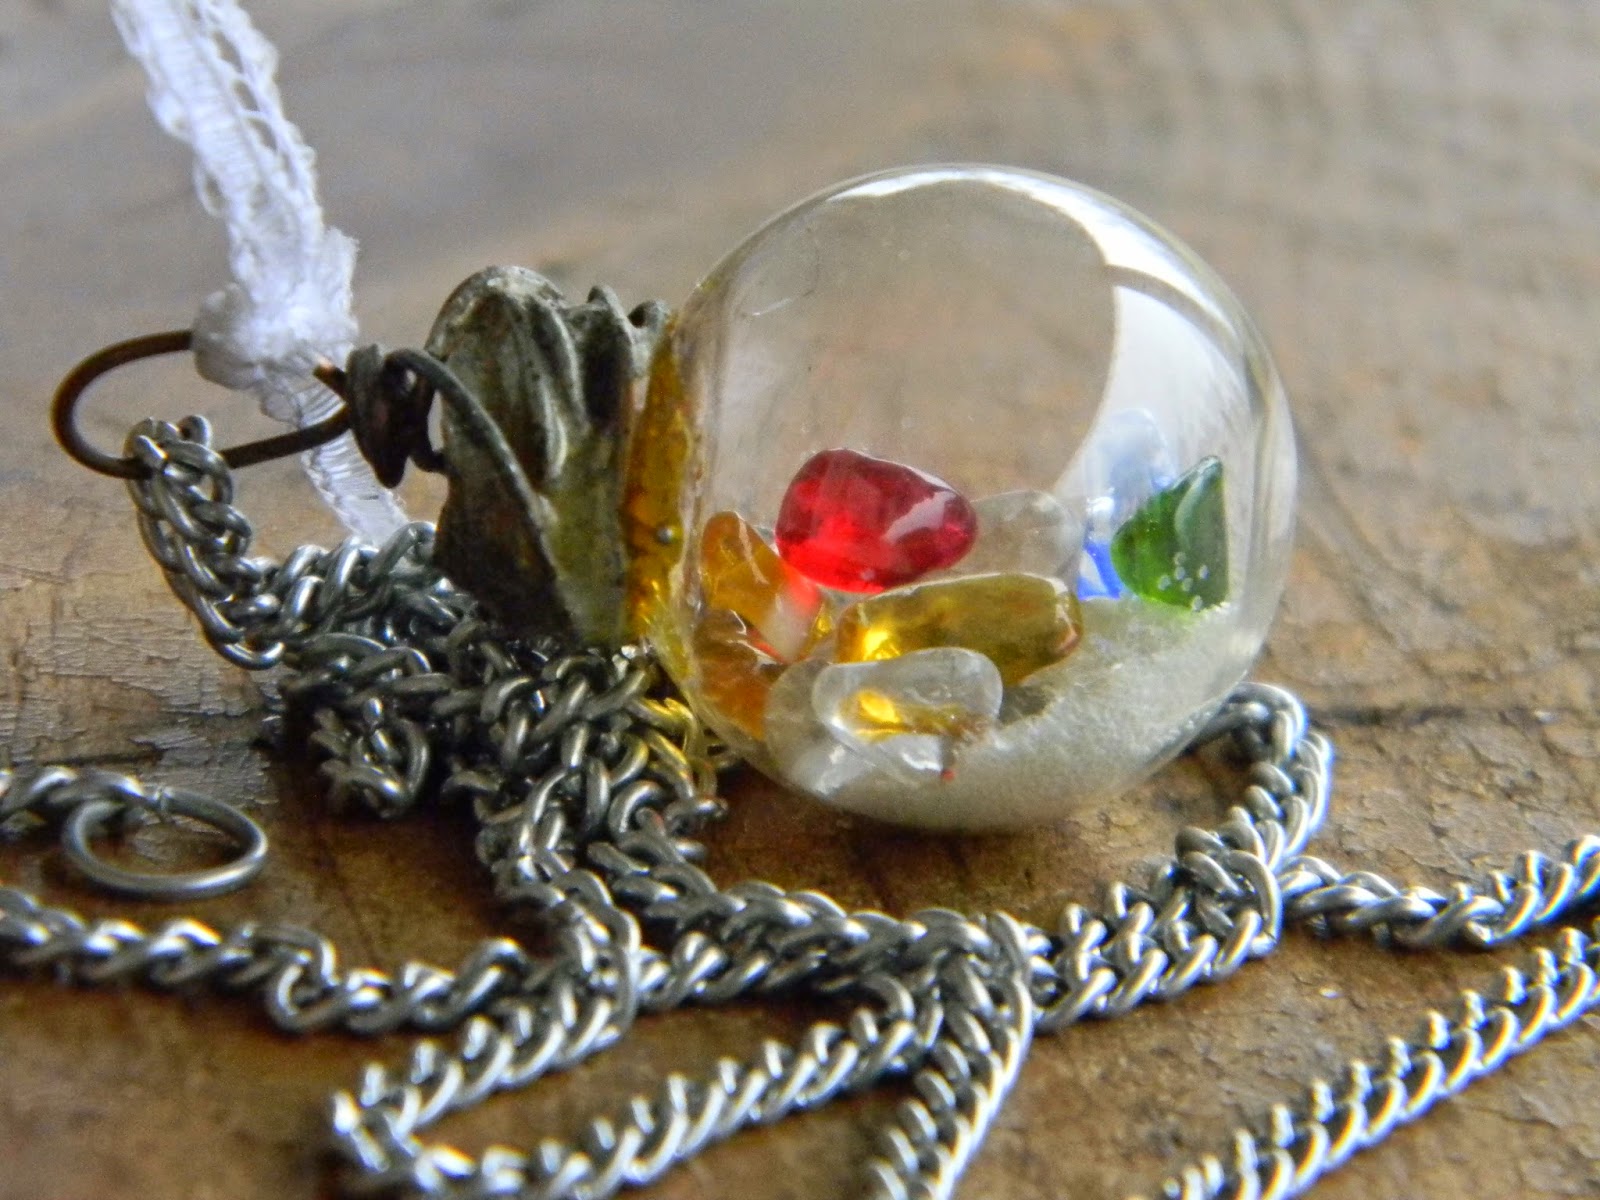
This little glass ball started as a mini clear Christmas ball.


I love to fill these with little bits, baubles and trinkets.


 This little marble is fun.


It is a simple way to practice my skills.


I did the same thing with little glass pebbles.

These purple ones were pretty tiny.


These would be a great little gift for someone special....


Thanks for stopping by....

Saturday, December 20, 2014

Sweet Mini Ornaments for Your Littlest Trees

I love sweet little trees at Christmas time.

The tiny little ones that can dress up any space...

a bookshelf

 bathroom

bedroom

mantle

 table

 or counter top.

I love to make tiny ornaments for these little trees.

They are the perfect size and they do not get lost on a larger tree.

I wanted to share just a couple that you can whip together quick before Christmas.

My daughter made these.

She started with little clear ornaments from the dollar store.


She filled them with little beads and little strips of rolled paper.

  It is fast and easy work with a slotted quilling tool.


Here are my little acorn top nests.


I take a small piece of copper wire and bend it in half and twist to make the hanger.

I stick the ends inside the acorn cap, add some hot glue, spanish moss and whole allspice.

Done!

They make a really cute little woodland fairy ornament.


And last for today is my little flannel acorn.


Cut a circle from fabric.

I used the base of a glass for size.

Sew a running stitch along the edge.

Add a wee bit of polyfil stuffing.

Pull closed and tie off.

To make the hanger, cut a piece of copper wire and twist to make a loop.

Drill a little hole in the acorn cap.

Stick the ends of the wire through the hole and bend them out inside the cap to hold.

Glue the sewn side of the fabric acorn into the cap.

I did all the same fabric for mine this time, but I think I may do a whole tree full in fun co-ordinating prints.

Hope you have a minute to make a few...

Thanks for stopping by...

Linking up with these amazing blogs...