Showing posts with label #craftlightning. Show all posts

Thursday, November 10, 2016

Craft Lightning Christmas Edition 2016

Time for another Craft Lightning.... crafts in 15 minutes or less for Christmas.

I always love to see what everyone comes up with.

It is a glorious fall where I live and I have gathered some sweet acorns for this quick craft.


Clean them and be sure you have a cap and an acorn for each ornament.


Drill a hole in the cap of each acorn.

Cut a piece of wire for each one about two inches long.

Twist the wire to make a loop as shown.


Push the ends of the wire together and slide them down through the acorn cap.

Once through, open the wires on the inside.


Use a hot glue gun to glue the acorns into the cap.

Gather your glitter and glittering glue.

I really do the stuff Martha Stewart makes for this.


Brush on the glue, and sprinkle with glitter.

Tap off excess.


Allow to fully dry and add a little twine hanger.


These make great gift toppers or ornaments.


A quick tip:  You can either buy processed acorns or gather your own.

If you gather your own, it is best to bake them in a craft dedicated toaster oven at 150 degrees for about 30 minutes to kill any critters dwelling within.

Check out the other fun fun quick holiday crafts by clicking below.


Thanks for stopping by....

Thursday, September 8, 2016

Halloween Craft Lightning

It is time for another Craft Lightning.

I love Craft Lightning.

This time is Halloween crafts.


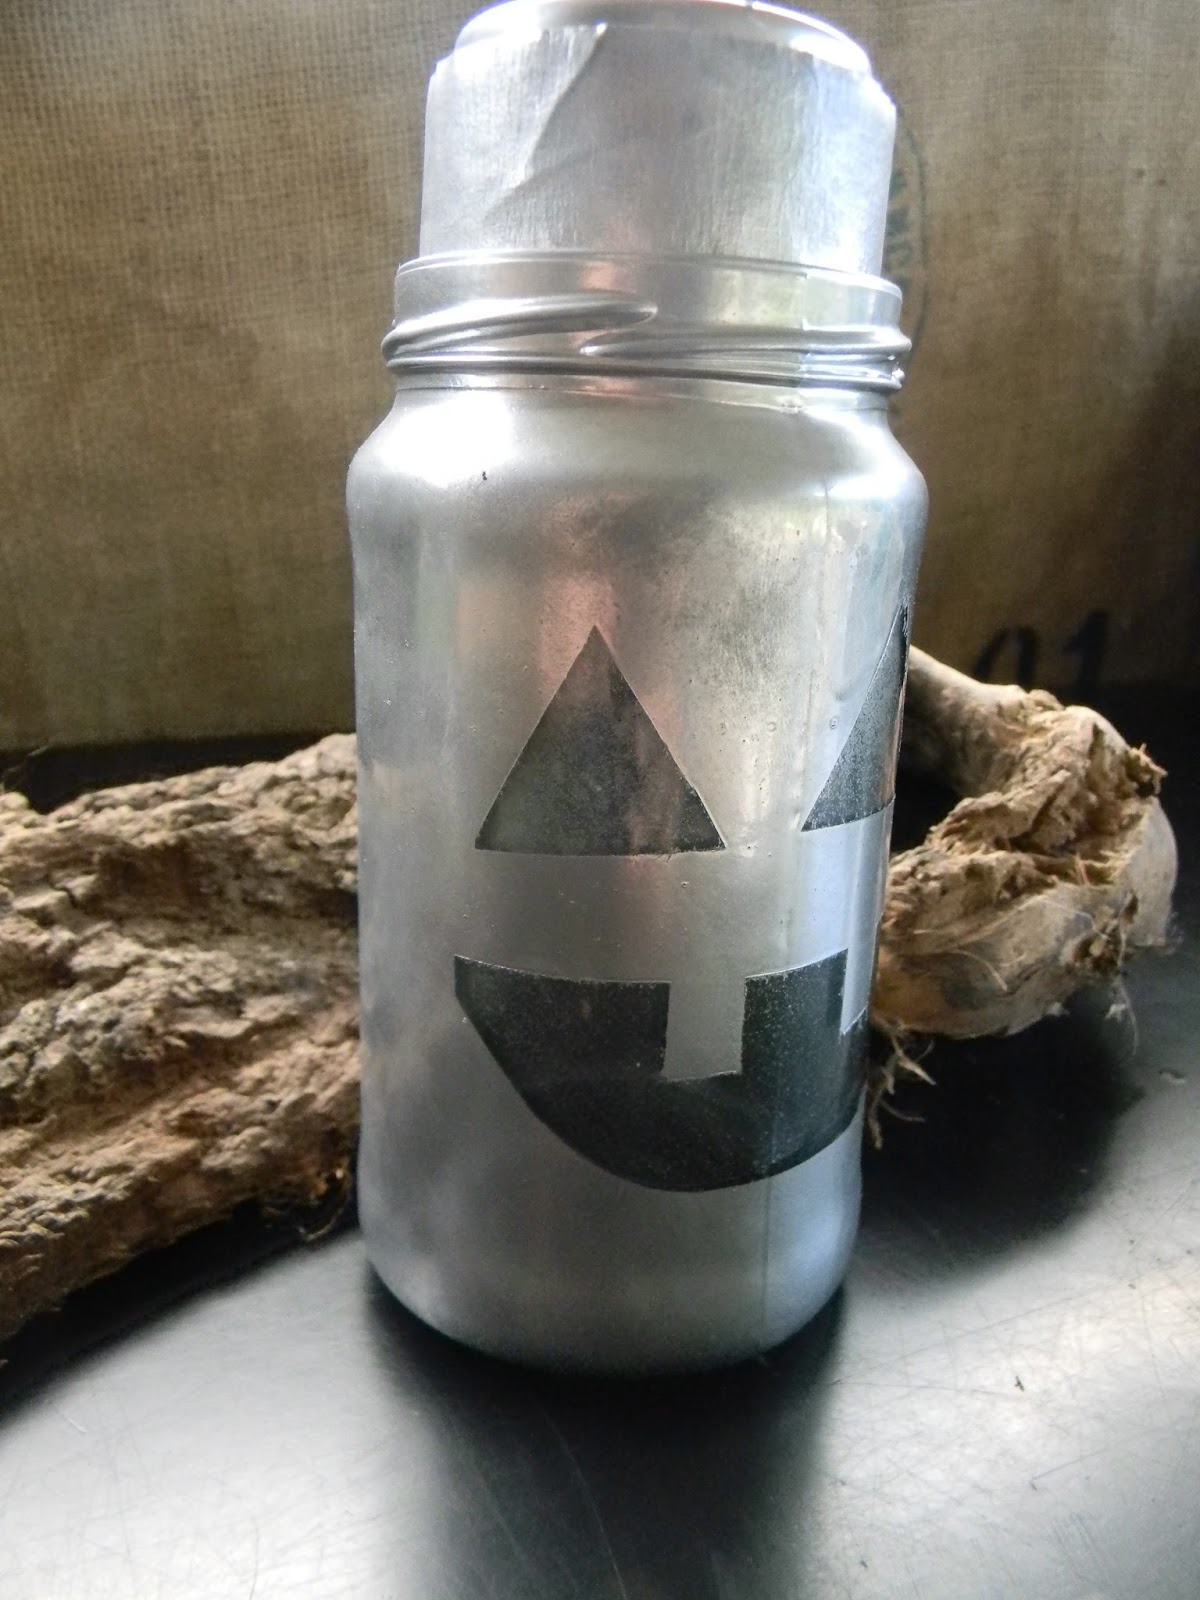
So I made a cute little pumpkin luminary from a glass jar from the recycling bin.


Let's gather supplies.

Paper towel
clean glass jar
Scissors
Masking Tape
Silver spray paint
solar light
(You don't need the spray bottle of water for this if you use this kind of paint).


Let's get started.

Cut the face shapes from your masking tape and put them on the jar.


Also tape off the top of the solar light where it catches the light.


Wrap the edge of the solar light with masking tape until it fits snugly in the top of the glass jar.

Flip it over and tape off the light bulb and the area underneath.


Spray paint your jar. 

 You can re-coat quickly with this paint.

Allow 2 hours to dry.


Paint the solar light too.


Once it is dry, remove the tape pieces from the face.

Also remove the top and bottom tape from the solar light.

Tuck the solar light into the top and you are ready to go.


Enjoy!

Thanks for stopping by....

Wednesday, July 20, 2016

Craft Lightning Scout Crafts

I was a Girl Scout and so was my daughter.

I actually spent a summer in college as a Girl Scout Camp counselor.

It was a great summer.

I made friends from all over the world since we had international staff from countries such as England, Australia, Greece, and Denmark .

I recall learning more that summer than I suspect each of the campers did.

So I was totally on board with this Craft Lightning of Scout Crafts.

Let's make a Paint Dot Pendant.


Gather your supplies:


Paint
Q-Tips
toothpicks
cork circles
drill
Piece of scrap wood to drill on
paper plate

Squirt a little paint out on the plate and begin to make dots in a pattern on your cork circle.


I started out with the Q-tip to make bigger dots as bases so I can add smaller dots on top when they dry.


If you want fairly even concentric circles, start in the center and as you add the next round, do your dots at the 12, 3, 6 and 9 o'clock positions first and then fill in the rest.

Next make dots between the dots you just made.

Continue to add colors.


Set aside to dry.

Time will vary depending on your humidity level, the temperatures and the sizes and thickness of you dots.

Add more smaller dots on top of your first dots.

Set aside to dry again.

Drill hole in the top of the pendant.


Add silk cord, leather cord, ribbon or a chain.


Ta-Da!


This could be done on rocks instead or you can cut a slice of a cork from a bottle for a smaller pendant.

Hope you are going to give it a try.

Head over to see all the other great projects this week.


Thanks for stopping by...


Thursday, May 12, 2016

Father's Day Craft Lightning

Time for a Father's Day Craft Lightning.

I loved coming up with an idea to honor dad that is fast, easy and great looking.


Here's what you can make:


This great stamped leather key chain.

You will need:


Leather Scrap
Leather Cord
 Stamping Alphabet
Sponge
Water
Hammer
Sand Bag
DecoArt Metallic Lustres Paints
Heavy Duty Scissors
Sharpie Marker
Tin Can
Leather Hole punch

Let's get started.

You may use whatever leather you want.

You can buy bags of scrap leather at many craft stores.

You can use a piece of leather from a discarded item such as an old coat or pair of shoes.

Decide on a shape.

I used a tin can to trace a circle.


Cut the circle out.


Wet the sponge and squeeze out the excess water.

Dampen the leather where you will stamp it.


Stamp your message one letter at a time.


Place the letter stamp on the leather and give it a forceful blow with the hammer.

Try to hit it hard enough to make the impression with one blow.

If you hit it several times, you risk having the stamp move and getting an unclear impression.

Continue to spell what you want to say.

Allow it to dry.

Use the Metallic Lustres Paints to add some color to the key chain.


I prefer to use my fingers to rub the color where I want it.

Allow it to dry and buff it with a soft cloth.

Use the leather hole punch to add a hole.


String a piece of leather cord through the hole.

Ta-Da!

The perfect usable gift for dad.


to see other great Father's Day Craft Lightning projects.


Thanks for stopping by....


Monday, March 7, 2016

Keep The Kids Busy Craft Lightning

It is time for Craft Lightning again...

This time it is an activity to keep kids busy.


I am sharing a super easy idea that used to keep my daughter busy all afternoon in the summer.

You will need:
a spray bottle of water
small container of water
paintbrush


Let your child draw with the paint  brush and water on the sidewalk or driveway.


Or your child can use the spray bottle to make designs.


Change the spray to stream and play games, write words, etc.


Or just create fun designs.


When my daughter was small, she always wanted to help me with painting or whatever project I was working on.

I often gave her a bucket of water and a big paint brush and she would paint her playhouse, bike, deck, the house, trees or whatever caught her imagination.  

Because it was just water, it never hurt anything and quickly dried.

You could give your child a list of "assignments" to do such as paint your bike, draw a farm, play tic tac toe, see if you can paint the whole driveway before it dries, etc.

This activity can be adapted for winter by adding food coloring to the water and then can be used to paint the snow.

For other fun activities, be sure to check out:


Thanks for stopping by...

Tuesday, January 19, 2016

Craft Lightning Valentine's Edition

One of my favorite things to be a part of is the Craft Lightning Challenges.

Today I am tickled to be a part of the Valentine Edition.


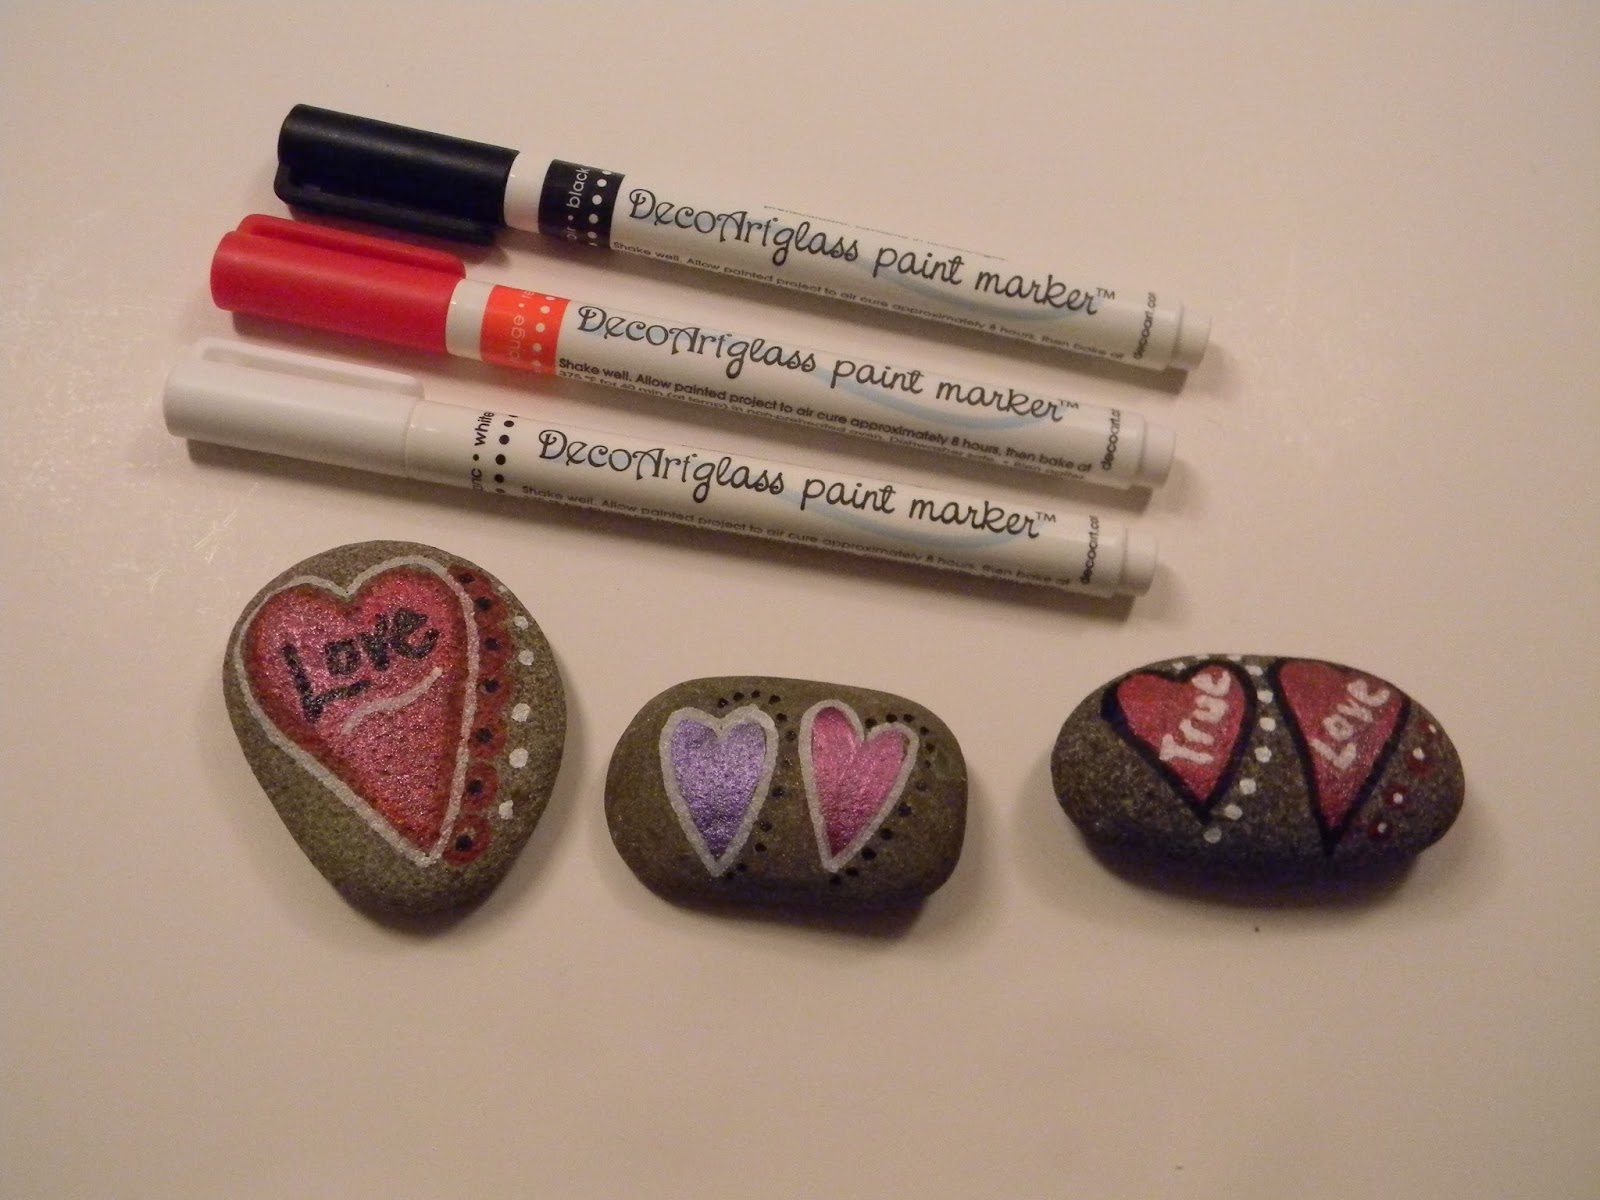
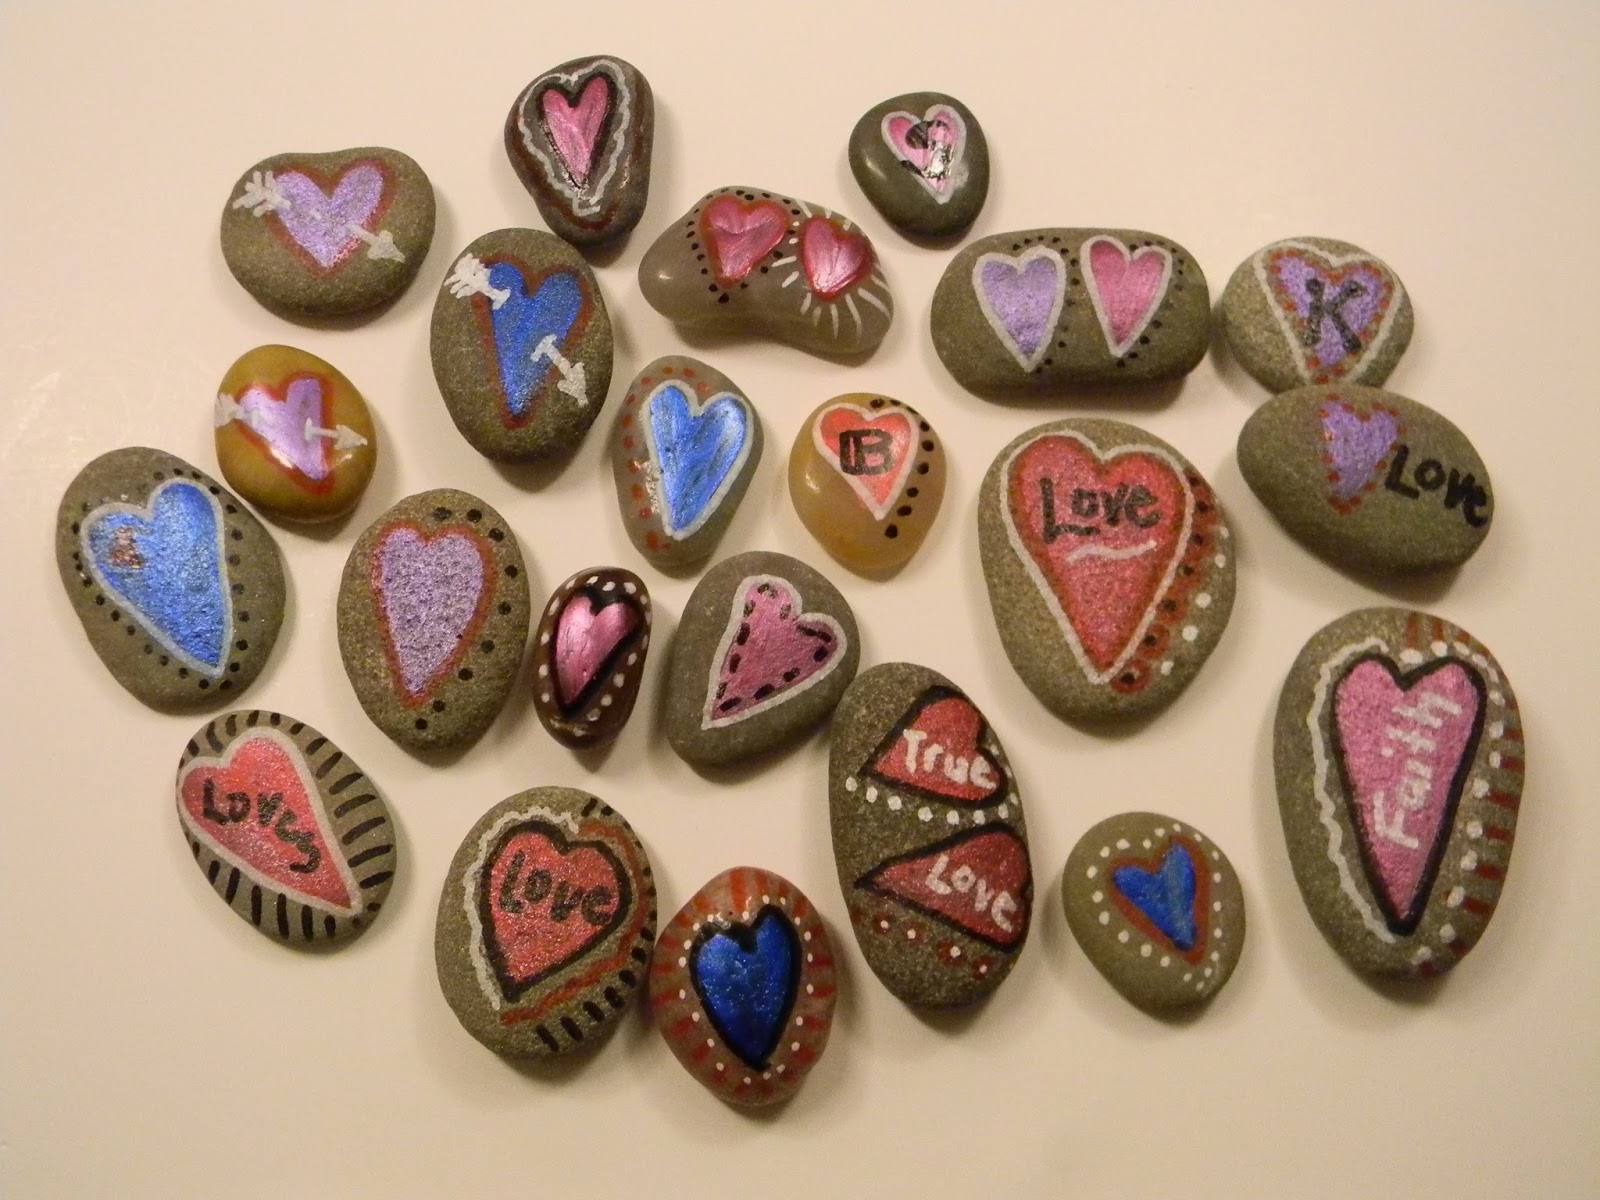
I made these sweet love rocks.


Let's gather some supplies.

It is bitter cold here so some of my photos had to be done inside where the lighting is not as good...

You will need:


rocks
paint brushes
paints
paint markers
paper plate

You can gather rocks from outside or buy a bag from the craft store or the hardware store.

I have some rocks from the craft store and some from the yard.

Wash them and allow them to dry thoroughly.

Paint your designs right on the rocks.


I like to do the larger parts of my designs with paint and then the details with paint markers.


You can personalize them.


I made this sweet little collection in about a half hour.


I plan to do a few sweet art abandonments with these...


Have you heard of art abandonment?

Artists all over the world are making beautiful things and leaving them places for others to find and enjoy.


You can leave them in a public place like a restaurant, hotel, park, shopping center, etc.

There are groups you can join.


You can print tags found on the page and add them to your abandoned piece.  

That way, the person that finds the art can comment on it.


I have some plans for these...

The local radiation center.

Parking lots.


On the ground outside a variety of stores.


Because everyone can use a little extra love....


Thanks for stopping by...