Sunday, March 29, 2015

Guest Contributor at Pluckey's Second Thought

 If you want a fast and easy craft for spring, head over to Plucky's Second Thought and check out my Tutorial as a guest contributor.

You can learn how to make these quick and cute earrings.


Click here to hop on over to see....

Thanks for stopping by....

Wednesday, March 25, 2015

Workbench Wednesday

I have not done a workbench Wednesday for a while.

This is not an official peek at the workbench...

It is too messy right now.

So I will just show you some of the things I have been working on.


I love the little BoHo owls...

Some are pendants and some are beads.


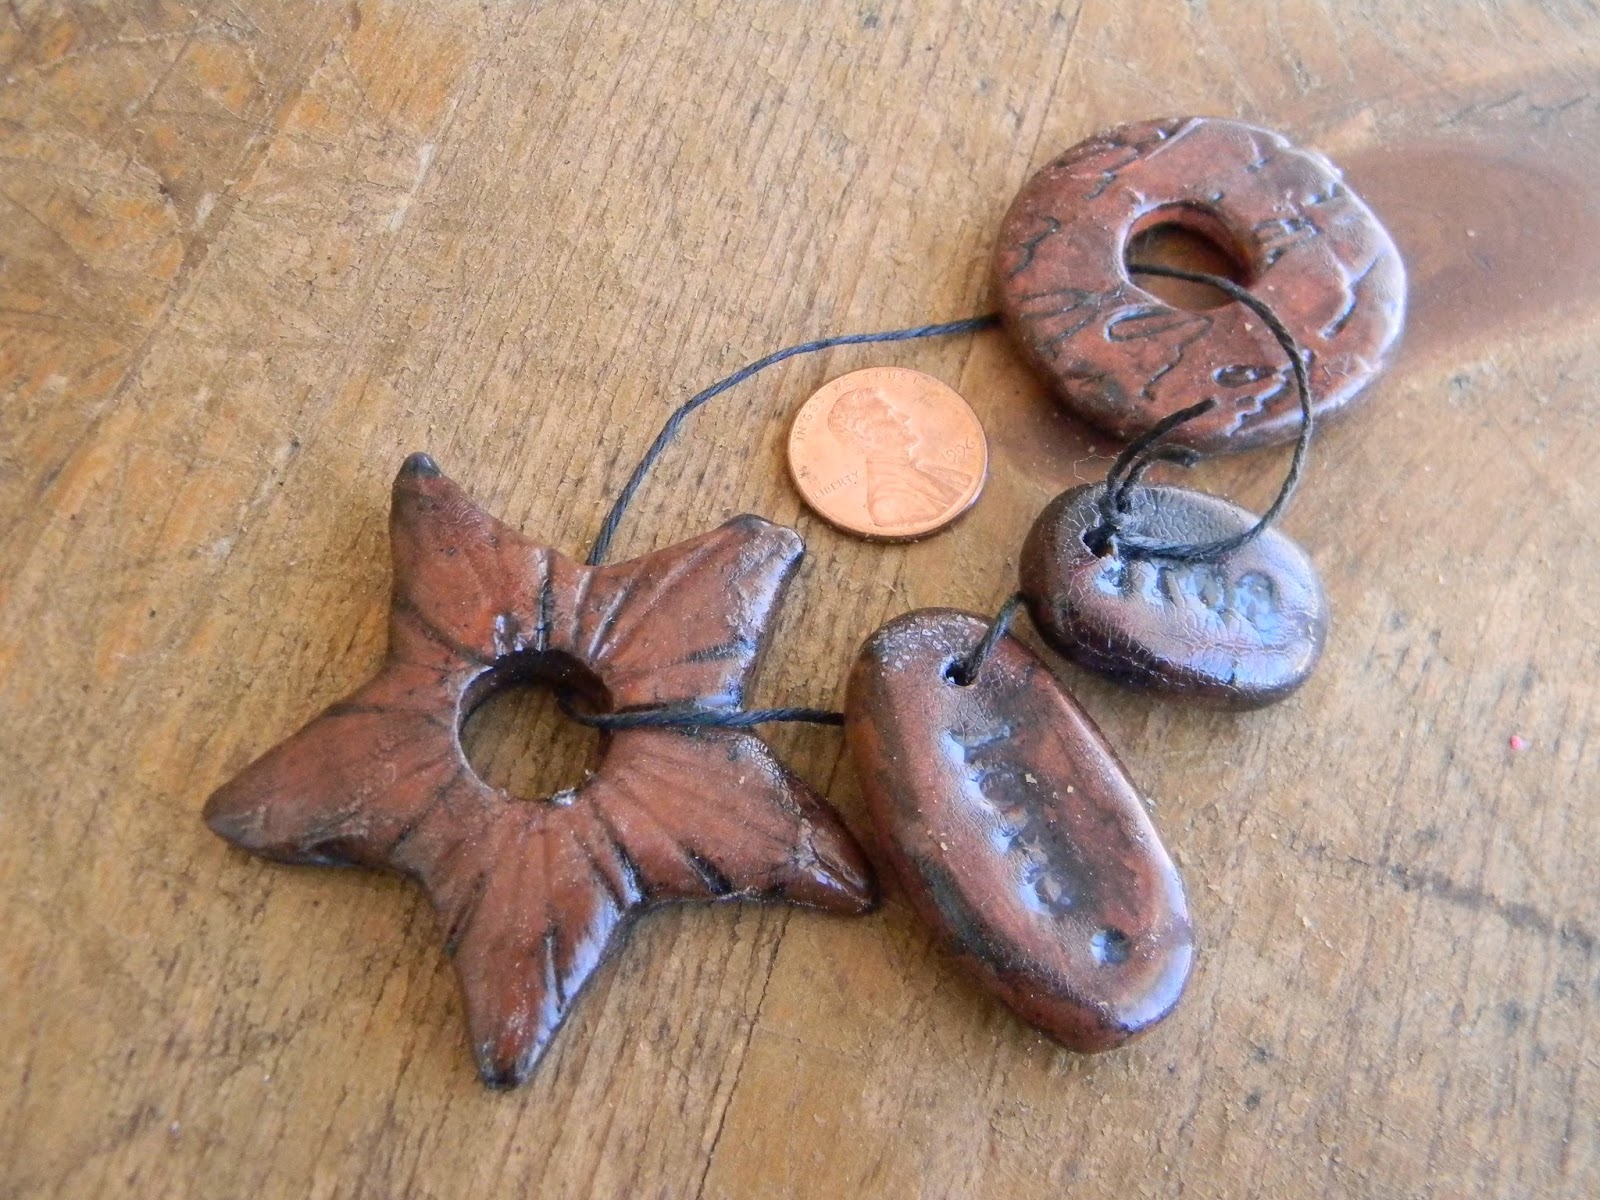
I have been working on some fun new bone look focals.


These are actually old but heading to the shop.


The terra cotta clay has a whole different look.


These pretty washed looking beads make me think of the beach.


A sweet little whimsical collection:owl, ladybug and flowers.


White-washed blush set.


Blue hope set of connectors and a pendant.


White-washed pastels.


Fun angels and frozen Charlottes.


Faux bone disk set.


 And some large round beads that make me think of gumballs.


Which are your favorites?

Thanks for stopping by....

Thursday, March 19, 2015

Etched Bullet Casings

One of my favorite processes to do is etching metal.

It is part science and part magic.

While I collect many pieces and kinds of metal to etch, to date I have primarily used bullet casings.

Today  wanted to share some of my patriotic designs.


These all have flags of some sort.


These were created with men in mind.

They have less bling and more utilitarian beads.


Changing the orientation of the flag gives the piece a completely different look.


I make them into key chains and necklaces.


I don't mind the imperfections in the etching.


Up close, you can see so much of the detail in the etching.


Turquoise sets off the brass as well.


The USA Eagle stamp worked perfectly for this size casing.


Here is one with a bit of bling.


Which is your favorite?


I like them all.

Sort of like your children...

Each one is charming and appealing in its own way.

Thanks for stopping by...

Linking up with these amazing blogs.

Wednesday, March 18, 2015

Etsy Markdowns...

I have been making polymer clay beads like crazy for about a month now... 

 I am having a blast and trying out new finishes and styles.

My little bins in my bead boxes are overflowing so I am marking down the polymer beads in my Etsy shop and getting ready to add a bunch more listings soon.

Please stop over to see what is there.

Here is a preview....


There are lots of pendants and focals.


As well as some beads sets.


Click here to stop over to take a look.

Thanks for stopping by...

Monday, March 16, 2015

Spring will be here soon...

Spring still doesn't look like this where I live, but every day there is less snow on the ground.

Mostly where it is melted, it is brown and muddy but I still hold out hope for when I see some colorful beauty like this.


I must have taken this photo about 9 years ago because this tree has been gone for a very long time.


Since St. Patrick's Day is this week, I had to include these green and happy clovers.  

I don't see one with 4 leaves in this little patch....

Last fall I found  2 or 3 of them so I saved them.


Doesn't that green look so lovely?  

Those of us in my neck of the woods have not seen it for a long time.


It will still be a while until I smell the sweet smell of lavender...

A girl can dream, can't she?


Thanks for stopping by....

Sunday, March 15, 2015

Craft Lightning Recycled Edition


I am delighted today to be participating in another great round of Craft Lightning.

This time it is Recycled Crafts in 15 Minutes or less.


Today I am going to show you how to use dryer sheets and a few simple supplies to create this sweet angel.


You will need

dryer sheets
scissors
a scrap of yarn or twine
a piece of lace ribbon
a wooden doll head
glue (I used hot glue and a glue gun)
Optional :
DecoArt Chalky Finish Paint
vintage sheet music
Decoupage from DecoArt
wooden wing shape
paintbrushes
sandpaper


Flatten and stack 3 (or more if you desire) dryer sheets.

Cut them in half so you have the longest pieces possible.


Cut the dryer sheets into thirds to create strips.


Neatly gather all  the strips into one pile.

 Use one of the strips and tie it around the middle of all the strips.


Fold your yarn scrap in half and tuck the ends into the hole at the bottom of the wooden head bead.

Add glue.


Use the tip of the scissors to push the center of the dryer sheet strips into the hole as well.


Allow it to dry.

Smooth out and stack 3 more dryer sheets.

This time cut them in strips the short way across the dryer  sheets.

Again use a strip to tie them together in the middle.


Glue these wings to the back of the angels head.

You may also want to glue the yarn up the back of the angel's head a bit to keep it from tipping forward when it hangs.


Optional:

You can add wooden wings in addition to or instead of the dryer sheet wings.


Paint the wooden wings with DecoArt Chalky Finish paints.


Once dry, trace the wings on a page of vintage sheet music.

Cut it out and use DecouPage to attach it to one side of the angel wings.

When they are dry, use a piece of sandpaper to remove any paper that extends over the edge of the wood.


Glue the wings to the back of the angel.

If you don't want to hang the angel, substitute a skewer for the piece of yarn.

Just use the skewer to poke the dryer sheet body into the head.

Leave it there to dry.


Now you can stick it in a plant.

That would be perfect for Mother's Day...


Or you could add it to the garden for a touch of recycled whimsy.


For another variation, you could dye the dryer sheets.


Our gracious hosts for Craft Lightning this time are:


You can pop over to any of their blogs for a complete list of participants and projects this week.

Thanks for stopping by...

Linking up with these great blogs this week.