Showing posts with label easy gift. Show all posts

Sunday, November 29, 2015

Recycled Wool Sweater Cozies

I am always grabbing cans and jars from the recycling bin.

I love utilitarian pieces from what some consider trash.

I love all the ways you can fancy them up.


This time I wanted something super easy.

I took 2 sweaters that had been felted.

I now do this at the laundromat when I take my giant comforter.

I washed them on the heaviest cycle on hot.

Then I threw them in the dryer.


One year I did them at home and the sweater pilled and balled so much I had to call a repairman to come unplug the wool balls from deep in the machine's workings.

I have been banned from felting at home now...

For this project, I am going to use the sleeves.  

Before I cut anything, I slid the can and jar inside to make sure they fit.


I measured and cut them to fit how I wanted them to.

Don't they look cozy?


Then I cut 2 hearts from another red felted sweater and blanket stitched them in place.

No they hold my art supplies stylishly.

These would make a great little gift.

It could be even more special if you used a sweater from the recipient.

Maybe I will whip a few more of these up for gifts.


Thanks for stopping by...


Tuesday, October 7, 2014

Simple Burlap Christmas Tree


Here is an easy peasy burlap Christmas tree.


You will need 
burlap
hot glue gun and glue sticks
a piece of wire
a cardboard cone 
and 2 stars (I used rusty tin).


Cut your burlap into long strips.

Mine are about 2 inches wide.

I like to use real burlap bags so you can see the print, designs and words on the burlap.

Then just start at the bottom and glue and gather as you go.

If you have any kind of glue gun gloves ( I don't ) it is a good project to wear them for.

When you press down the burlap, the hot glue seeps through the holes and sticks to you and burns a bit.

I used a non-stick glue mat and just pressed with it instead of my fingers...


Just continue wrapping and gluing.

When you come to the end of a strip, just overlap the next one and keep going.

When you get close to the top, stop to add the star.

Cut a piece of wire about 12 inches long.

Poke a hole in the top of the cone to be sure the wire will go through.

Now make a loop in the end of the wire.

 Feed the end of the wire up the inside of the cone by holding the loop on the inside.

Once the wire comes through the hole in the top, grasp it and pull it until it is the whole way out and the wire loop is just inside the top of the cone.

Trim the wire to be just a little shorter than your star.

Hot glue the stars on either side of the wire.


Fast and easy!


Thanks for stopping by....


We will be linking up with these amazing blogs...

Thursday, September 18, 2014

Washi Tape Bracelets


It seems like I have shown you a lot of bracelet ideas lately...

I have quite a stash so I do makeovers on them from time to time.

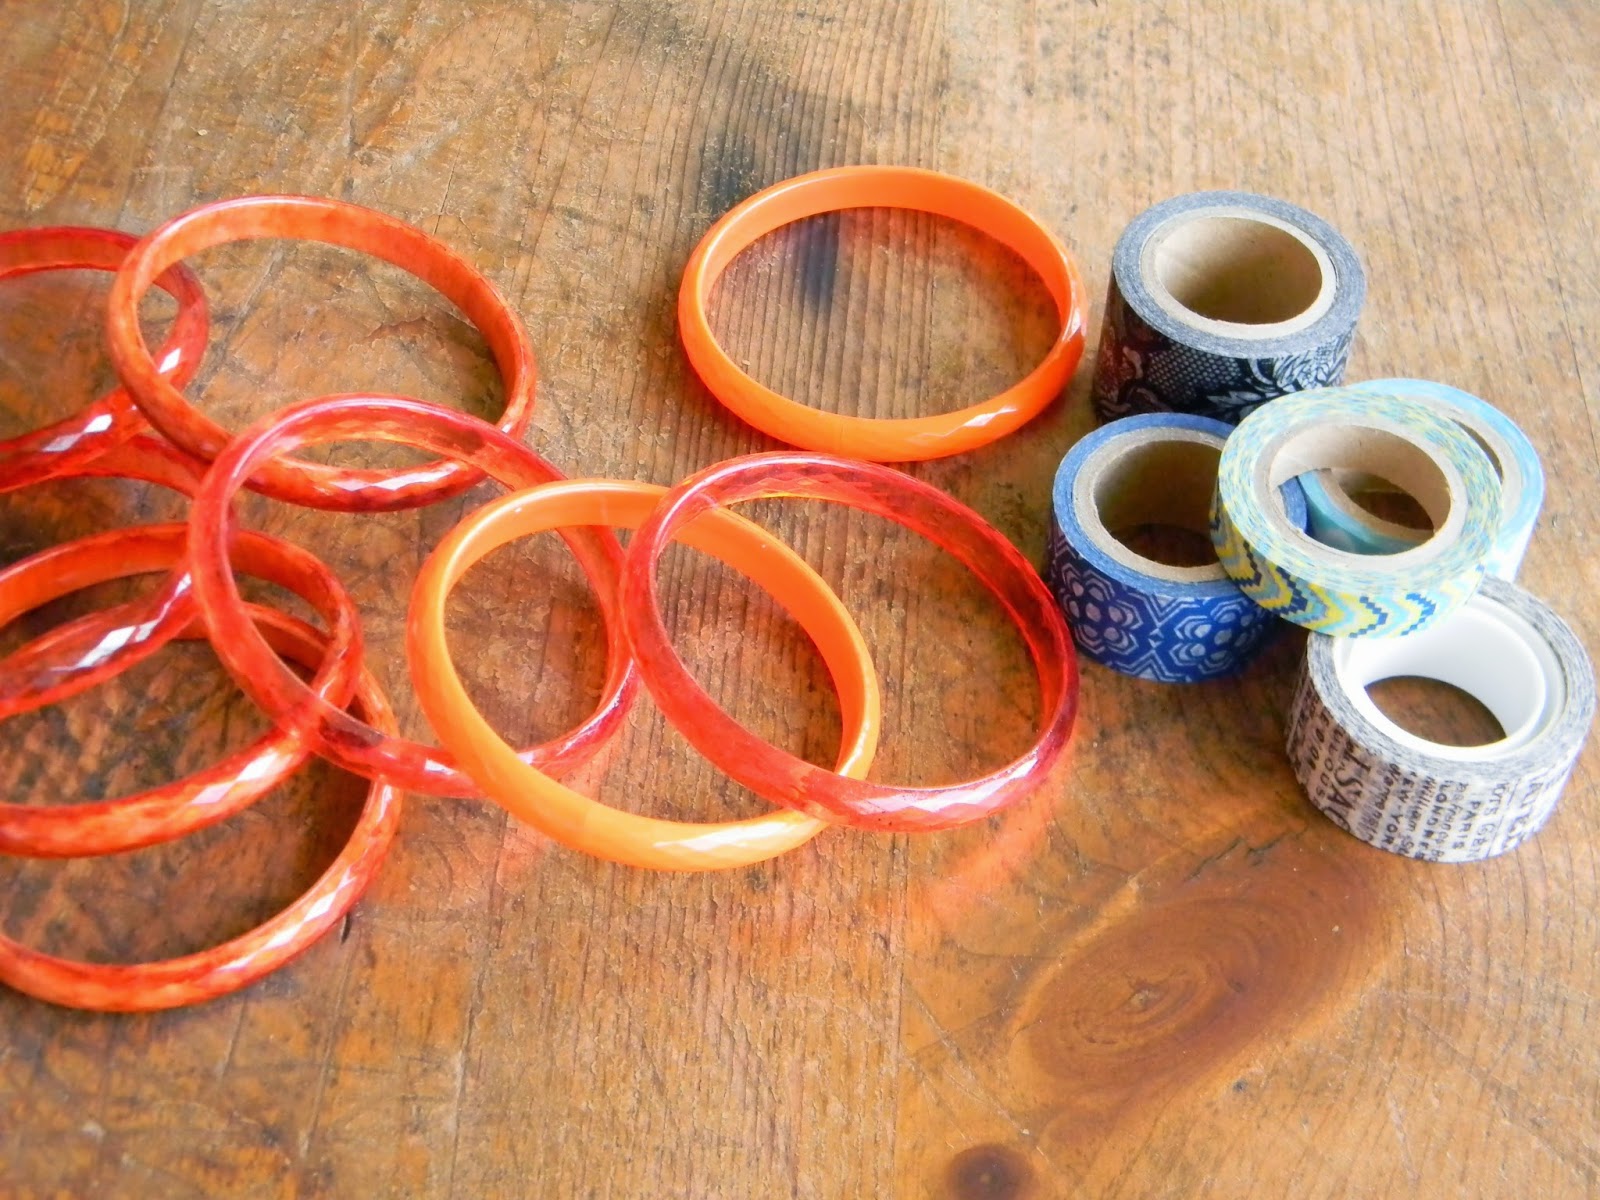
Today I want to show you a simple makeover that just uses plastic bangles and washi tape.


I pick up washi tape when I see it on sale.


Wrap the plastic bangle with washi tape, being sure to overlap and pull tightly as you go.  

When you have completely covered the bangle, tear off the end and use fingers to firmly smooth tape in place.

 If tape rips at any point, just overlap ends and continue to wrap.  

 Coat with 2-3 coats of DecouPage, allowing to dry thoroughly between coats.  


If there are any rough edges, smooth with fine grit sandpaper and recoat with DecouPage.


It is fast and easy to make a whole armload...

Or a branch load as shown here....


I love how each bracelet looks different based on what color the plastic was underneath...


At my shows, I display them in a long tray and people pick them up...

curious....


This idea has appeared in Jewelry Affaire magazine


as well as GreenCraft magazine.


It is an oldie, but a goodie...


Thanks for stopping by...

Linking up with these great blogs...