Showing posts with label bangle bracelets. Show all posts

Friday, July 8, 2016

Metallic Lustres On Polymer Clay

As you know, I love to play with finishes on white clay.  

In some ways it is silly, really.

I could start with a color then play with it, but NOOOOOO!

I will start with white, paint it a color and then mess with it again.

That is what happened with these pieces.

I used white as the base...

Painted them black and then rubbed them with Metallic Lustres paints from DecoArt.


I love the way they turned out.


But i am thinking down the road to make my life a little easier, I will start with black clay, then use the Metallic Lustres.


Work smarter not harder...


In all fairness to me, when I make polymer pieces, I never know how they will be finished down the road.


I do things in stages....


I make beads and components for a week.

Bake them all.


Then I divide them into groups for how they will be finished and start working on them in those groups.


Lastly I seal them.

Once they are sealed,  they wait to become a necklace, bracelet or earrings.

Anyway, Metallic Lustres are one of my favorite ways to finish beads.

I love rubbing them into the pieces.

Have you ever tried them?

Thanks for stopping by....

Thursday, September 18, 2014

Washi Tape Bracelets


It seems like I have shown you a lot of bracelet ideas lately...

I have quite a stash so I do makeovers on them from time to time.

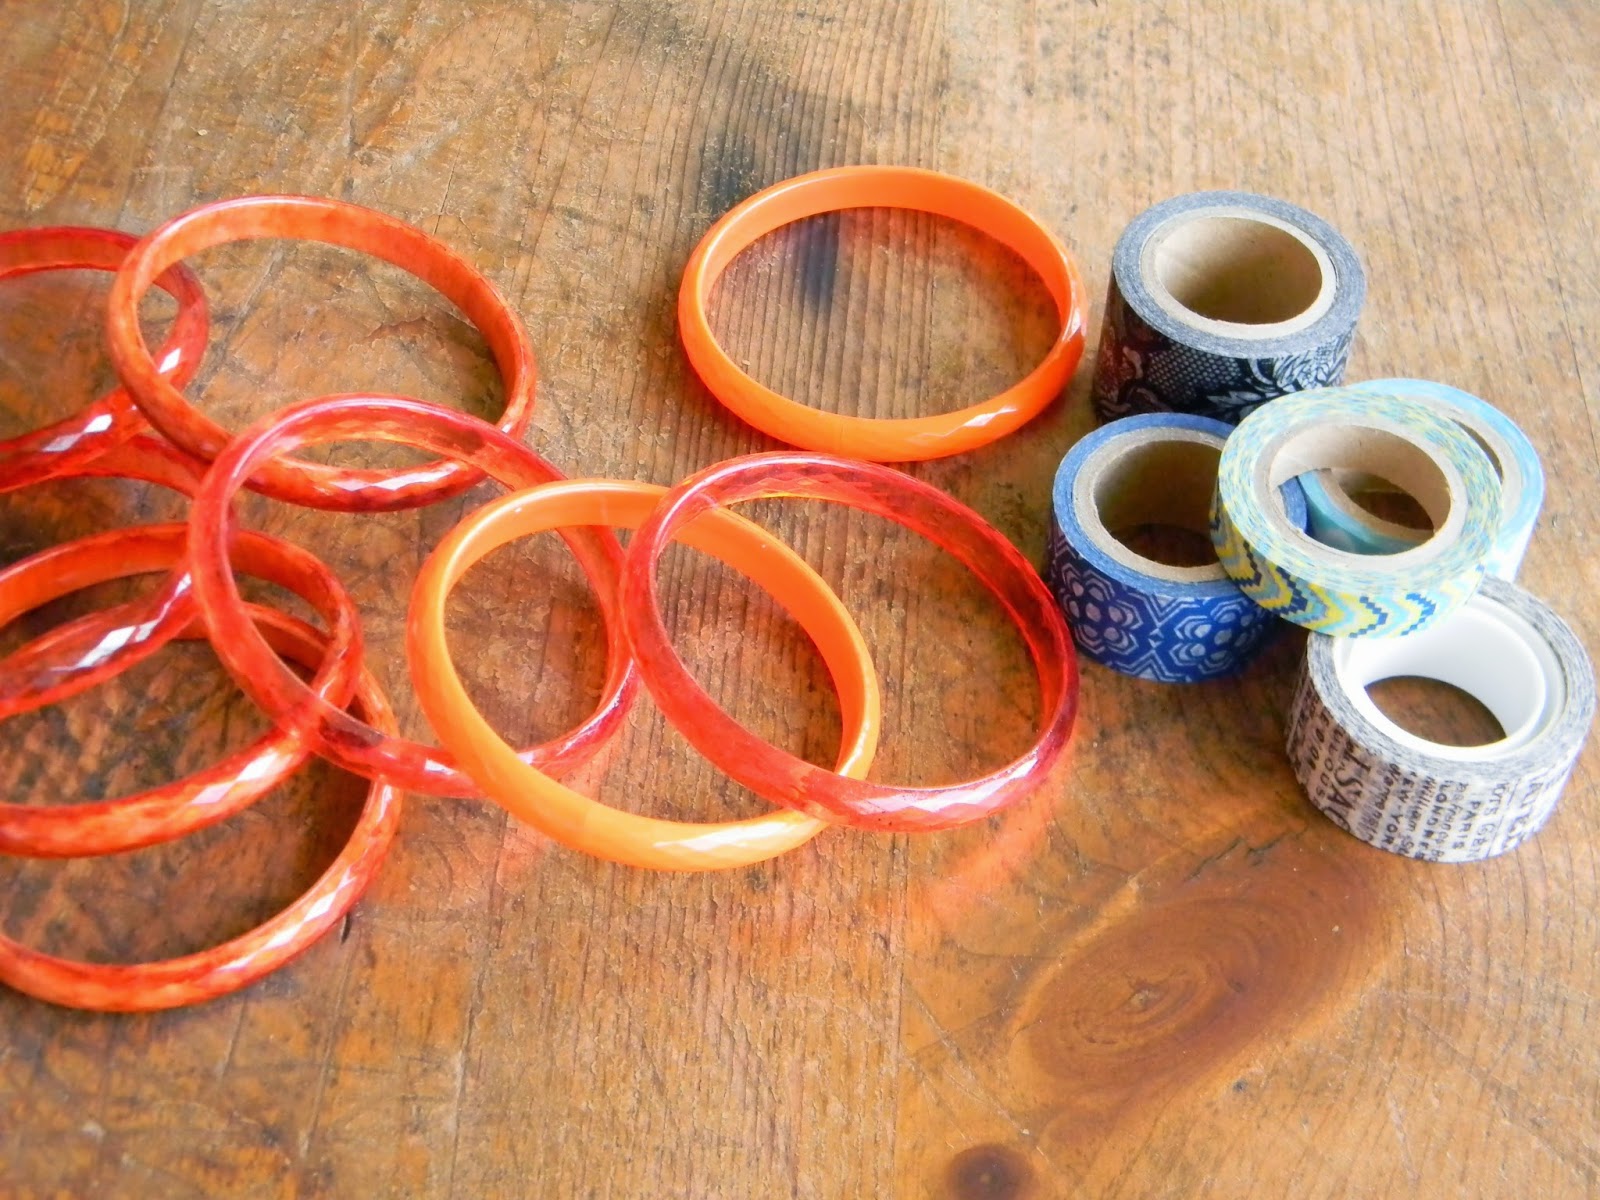
Today I want to show you a simple makeover that just uses plastic bangles and washi tape.


I pick up washi tape when I see it on sale.


Wrap the plastic bangle with washi tape, being sure to overlap and pull tightly as you go.  

When you have completely covered the bangle, tear off the end and use fingers to firmly smooth tape in place.

 If tape rips at any point, just overlap ends and continue to wrap.  

 Coat with 2-3 coats of DecouPage, allowing to dry thoroughly between coats.  


If there are any rough edges, smooth with fine grit sandpaper and recoat with DecouPage.


It is fast and easy to make a whole armload...

Or a branch load as shown here....


I love how each bracelet looks different based on what color the plastic was underneath...


At my shows, I display them in a long tray and people pick them up...

curious....


This idea has appeared in Jewelry Affaire magazine


as well as GreenCraft magazine.


It is an oldie, but a goodie...


Thanks for stopping by...

Linking up with these great blogs...

Saturday, September 13, 2014

Fun Shabby Chic Bangles from Old Sheets...A DIY Tutorial...

Easiest Shabby Chic bracelet tutorial....

EVER!


Start with plastic bangle bracelets and some fabric strips.


These are from old floral sheets from the thrift store.

 These same 4 sheets have fueled other projects I have shown you.

The skirt on this dress form for the garden made from chicken wire...


She looks so pretty in the wildflower strip.


You can read about her (and her friends) here.

Anyway, back to the shabby chic bracelet...

Cut your fabric strips (after they are ripped from the sheet).

Mine were about 6 inches long.

And remove any loose threads.


Then tie them on the bangle.

Just keep tying until the bracelet is full.

Done!

Can you believe it?

You could add fun color with some squirts of dye.

Or leave it like it is...


These would be the fastest, easist gift ever...

You can do a your whole list of co-workers in an evening while watching tv.

And I love handmade gifts best.

They would also be a super easy gift for a bridal party....


What are you waiting for?

Go get started.

Thanks for stopping by...

Linking up with these awesome blogs.

Tuesday, September 9, 2014

Rose Bangles from Scrap Fabric Strips


This summer, my daughter had a blast learning to dye fabric.

You can read about it here.

She then used those strips to make a fantastic Shaggy Raggy Rug.

You can see how here.

When she was finished, she still had a lot of strips left so I asked if I could use a few.

She said sure.

I had a great idea.

All I needed were the fabric strips, plastic bangle bracelets, and some hot glue.


To begin, wrap the fabric around the bangle. 

 Leave a tail about 1 1/2-2 inches long so when you get back to that spot, you can tie the ends in a knot.


I showed you the bracelets on my workbench here.


The next step is just to twist and wrap the fabric around.

I run my glue around the outside edge and then wrap the fabric around it.  

Then I repeat and just keep going until all the fabric is secured around the rose.  

Sometimes I twist and turn the fabric and sometimes, not so much.


The colors my daughter chose are luscious and refreshing.


They all make me think of the beach....


The purple is such a great accent to the blues and greens...


This blue might be my favorite...


No, maybe this one...

Only one way to solve it...

Wear them all!


Sadly, I cannot.

I have a big wrist and hand and these are too small.

I will have to find some larger bangles to make my own set...


I do love these, though...

Hoping someone else falls in love with them as well...

They would make gorgeous wedding bracelets for the bridal party....


Thanks for stopping by....

I will be offering any 2 of these bracelets in the Swap and Tell Link Party at Tarnished Royalty....

Linking up with these great blogs.

Saturday, July 26, 2014

Pretty Upcycled bracelets

I often buy jewelry on clearance at the mall to reuse or take apart.

Often the pieces are cheaper that way than buying them at a craft store.

I love getting bangle bracelets.

They are super easy to alter.

These bangles were enameled so I did not want to completely cover the base.


I just glued buttons on this one with Beacon 527 glue.

As soon as they were dry (follow the glue directions), they were ready to wear.

This wide bangle was spruced up with these little flowers.

They were originally earrings from mall clearance as well.


I just pulled off the earring posts and glued them on as well.

Fun, Fast and Cheap.

Thanks for stopping by....