Showing posts with label art studio. Show all posts

Friday, July 15, 2016

Shed/Studio Makover

I am a very lucky girl.

I have multiple places to store and create on our property.

One of my favorites is this shed.


It is about 18 feet across and shaped like an octagon.

It has an upstairs.

It is all my junk.

And when I say that, I mean it.

I have been creating my whole life and doing craft shows for almost 20 years.

I have collected items I thought I could use for booth display.

I have collected multiples of materials to make things.

And I just kept sticking them in the shed.

 For Years.....

This winter my husband said, "What we should do is take everything out and I will build you work benches around the perimeter."

And that idea stuck in my head.

My brother said he would come to help.

So I began planning my attack.

I have not really gone in there for over a year and it was REALLY piled up.

So I chose a long weekend and put it on the calendar for the clean out.

Then I scheduled the following weekend for my brother to come.

Then I spent months planning...

What will I keep?

What can go away?

How do I want it to look?

Doing this for months, made a very clear picture in my head of what the end result should look like.

Then I got ready.

I planned with my husband and we figured out dimensions and materials.

I bought totes so they are all the same size to go on the workbench shelves.


I set up my EZups so I could pull everything out to sort.
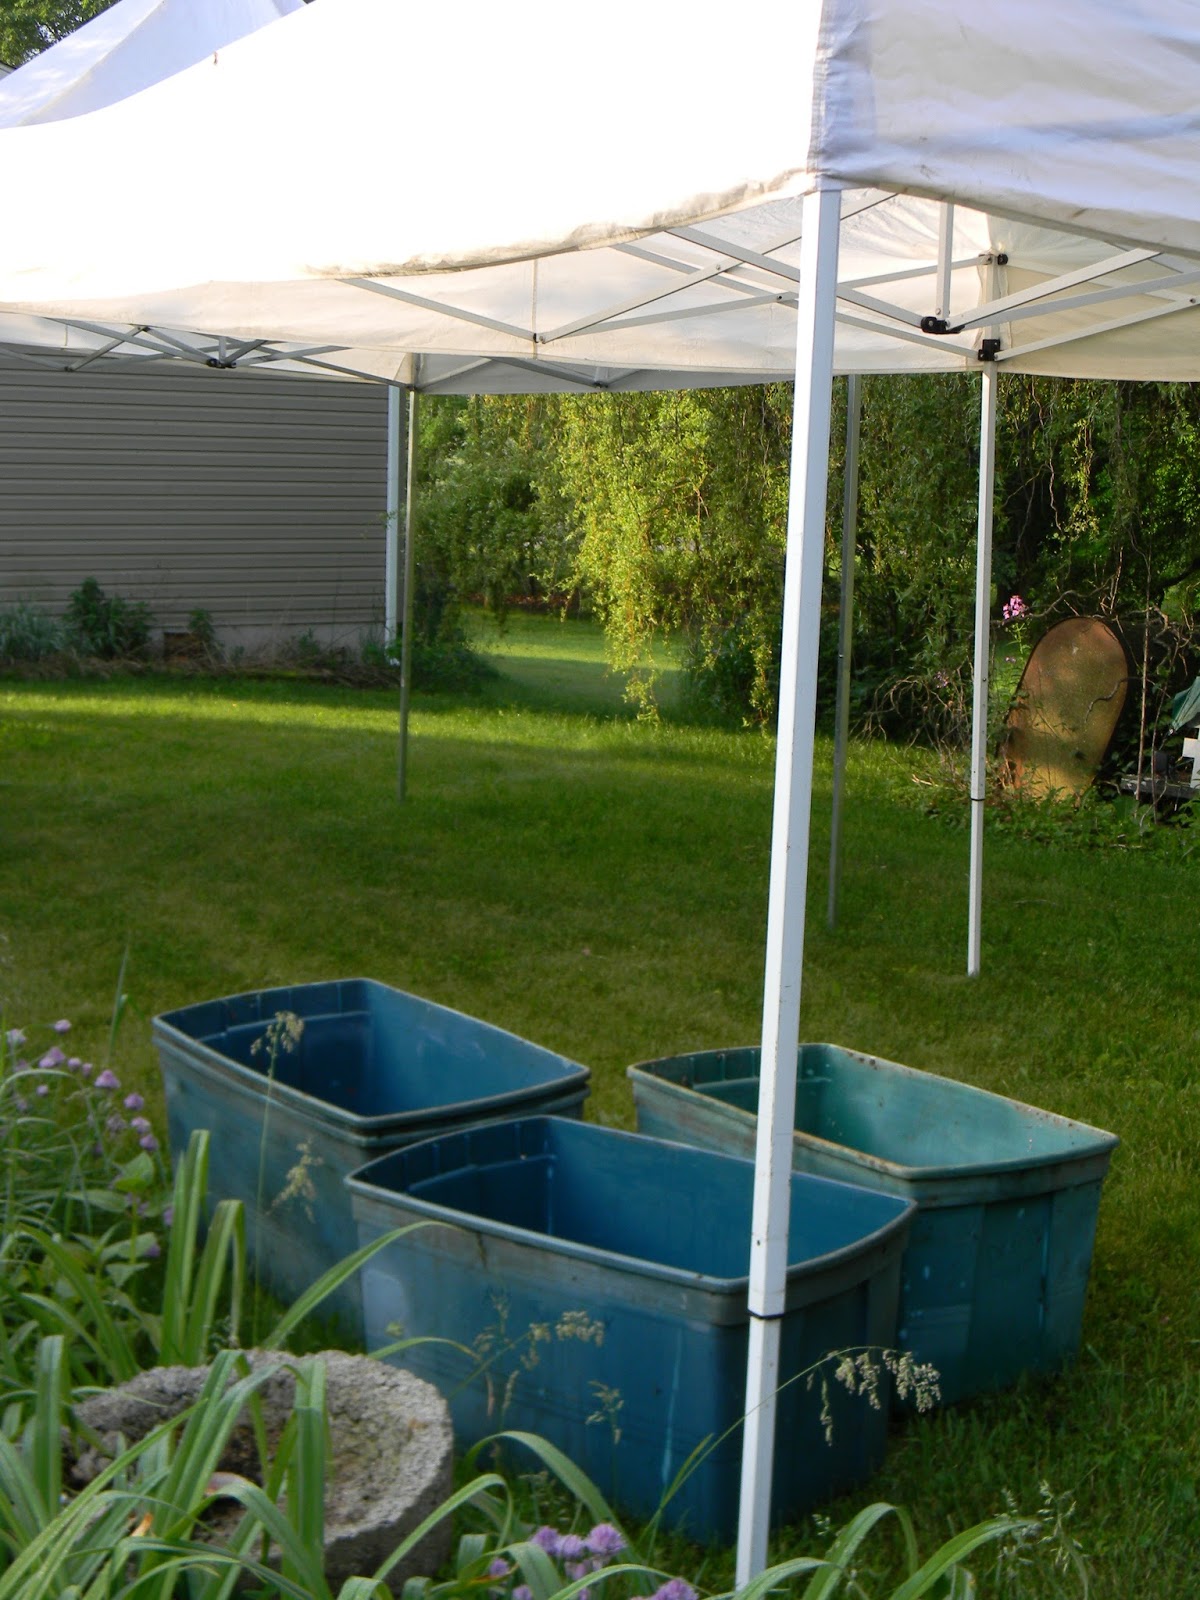

A lot of things were given away or donated.

I was merciless in the purging process.


My sweet husband and brother put in a new window for me.


This will be a huge improvement.

I will have light and cross ventilation.


Here is an "In Progress..." shot.


My husband also replaced my doors with Dutch doors that he built.

I have always wanted Dutch doors...

Then came all the sorting.


So much sorting...

I worked for a couple weeks on the sorting.

My husband and daughter installed another window on the other side when it arrived.

I made curtains from burlap coffee sacks to cover most of the boxes and totes and create a less cluttered looking space..

I used more burlap sacks to cover the Tyvek on the inside walls.

And finally it is ready.  

Want to see?


This shed has not been this empty since we moved in...


Those counter spaces are awesome.

The area below houses ribbons and trims.  

Some are on spools so they are on the dowels where I can easily see what I have.

All the loose trims are in the cheese boxes above.


This space is a seasonal space. 

It is, after all, a shed.

So no heat or air conditioning.  

That helps to determine what and how things are stored out here.

The sewing machine will come inside when it gets colder.

I brought it out to make all the curtains and found I actually enjoyed standing to sew.


The mannequins are awaiting a makeover.

I promise to share them when they are done.


Previously my storage consisted of wooden crates around the perimeter.

I wanted to minimize buying for this project so I reused what I had as much as possible.

I used the crates to make movable storage.

I built bases from pallets and added casters.

I made two bar-style storage units for in front of the back shelves and a square unit for the center island.


My band saw lives in this corner.


This side is the more hardware/machinery related side of the shed.  

There are lots of goodies in all those little drawers.


And here are those coveted Dutch doors.

As soon as the wood cures and dries I will paint them and add Tyvek and burlap to the insides.


 My husband helped me move my belt sander and grinder out here.  

I so love that they have a nice little home.


That is my space in a nutshell.

I will be showing some of the details another time.  

I hope you will stop back to see.

For a peek at other amazing work areas/studios/spaces, head over to My Desert Cottage for "Where Bloggers Create 2016".

Thanks for stopping by....


Wednesday, June 17, 2015

Workbench Wednesday...


This week I decided to show you one of my actual work areas and what is on it this week.

This is the table next to my spot on the couch.

There's my laptop, my newish wooden unit and the looped beads I have been playing with.


I bought a one step looper, which I love.

I can make my own beaded chains easily.


I made some into chains.

Others are just the beads with the loops on each end, ready to be bulit into designs.


I apologize for the photo quality. 

 It is rather dim and the lighting is not ideal for photography.


The looper is pretty versatile.

I tried seed beads and larger glass beads to play around with it.


 These are not the tiny seed beads.

They are the "E" size.


The glass beads are from one of those glass budget bead containers.

I love those for the variety.


Here are the loopers.


They are supposed to work for wire 18- 24 guage.  

I used 20 gauge.

I wanted to share my new organizer as well.


It holds essentials and some other fun goodies.


I recently splurged and bought some silk strips so the colors are arranged in the top slots.

I have some of my specialty pliers in their own slots.


My tag punch is where I can find it.

And those little glass jars have hand forged steel findings.

I spent Sunday morning hammering them so I could fill all the little jars.


Kleenex, sewing supplies and chocolate are essentials.


There is always a magazine from Stampington in that slot.


Next to the wooden organizer is a little basket with some pliers and clippers.

Behind it, is a poster my daughter bought for me when we went to Lucketts this spring.

It was a great day.


So that is what is new on the workbench this week.

What are you up to?

Thanks for stopping by....

Tuesday, June 16, 2015

The GREAT BEAD ORGANIZATION PROJECT

This spring I decided I wanted to redo my garage studio.  

I wanted to move some of my storage pieces around to better utilize my space.

I did a lot of thinking and planning.

Then I told my husband.

He suggested going and getting new shelves to better utilize the space.

We measured and researched options.

Then we went and bought some heavy wire shelves.  

I will show you where we put those later but for now I want to show you my bead shelf.

This is the area before.


I had a lot of this and that piled and stacked.

When we got the new shelves, an old shelf I already had fit perfectly in this spot.

So I cleaned out the old space and moved this shelf over.

I also moved an upper cabinet over.

This is still during the moving process.


This is after.

Tah-Dah!


I love that everything is here in one place for making jewelry.

On the top are all my jewelry books and magazines.

I sorted them all and only kept the ones I use.

The three bins on the top of the wire shelf are my husband's idea.

Those are my holding bins. 

 When I buy new supplies or bring something out and don't have time to put it away, I put it in one of the bins.  

When the bins are full, it is time to sort.


Time to sort....

My drying racks are ready to go and I finally sorted out the trays that fit on the taller skinnier one.

I keep projects I am working on on these trays as well.


In the upper cabinets, under the books, I have bins holding wires, elastic, jute, seed bead tubes, etc.

The bins are easy to stack and remove.


The holding bins are full...better get on that.

Under them are larger bins of bangles, bracelets and headbands sorted by materials.


Then there are the beads.

It took me a week to organize the beads.

My old method involved putting them into these little compartment boxes by when I bought them. 

That is a horrible method for trying to find anything.

So I sorted out every single box and reorganized by color and type.

Types include things like wooden, metals, pearls, whimsical, vintage, and handmade components.

I also have many boxes of hardware goodies like nuts, washers and such.


My label maker got quite a workout.

I love my label maker.

There are some empty boxes for future finds. 

 I have a bunch of stuff in the studio that will go in these too.


I also really loaded each box by combining lots of bead types into each compartment.

I realize that would make some people crazy but it utilizes the boxes so much better for me.


On the side of the shelf are all my chains and necklaces.

These are sorted as well by finish and length.


It makes finding a chain so much easier than my old system which also went by when things were purchased.


I buy chains at yard sales, thrift stores and the mall when they are deeply discounted.

Many of them I will distress and completely change the finish.

Necklaces with beads and dangles get disassembled so I can use them in a different way.


So, this is the GREAT BEAD ORGANIZATION PROJECT.

The capitalization of the project helps to show the magnitude of it.

Thanks for stopping by...


Wednesday, February 18, 2015

Workbench Wednesday...It Has Been A Long Time...


It has been a very long time since I have done a Workbench Wednesday...

Not because I have not been creating.

I have.

I just have quite a mess going on in my studio this time of year.

Today I wanted to share some of the process of bead making.

First I hand-form my beads and components from Sculpey polymer clay.

Then I cook them in my toaster oven.


Next is the adding color process. 

Sometimes I use dyes.

Sometimes I use paints.

These were dyed.


I did not have any photos of the finishing processes.

There is a lot of steps and layers to the final steps.

Once the beads are done, I keep them in various containers.

First they go in a can or plastic container.


Next I sort them into my printer's trays and shadow boxes.


I started putting them there in the spring last year.

They sit on my dining room table most of the time.

I find just looking at them makes me so happy.


I am known to be a bead hoarder.

I love pretty ones but if I allow myself to actually buy them, I am afraid to use them.

Now that I am making my own beads, I am much better about this.

I know if I use them up, I can just make more.


I am a texture girl.

How about you?  

Do you love color or texture?


I also love beads that are special in some way.

I like to incorporate cool embedded items, new bales, shimmery colors.


I find that when I look at other people's work, I am fascinated by how they made it.

I want to try to get the same look.


I also like to play around while I am working to see what happens.

I am 1 part scientist and the rest artist...

Maybe all artists are more scientific than they think.


Thanks for stopping by...