Showing posts with label #organizing. Show all posts

Sunday, April 24, 2016

Cleaning the Greenhouse....

Seems like it has  been a very busy spring.  

I knew it would be so I decided to tackle one project at a time.  

The first was my green house.


A couple years ago I shared my clean up with you. 

Well, a lot of stuff got piled in here last summer and fall.

Watch out!

Scary!


So the first weekend I carried everything in the middle out.

Sadly, I did not get done.

A storm was coming with 50 mile an hour wind gusts and rain so I covered the pile and hoped for the best.

I did not want to have to carry it all back in and back out again...


I had piled some pots to donate behind my shed.

The winds tossed them about a bit...


Round 2!

I had put some things back in that I did not to get wet.

So I started by carrying them out again....


I did make a couple dents in organization last weekend.


My husband always suggests going vertical when you need more space or storage.

Those little chairs were made by my great grandfather and I used them as a child.


My sweet husband helped to organize and move our tools.

My goal is to keep it neat but just in case....

The tools will be ready to grab right inside the door.


The space on the floor in front of them will be kept clear except for my little rolling cart.


Work continues...


Now that is a welcome site!

These shelves have not been clean in forever....

They are ready for some plants to be started...

I am thinking herbs this year...


I cleaned off my display shelves...again.

Pared down a few things.

It could use another go around for cleaning out but it is getting better.


We save pitchers and bottles for flower arrangements for the fair.


Again, to maximize storage, go UP....


The plant shelves look better.

Underneath I got rid of a bunch of stuff. 

 Now my extra glass scraps are there along with some pots.


This wall is much better. 

 I sorted through my books and kept my favorites.

There is a great mix of informational and some fun junking books.

My hat collection from high school is in here on the wall.

I also have my flower frogs on the shelves.

The green laundry bags up high hold light botanicals that I collect: pine cones, gourds, pieces of bark....


I gathered most of my clay pots in one spot.

Now they are handy and lovely under the potting bench my husband made me about 20+ years ago.


This is the cleanest the top has been forever.

Room to plant.

Or dream...

Or ponder...


Here are the display shelves from the other side.
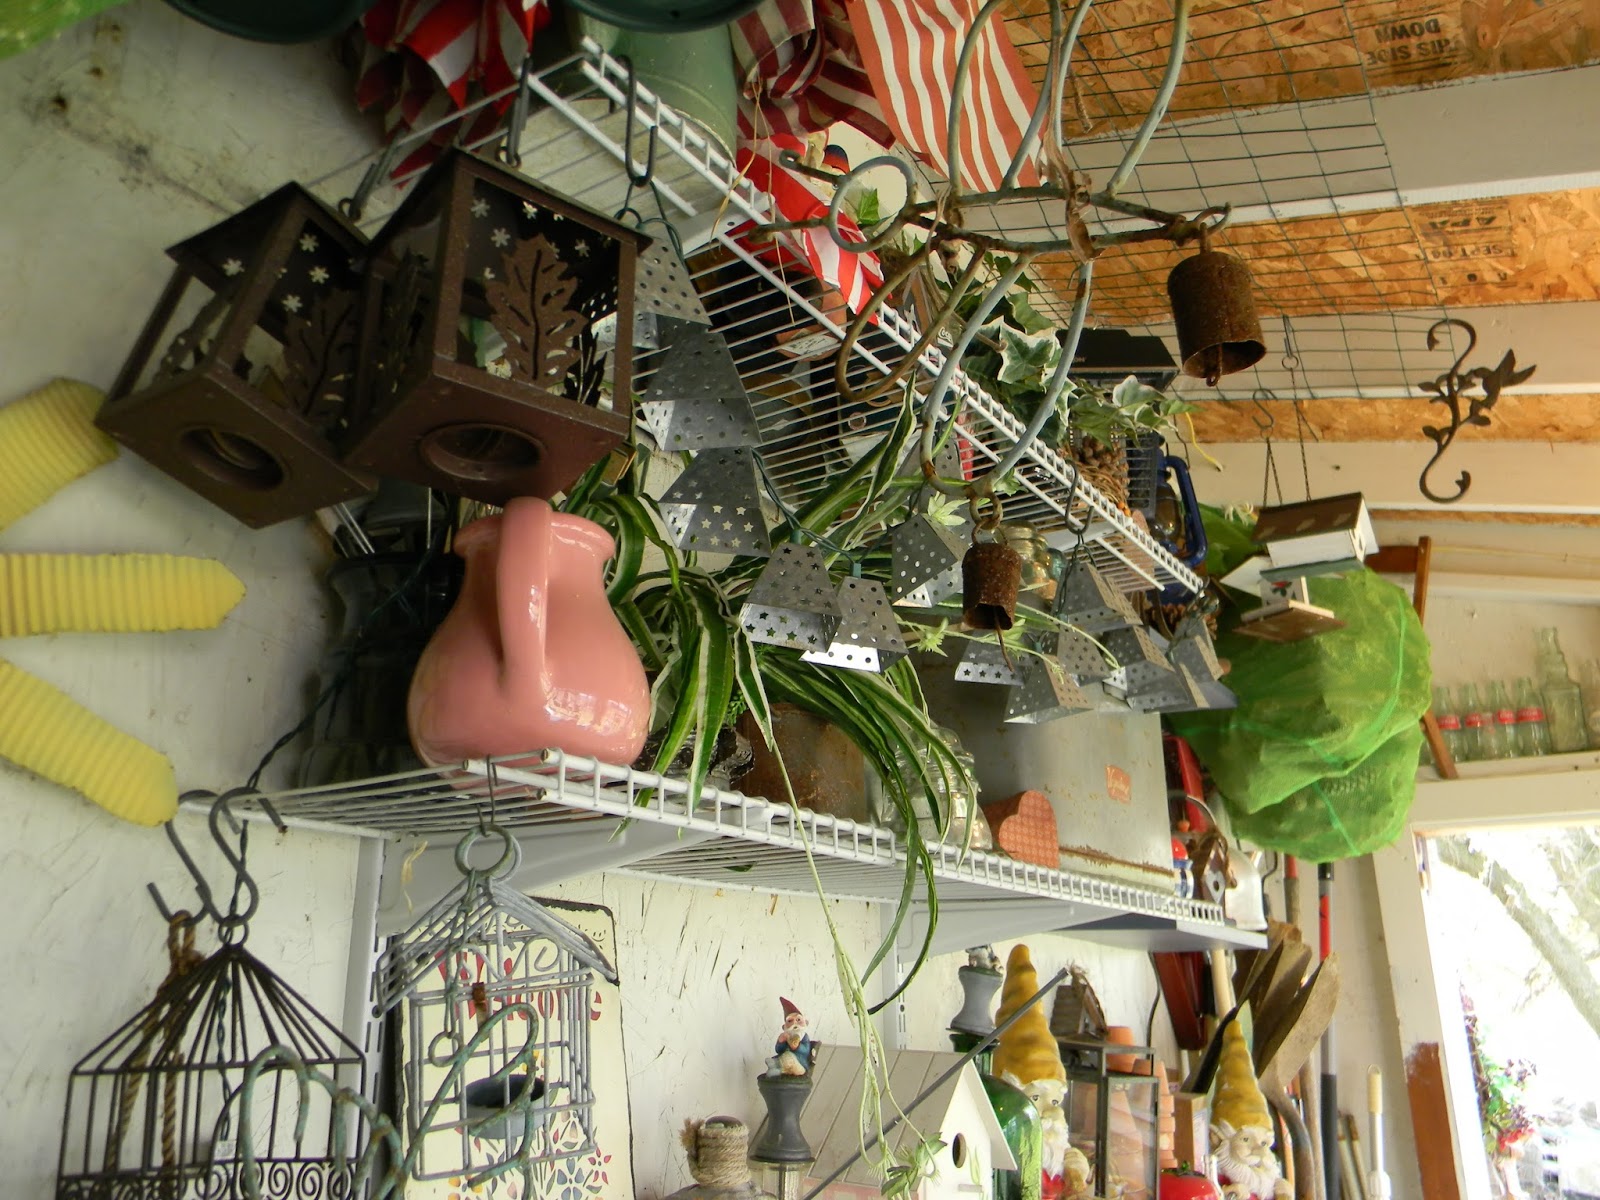

I don't waste any space...

Above the door there are a few glass bottles.


I ended up putting one of the chairs I showed you before back here.

When I hung up some more bags of pine cones, the chair did not fit.


My chicken wire dress forms will sit here until I get them out into the garden.  

I have to start cleaning out the flower beds next.


Later I will show you a few of the collections that get stored in my green house.

Thanks for stopping by...


Sunday, July 5, 2015

Back to School Craft Lightning


It's time for another great Craft Lightning.

This time it is Back to School Crafts in 15 minutes or less.


I gave some thought to what I wanted to do for this post.

What do parents and children struggle with when it is time to go back to school?

Organization and getting ready.

So I created this quick way for parents to help their child be responsible for getting ready in the morning.


All you need is:

 Some scrapbook paper or an old favorite book

Scissors

Sharpie Marker

Dry Erase Marker

A clear plastic standing slide in picture frame

And some stickers of you wish.


Remove the paper from the frame and use it to mark and measure how big to cut your decorative paper.


Cut the piece to fit in your frame.


Write a checklist of tasks your child needs to complete each morning with the Sharpie marker.


Slide it into the acrylic frame.

Add stickers if desired.


Each morning have your child check off each task as it is completed.


I used the pages from a beloved book that literally fell apart.

You could use scrapbook paper, a family photo, or a favorite drawing.  

You can also write the checklist directly on the acrylic frame.

I chose to do it on the paper so the list can be easily changed as the child grows.

You can also change it for specific days of the week.

Thanks so much for stopping by....

Hop over to see the other great 15 Minute Back to School crafts by clicking on the picture below.


Wednesday, June 17, 2015

Workbench Wednesday...


This week I decided to show you one of my actual work areas and what is on it this week.

This is the table next to my spot on the couch.

There's my laptop, my newish wooden unit and the looped beads I have been playing with.


I bought a one step looper, which I love.

I can make my own beaded chains easily.


I made some into chains.

Others are just the beads with the loops on each end, ready to be bulit into designs.


I apologize for the photo quality. 

 It is rather dim and the lighting is not ideal for photography.


The looper is pretty versatile.

I tried seed beads and larger glass beads to play around with it.


 These are not the tiny seed beads.

They are the "E" size.


The glass beads are from one of those glass budget bead containers.

I love those for the variety.


Here are the loopers.


They are supposed to work for wire 18- 24 guage.  

I used 20 gauge.

I wanted to share my new organizer as well.


It holds essentials and some other fun goodies.


I recently splurged and bought some silk strips so the colors are arranged in the top slots.

I have some of my specialty pliers in their own slots.


My tag punch is where I can find it.

And those little glass jars have hand forged steel findings.

I spent Sunday morning hammering them so I could fill all the little jars.


Kleenex, sewing supplies and chocolate are essentials.


There is always a magazine from Stampington in that slot.


Next to the wooden organizer is a little basket with some pliers and clippers.

Behind it, is a poster my daughter bought for me when we went to Lucketts this spring.

It was a great day.


So that is what is new on the workbench this week.

What are you up to?

Thanks for stopping by....

Thursday, January 1, 2015

Fun Studio Organization from Artistic Endeavors 101

January always makes me want to clean up and organize.

I am fortunate enough to have several creative spaces, but organization always seems to be a challenge.

Here are a couple of my favorite ways to organize.


I make my own polymer clay beads.

I love to organize them so I can clearly see what I have.

These are organized in a house shaped shadow box.

The little compartments are perfect for sorting what I have made.


I use this tie/belt rack that I got at the thrift store to hold chains and necklaces.


I used to use these printer's trays in my booth to hold necklaces, but people tangled things in them.

I decided to use them myself in the studio to organize my favorite bits and baubles.


I love that I can see what I have and easily choose components.


This fun industrial drawer unit came from Lucketts last spring.

It was my big splurge of the day.

I adore it.


Last summer I made this spinning studio organization.

All my favorite materials are readily available.


Tin cans got a new look with a coat of spray paint and some burlap.


Sugar shakers hold spools of baker's twine.

They do not get tangled and are easy to use.


All my favorite markers and pencils are finally all in one place.

This year I want to start an art journal.

This will keep all those materials at my fingertips.


The colors inspire me and make me smile.


I bought this little shelf from a closed store in town.

It only takes up a few inches of table space, yet it organizes many of my most used supplies.

My big paper punches rest on a tension rod I added.

My RIT dyes are close to the sink here and ready as soon as inspiration strikes.

Another tension rod holds spools of ribbon.

I love ribbon.


You can see how much I love ribbon.

This was my husbands brilliant idea.

We used long clear rods to hold 5 rows of ribbon.

My husband added wood strips to this storage shelf and screwed in cup hooks to hold the rods.

I also keep twine and cotton string and lace here.


This galvanized tiered rack was on clearance from Sam's last year.

I imagine it will end up holding many things, many places in my studio and home.


I try to use what I have.

What is your favorite studio storage piece?

Thanks for stopping by....