Showing posts with label molds. Show all posts

Thursday, September 29, 2016

Art Jewelry Elements: Tree Challenge

I am a huge fan of all the Talent gathered over at Art Jewelry Elements.

I am talking Talent with a capital T.

They generally offer a challenge each month and invite others to play along.  

I have on occasion and am doing so again this month.

The challenge this month is trees.

Well, I knew this would be the perfect challenge for me.

A while back I made a tree stamp from polymer clay.


And here are the new, naked beads.


It is one of my all time favorite stamps to use.

I love how the beads and components look.

So I knew I could use some of those for this challenge.

So here you go....

A Fairy Tale Forest necklace...


Here is one of those tree beads all dressed up...


And a little woodland fox too...


The key focal and magic bead are just what this necklace needs.


But then I had to make a fairy forest too.

   Flowers say fairy to me.

So I added some polymer beads and flower focals made from real flowers.
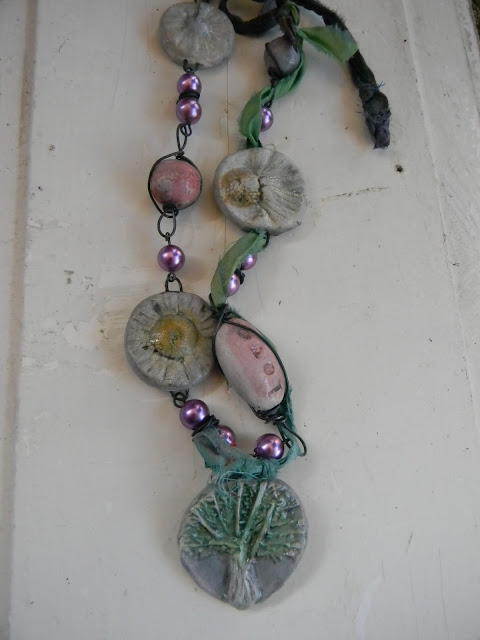


And last but not least, this little tree has a bee friend and a vintage inspired focal.


Join the team for more tree-inspired goodness:

Jennifer Stout Cameron

Lesley Watt

Jenny Davies-Reazor

Laney Mead

Niky Sayors

Cooky Schock

Cathy Spivey Mendola

Caroline Dewison

And the other guests:

Karin Grosset Grange

Merja Sundstrom

Cindy Martin Shaw

Allison L Norfleet Bruenger

Melissa Trudinger

Kathy Lindemer

Gloria Allen

Shai Williams

Tammy Adams

Mona Arnott

Terry Del Signore

Thanks for stopping by....

Tuesday, May 10, 2016

Fusing Failures...


I told you I got a kiln in the fall.

And from time to time, I share a little of what I am doing with it.

Well, today I wanted to share some of our failures.

Seems like we have a ton of those too.

 So here goes...

Sometimes part of it turns out...note the orange bottom.

But the rest....not so much...


For this one, I tried melting glass pieces and frit in a cookie cutter.

Some of the frit we made from a beer bottle did not melt.


This button in my button mold also used some of the beer bottle green frit.


And this one...

Yup. 

 It just did not work...


I don't recall what color frit we used....

I would call this a failure but I sort of like the primitive look of it...


Same with this one.


More of the green homemade frit.

I did finally throw the rest of it away...


I tried to make a snowman...


When I flip it over, you get a better idea of what I was hoping for...


I actually sandwiched a leaf between these pieces of clear glass.

Sometimes you can get an outline of the left before it burns away.

I did not.


Not enough clear frit on this one to seal the top...


These are layering failures.

Some did not melt correctly.  

Some got very brittle and can be snapped in half.


I tried to melt a couple Christmas balls...


And these were an attempt at coasters made by layering glass in a terra cotta saucers coated with kiln wash.

A great idea that just did not quite turn out...


Here is the other side of the one on the right.


I tried to layer some hardware bits between layers of glass and the metal stayed hot longer, causing bubbles.

While I think the bubbles are kind of cool, they are very fragile and broke....making the pieces dangerous.


And here is another failed attempt at a snowman.


It's funny, the glass fusing is definitely more experimentation than exact science.

That drives my husband crazy because there is not always a pattern to the results. 

 I find it sort of freeing.  

I can try stuff, but I don't know just what I will get...

Even failures are learning opportunities.

I hope you are taking chances and learning every day...

Thanks for stopping by....

Monday, January 18, 2016

New Toy... and Melting Bottles With it...

Like many artists, I am forever on the quest to try new tools, toys and techniques.

This fall I made a long-time dream come true and bought myself a kiln.

I got a Delphi EZ Pro from a friend.

He is a gifted glass artist and wanted to upgrade to a larger kiln.

It will fire glass, ceramic clay and metal clays.

And it does not need 220.

Perfect for me.

So the fall has been a series of adventures in glass melting.


Most of what we have done have been experiments with scrap glass.


Today I wanted to share some of our bottle experiments.

I have 2 bottle molds and have tried slumping, tacking and full fusing a variety of bottles.

This is an example of a slump in a mold.


I added some fun little hardware bits.


There are a few air bubbles around them.

This does not bother me. 

 The metal holds the heat and cools at a different rate than the glass.


This was done in a bottle mold on the slump setting.


These can be used as trays for crackers, fruit, cheese, etc.


Many people on our gift list this Christmas got one of these.


This little brown bottle was a vintage bottle.

I melted it on full fuse just on the shelf.

I love the look the vintage glass has.

 What a sweet little resting spot this will be for a spoon or teabag.


This bottle was a little too big for the mold.

You can see how it melted over the edge a bit.

I also filled this one with marbles and glass gems. 

 I loved the look inside the bottle.

My mother in law grabbed this one and uses it as a spoon rest and loves it.


The glass within the bottle cracks and has bubbles and such.

I like the unique look of it.


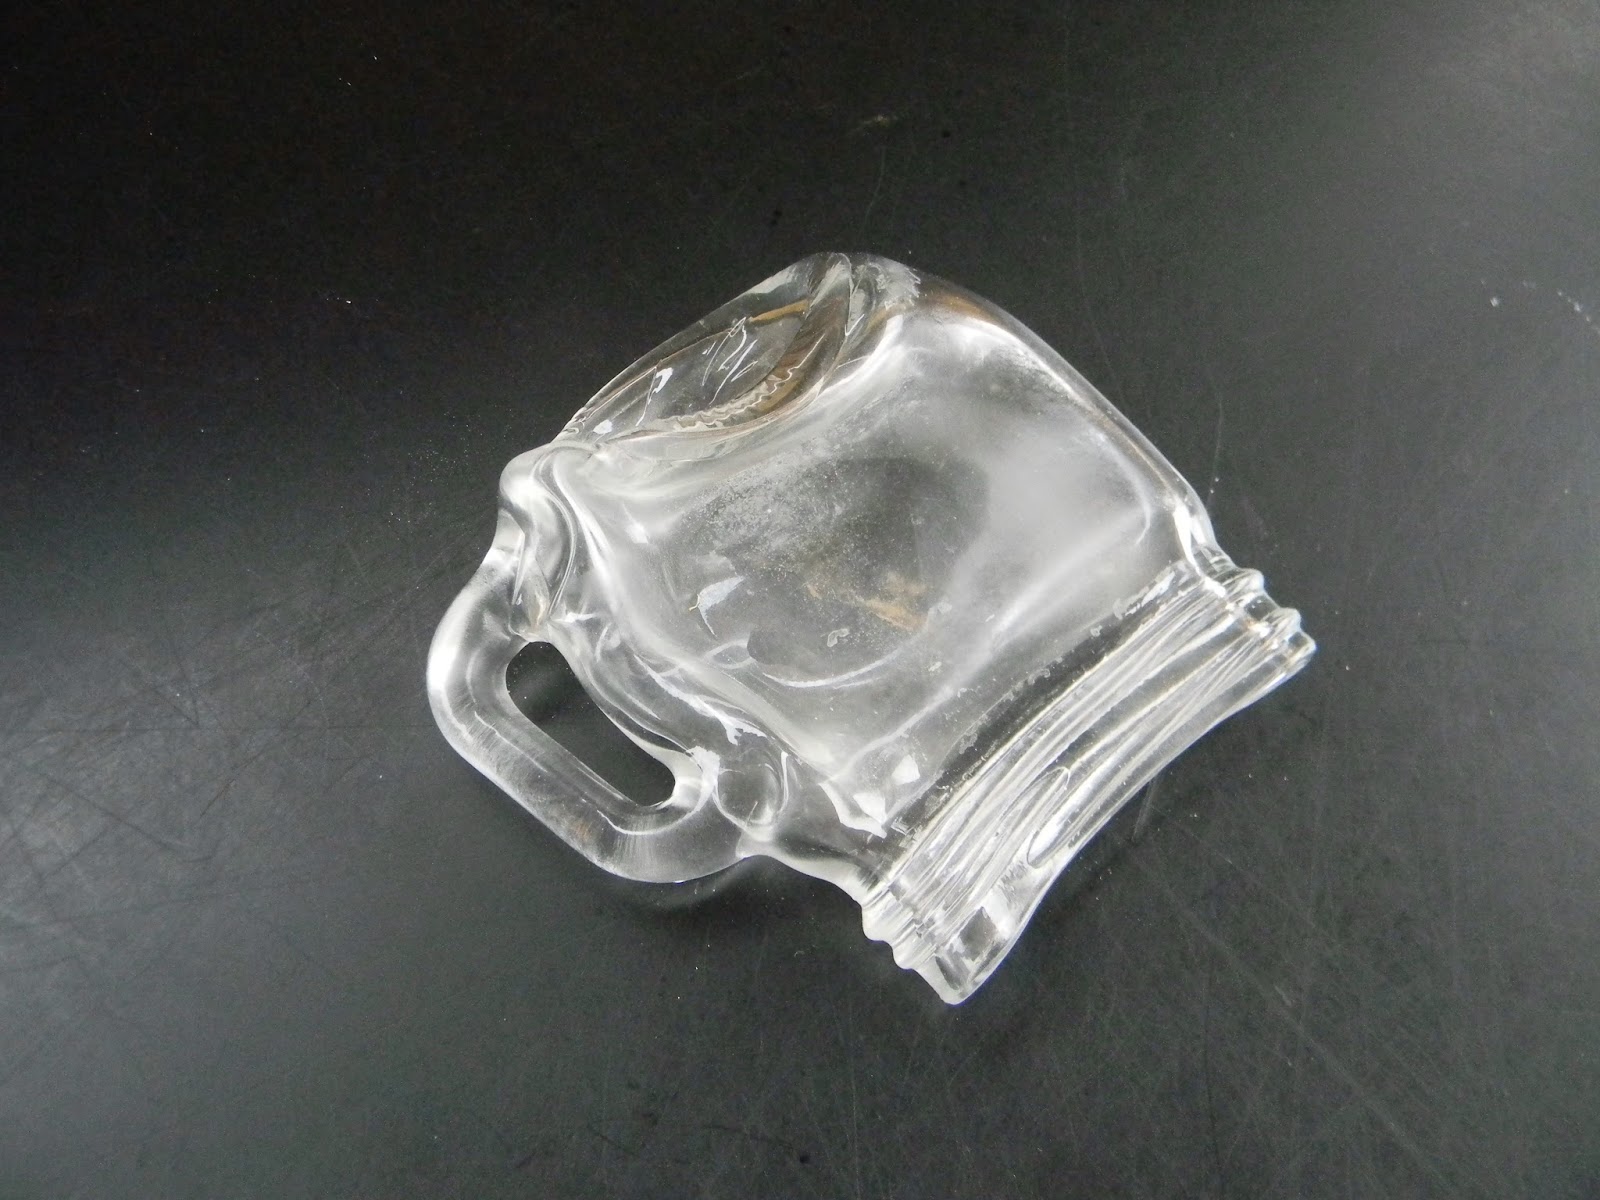
This was a little pink mason jar cup from the thrift store.

It was slumped right on the shelf, no mold.

The pink color was just painted on so it completely burned off during firing.


This is a Frappachino bottle done on the shelf, no mold, full fuse.


The last one to show you today was a little bottle with a bee and honey design.

I slumped it and you can still see the designs in the glass.

This will be a great gift for a tea drinker.


I will be sharing many more of my experiments.

Some have been successes and some have been failures.

What is new in your studio?

Thanks for stopping by....