Showing posts with label making molds. Show all posts

Saturday, December 19, 2015

Belle Armoire Jewelry Giveaway

The Winter 2016 issue of Belle Armoire Jewelry is one of the best ones yet.


I never fail to find inspiration in each issue.

This one is just as inspiring.

I want to share some of my favorites from this issue.

This wire piece from  Angela Gruenke speaks volumes to me.

Absolutely gorgeous!


The pieces from Carol Dekle-Foss are inspiring.

This is a technique on my to do list for sure.


Cat Kerr is talented and versatile.

She is constantly creating and sharing beautiful new techniques and pieces.

These bangles are something I want to try...


I love the organic look of this necklace from Elizabeth Hodges.

It really draws me in and makes me want to touch this piece...


And these earrings from Andrea Chebeleu?

Gorgeous and inspiring!


And then there are some color drenched pieces that inspire me to break out of my neutrals mode.

These pieces from Cherie FitzSimons-Orr are riveting and bright.

I love them!


Also full of color and possibilities are these pieces from Carol Ognibene Kornievsky.


I adore how they incorporate bright doodles...


 Melinda Barnett is featured in this issue as well.

Her wrapped links are always so beautiful.


Melinda incorporates polymer clay in such an inspiring way in these pieces.


And then there are these wine cork necklaces.

When I read there were going to be wine cork necklaces in this issue, I never pictured anything as fantastic as these creations from Jamie Larson.


These pieces leave me speechless...

Wow!


I am especially proud of this issue of Belle Armoire Jewelry as it features a few of my pieces as well.

Every time I see my pieces in a magazine, I am transported back to when it was made or I photographed it.

The pieces in the Love Nests article were created this summer.


In the article, I walk you through how to make your own clay stamps.

I made the nest stamp used for these pieces.

The three eggs are symbolic for my family.


The Forest Floor collection is one of my favorites I have made to date.

I love the twisted wire and silk incorporated with all the primitive polymer clay pieces.


The article shares how to do several finishes on the clay pieces as well as how to achieve the very distinct look of the metal shotgun shells and rhinestones.


The faux bone look for Sculpey clay is one of my favorites to produce and then create with.


Back in the gallery are a necklace and bracelet created with silicone molds I made with lavender from my garden this summer.

I love how Stampington and Company photographed these pieces.


So, I think after taking a peek inside with me, you have to agree this issue is worth owning.

You can pick up Belle Armoire Jewelry at many craft retailers and bookstores.

You can also get it directly from Stampington here.

Or if you would like to win a copy of your own, you can right here.

Just leave a comment about which pieces caught your eye and imagination.

I will choose a winner December 26th and announce the winner December 27th here on the blog.

This giveaway is open to continental U.S. residents.

Stampington will send the issue right to your home.

How great is that?

Thanks for stopping by....


Monday, June 29, 2015

Making your Own Polymer Clay Stamps/Molds

One of my favorite recent projects was polymer clay related.

While I was playing with the silicone molds, I made some molds and stamps with my own designs.

First I made a small sketch of what I wanted for the design with pencil.


Next I rolled out a little slab of clay.  
I laid the design down on the clay and burnished it with a ball tool to transfer the design to the clay.

Then I used my clay tools to  trace and make the design.

I decided not to add the word to this one.

Doing it backwards on the design would make it backwards once stamped.

Bake your mold in your toaster oven according to the manufacturer's directions.


Then I began stamping away.


You can use your stamp over and over again.

You will notice, however that the stamp starts to soften a bit as the mold absorbs some of the oil from the clay.

No worries.

Just pop the mold back in the oven with your next batch of beads and you are good as new.


My daughter wanted me to make her a thresher shark.

So my husband found an outline online. 

 I could not shrink it enough with my computer so I had to make my own sketch from it.  

You can see my erased first attempts.


I followed the same process for transferring the design and tracing the shape.


My daughter has not seen these yet but I like the way they turned out.


I hope she does too.


Next I wanted to play with just different textures.


It is not my favorite, but I do like the idea.


I can utilize different parts of the mold depending on where I press the clay on it.


I saved my two favorites for last.

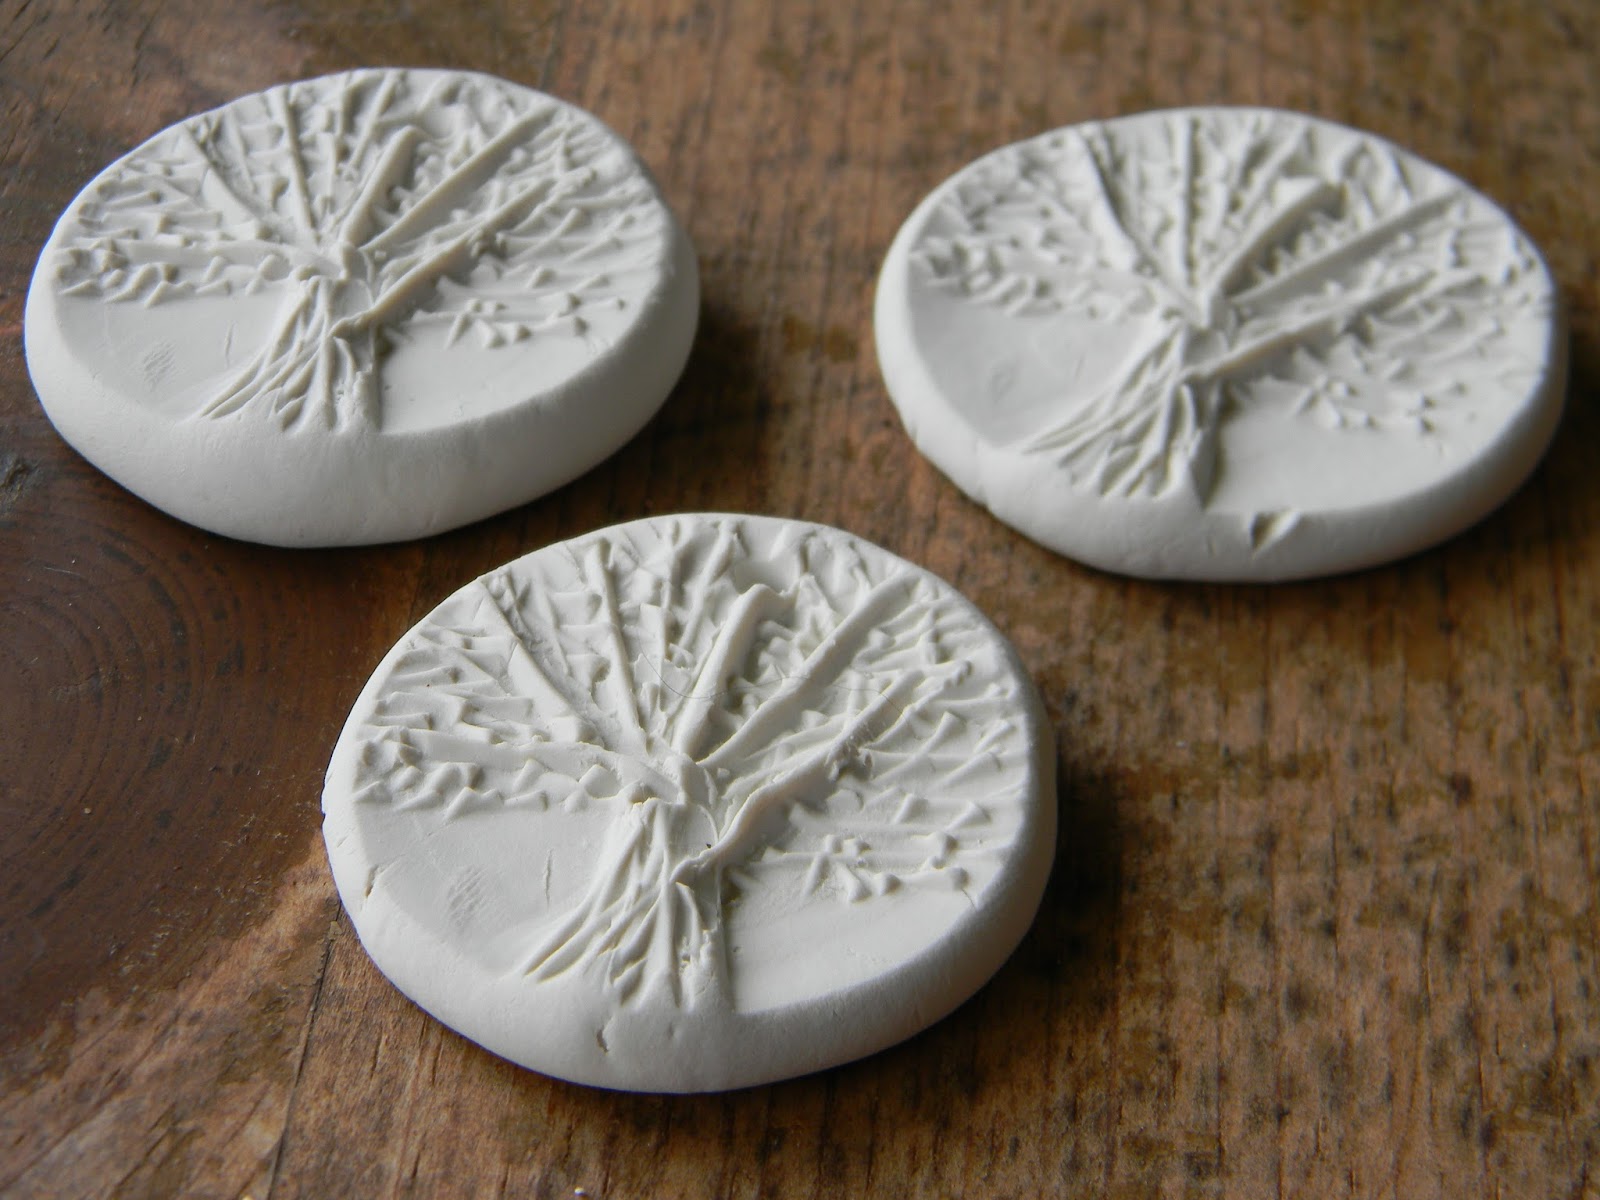
I did a tree.

I love how they symbolize life and family.


I intentionally tapered the edges of the mold down towards the table.

Check these out!

How cool are they?


I made a ton of beads and pendants from the tree mold.


I ended up making bigger ones for pendants and smaller ones for possible earrings.


My favorite mold was actually the first one I made: a nest.

Also a symbol of family, birth and renewal.


There is something so satisfying to seeing designs come from something that came originally from your own head and hands.


I could not get enough of playing with this mold.

Big chunky pendants...

In a variety of shapes.


Some pieces that I gently curled up to be three dimensional nests.


Some with bails...


Some just the eggs....


I can't wait to start playing with the finishes.

Thanks for stopping by....


Wednesday, June 10, 2015

Reinstating Workbench Wednesday...What is new this week....Silicone Molds... A Tutorial too...

For me, it is officially summer now.  

That means more time to create.

YAY!

I decided to reinstate Workbench Wednesday.

This week on the workbench... Silicone molds.


I have long been amazed with Rebekah Payne's beautiful flower beads.


You can see some of them as well as her other amazing designs here.

 I have been dying to try to make my own silicone molds.

So I did some R & D by reading her blog post several times.

 
And then I got started.

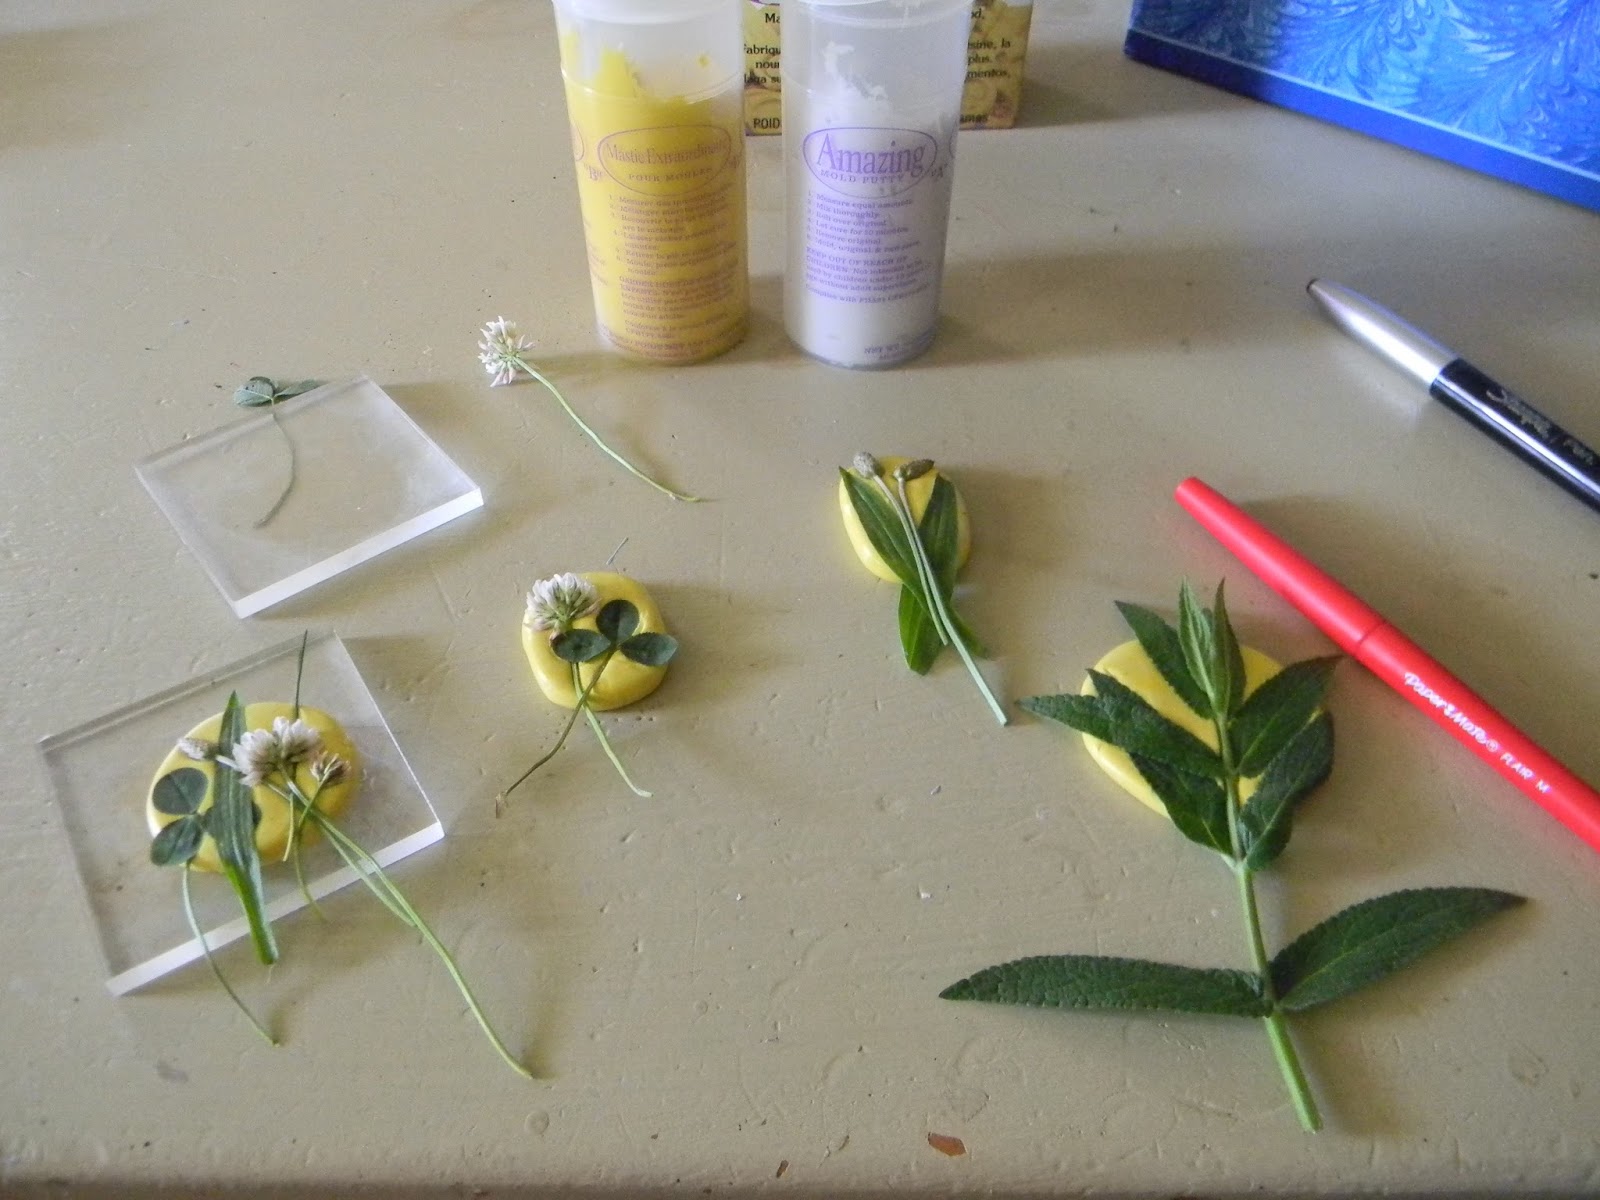
I gathered 2 acrylic blocks, the silicone, a couple pens and some flowers and weeds from the yard.

Rebekah recommended pressing the flowers gently between the blocks so you can see how it will look.

I used the pens to press the leaves and stems into the silicone.


I love that weeds work so well for this, because, well, I have a lot of weeds....


This mystery plant fills half my front flower bed.  

Its leaves have beautiful texture.


I mixed enough silicone to do about 3 molds at a time.


The hard part is waiting the 20 minutes for the molds to cure.

Once they have cured, I gently removed the leaves and flowers.

They LOOK good.

I hope they work well too...


Wow!

I am in love.


I am always amazed at the detail the silicone captures.


I love this one...


Yup, check out the detail from those mystery plant leaves...


So, that first batch worked.

It was the test run.


Back out to the yard for some more plants and flowers.


They are all pressed in...


Waiting....


Waiting....


The pen helps to push the very thin leaves into the silicone.


 Let's try a grape leaf and tendril...


The one below was a lesson learned. 

 I was mixing enough silicone to do about 3 molds at a time. 

 Then I decided to mix a little more.

The fourth mold started to cure before I could press the plants in fully.

I think it will still work, but there is not the same level of definition.


I love lavender!


Some leaves and a bonus dog hair....

Sorry about that.


Time to remove the plants.


Yay!


I cannot wait to try these out with clay...


Who knew weeds could be so sweet?


I hope this lavender one works.

I love this one.


The tendril is quite pronounced on the grape leaf.


I am definitely in love with this process.


Out to the yard again.

I will say, I prefer going out and only picking a few at a time. 

 The flowers and leaves begin to wilt quickly so I would rather work with them while they are fresh.


More weeds and flowers.


I am going to try to do this process several times this summer to harvest various flowers as they bloom.


I am trying all sorts of flowers to see which kinds work best.


I pressed some blades of grass in too.


I love the texture.


I hope these turn out.


Grass and weeds are beautiful too.


Waiting is done...

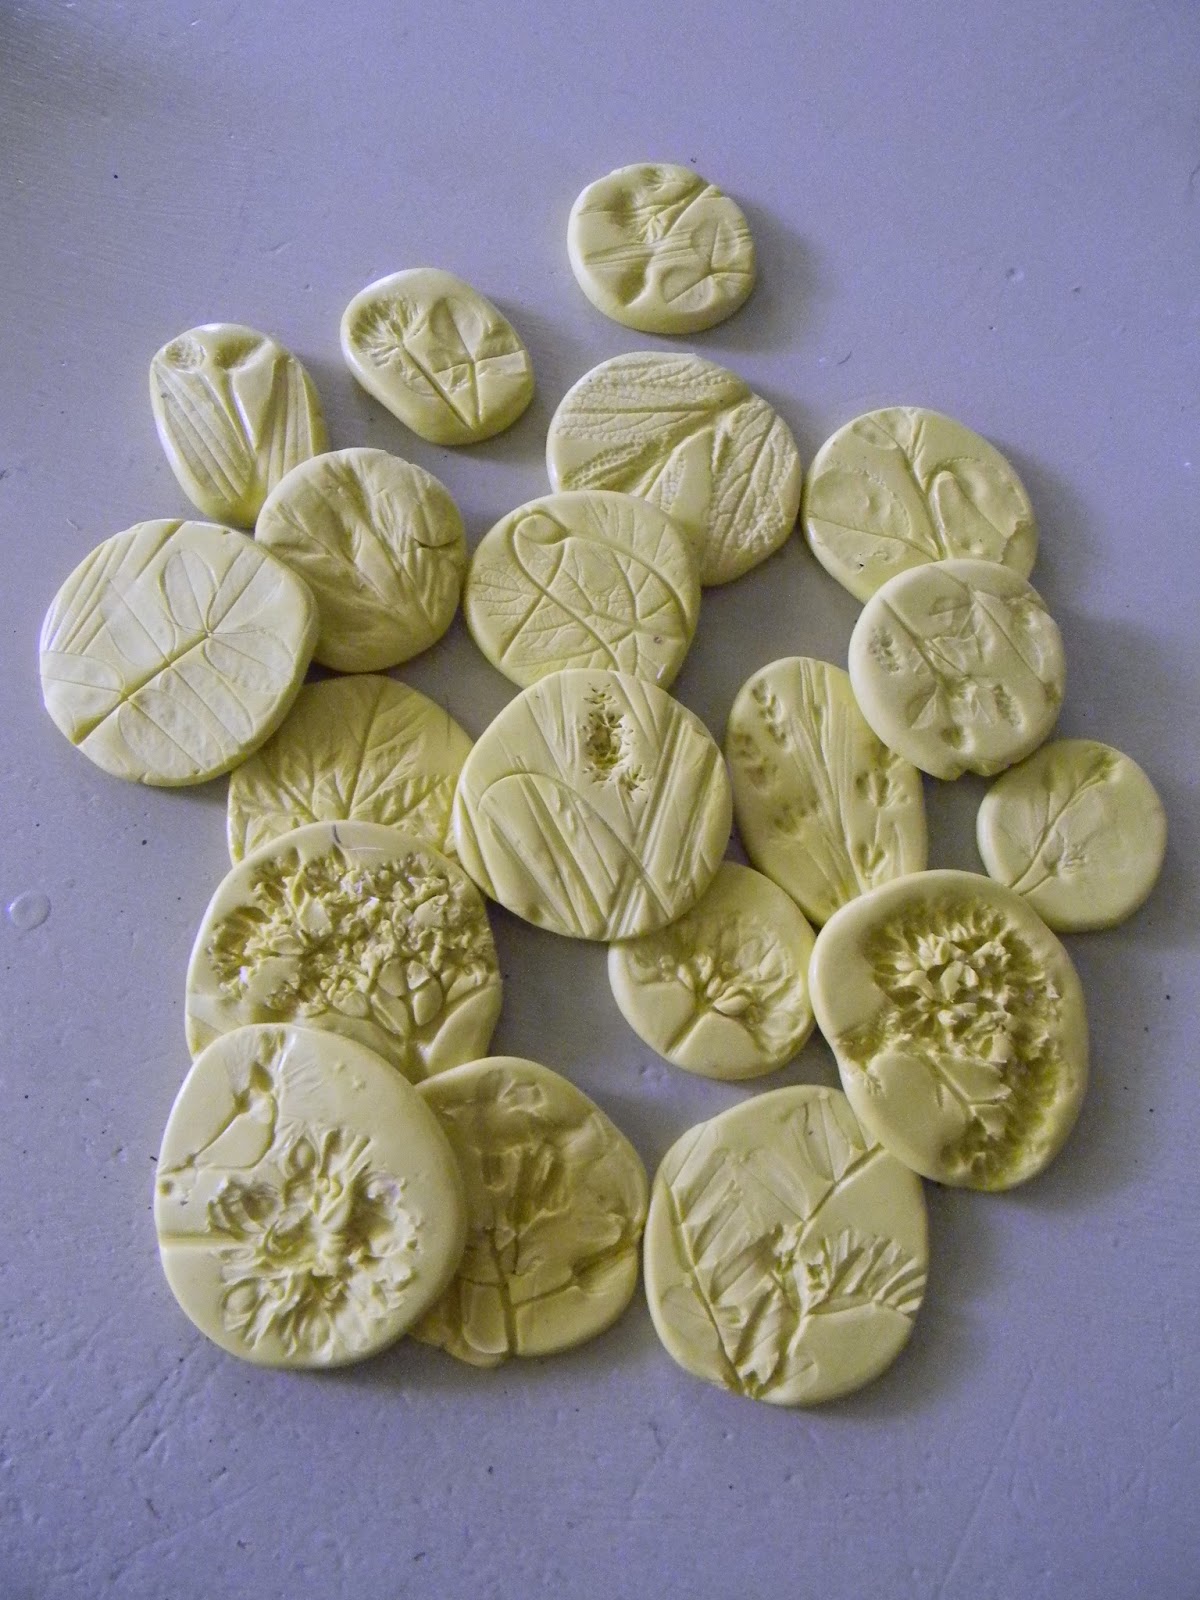
Here is the last batch finished...


 A pretty collection.


The more complex blossoms need to be picked out of the silicone.


Leaves...

And a dog hair.


The flowers with thinner petals did not leave as much of an impression even though I pressed them a little with the pens.


I am so excited to try the clay in these.


So much detail and texture in there.


I wish I had pressed these in a little more.


Love the grass texture.

Not a bad haul on the workbench for a couple hours work.


I am in love with this process...

Like I said, I will be bringing in flowers and goodies several times this summer to expand the collection.


What is on your workbench this week?  

Thanks for stopping by....