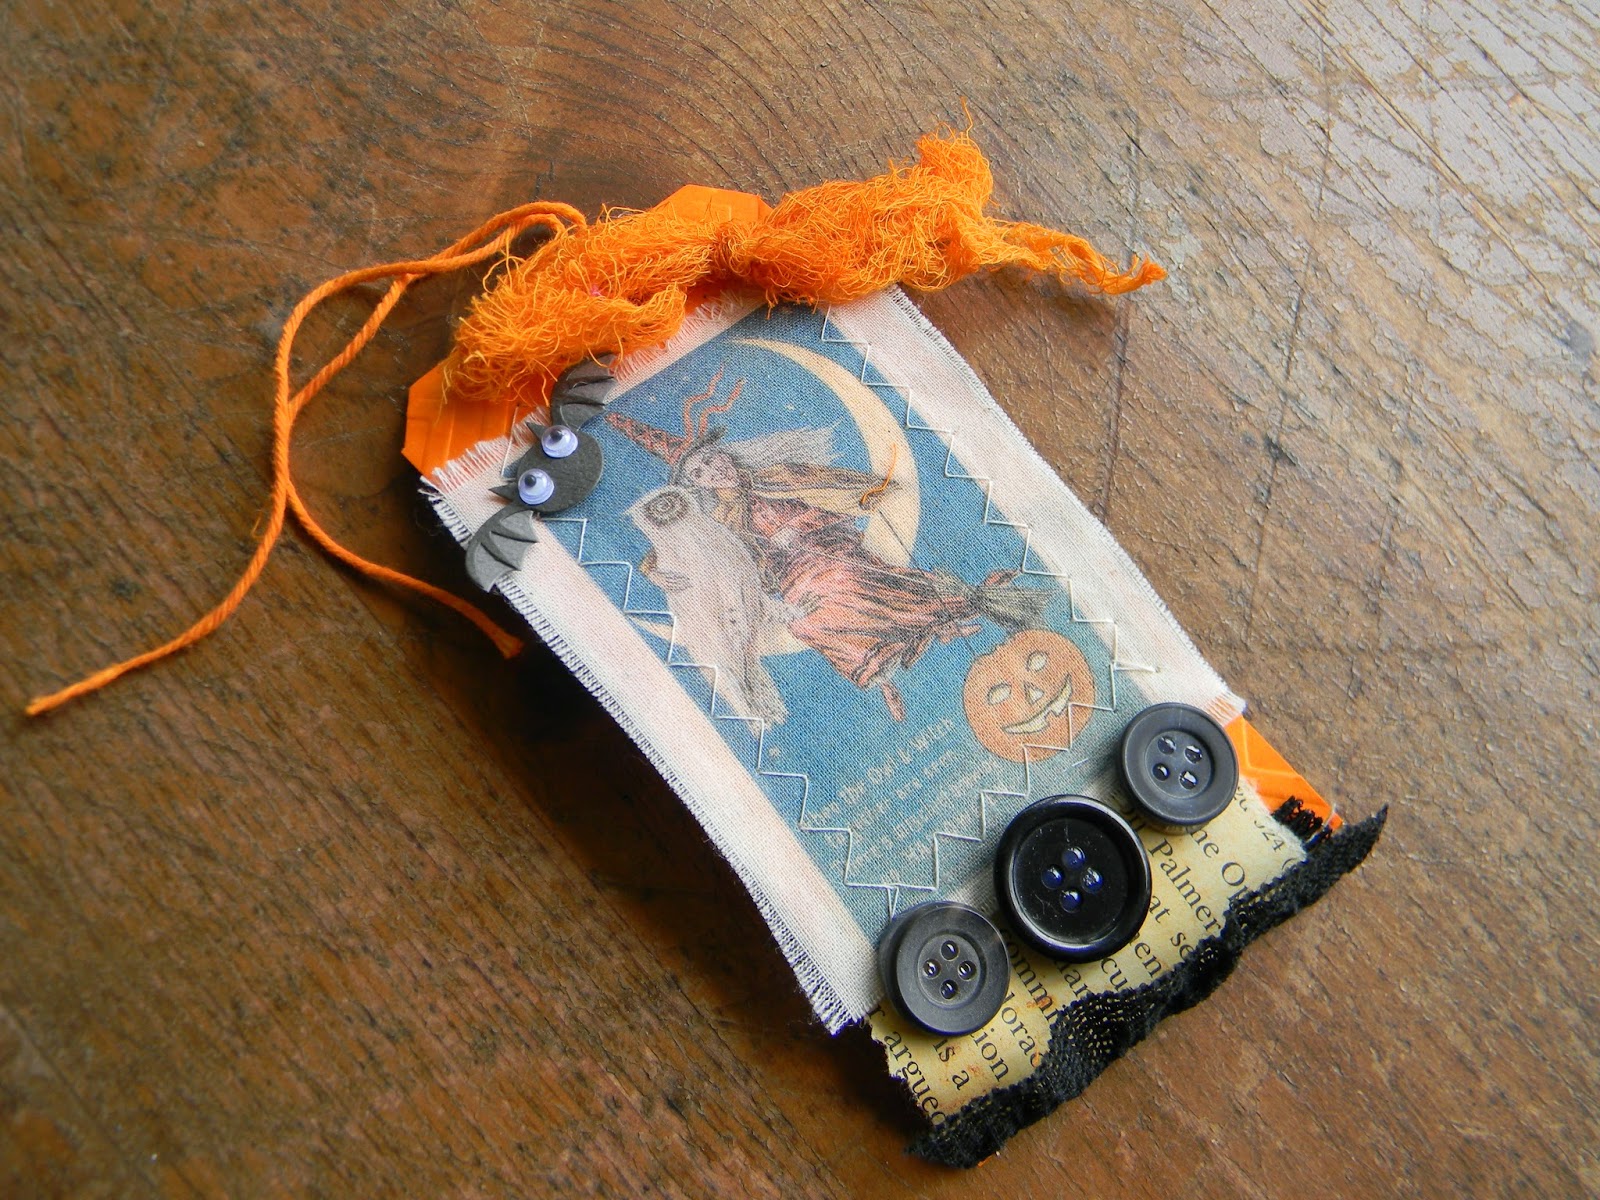
Another post with handmade cards....
I tend to create designs that use paper scraps.
I keep my paper scraps in a couple of clear plastic shoe boxes.
Anything that does not get used in a card making session goes into the boxes when I clean up.
This means the next time I make cards, new items get paired together.
The first card today starts with a printed card blank.
I usually pick those up on sale or clearance.
They save a step of adhering a printed background.
I added an embossed red scrap.
I punched several flowers from tissue paper and crumpled them up.
Then I smoothed them out, layered them and glued them in place with a great big rhinestone for the center.
I stamped my greeting on a scrap of white cardstock.
I love the look of a little banner so I trimmed out a v of paper from the left side.
Pop dots are my best friend when card making.
I added the banner to the card with a couple to add dimension.
To finish it off, I glued another punched flower and small rhinestone to the greeting.
You can do any occasion or theme with the basic design.
Often if I am making cards, I will do a variety with the same format.
It saves time once I get going.
The next card uses little paper scraps to make a sweet banner.
Add a blue background a little smaller than your card.
Freehand cut a cloud shape from white card stock.
Cut it in half (It will do 2 cards).
Glue the half cloud to the top of the card and stamp the greeting of your choice.
Clip little triangles from paper scraps.
Glue them in an arc.
Cut a piece of cotton twine and tie a bow on each end.
The last card today uses a few die cuts.
I die cut a tree and embossed it first.
Then I punched a few circles and embossed them.
I tore a piece of green paper that was the same width as the card for grass.
Then I just glued them all together.
I hope you saw something you can use.
Sometimes the simplest thing can inspire me:texture, patterns, shapes, color combinations....
Thanks for stopping by....


