Showing posts with label Thrifty Thursdays. Show all posts

Thursday, July 2, 2015

Thrifty Thursdays.... A Sewing Box Makeover...

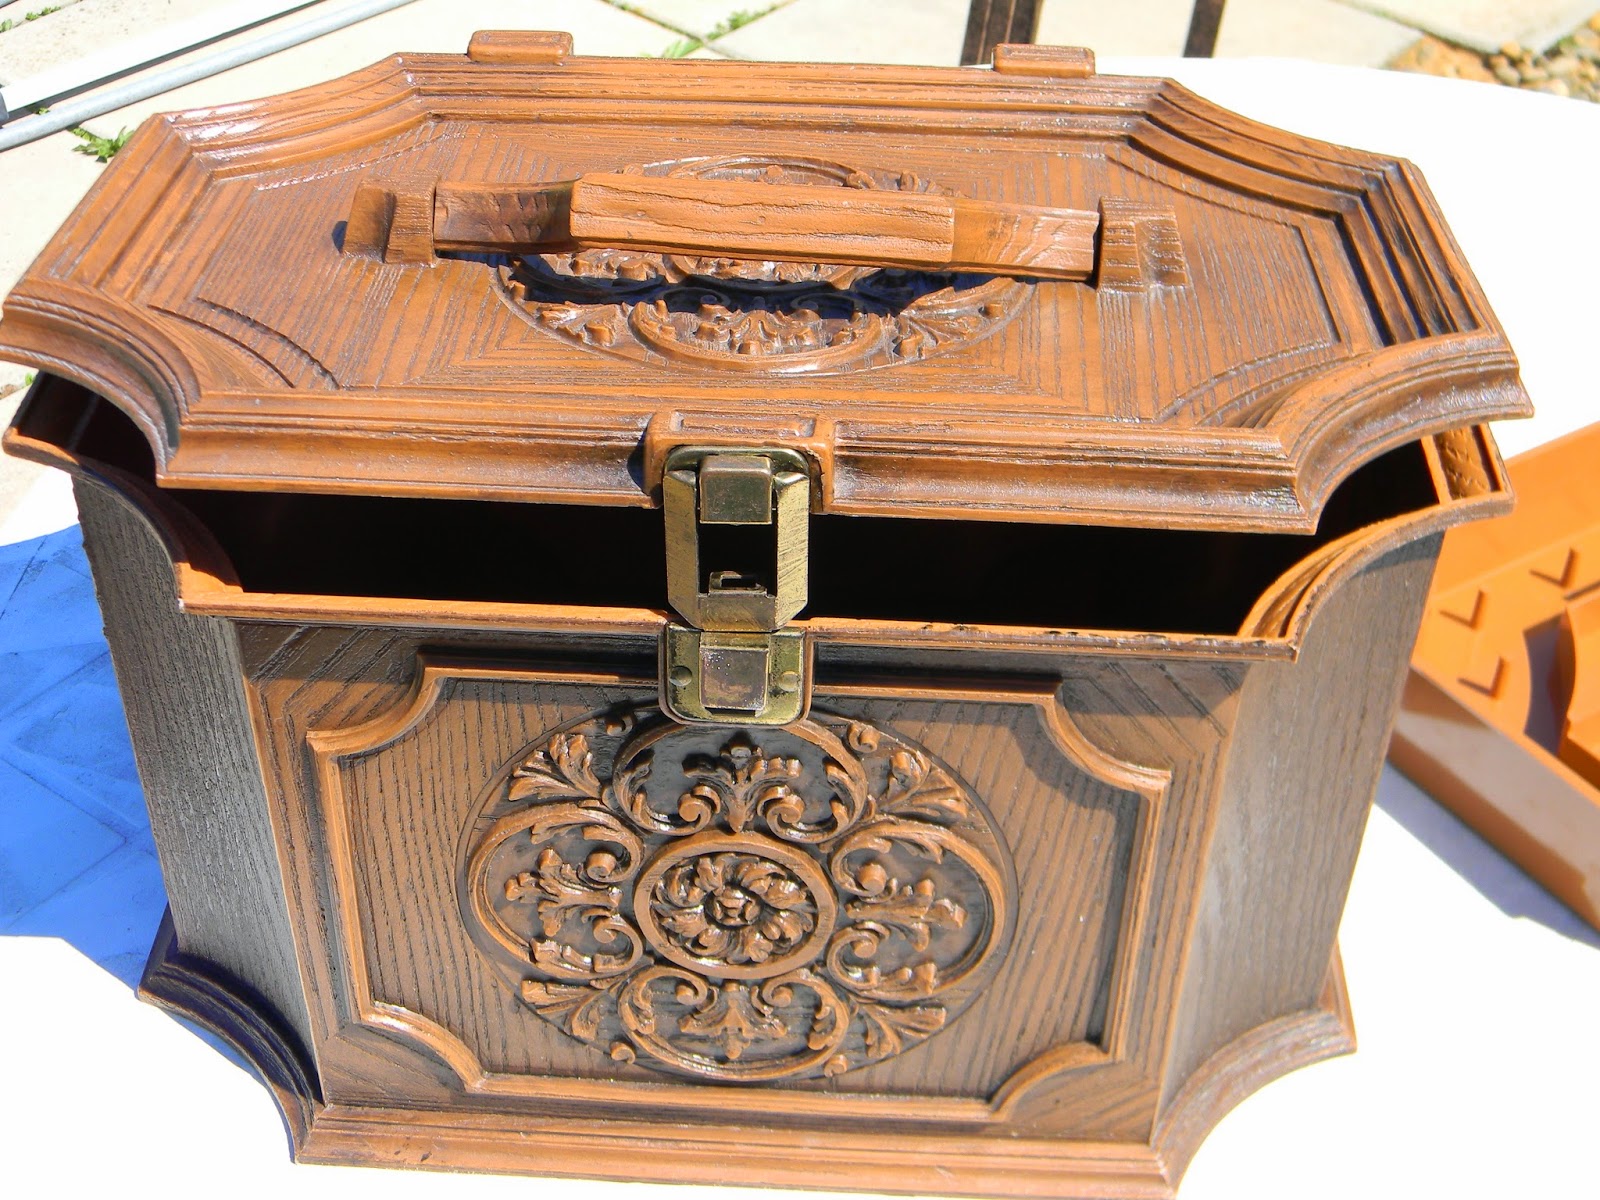
A couple months ago, I picked up this cute sewing box at the thrift store.

It is molded plastic.

I just really loved something about it.


It even has a neat tray inside.


So I gave it a couple coats of white spray paint.


Here it is painted.


Later on I may add some distressing or a color added to the design but for now, it is perfect for storing my wool roving.


I left the inside the original color.

Soon I will show you what I am doing with the roving too.

Thanks for stopping by...

Thursday, September 11, 2014

Got Old Sheets and Coffee Filters? Make this Awesome Shabby Chic Banner...


This sweet banner is made from old sheets, coffee filters and twine.


The coffee filter roses are a cinch to make.

Just dye your filters like I described here.

I used Fuchsia RIT dye and lots of instant coffee granules in the dye bath to get the muted grubby rose color.

Next, loosely fold your coffee filter in half and in half again.


Pinch the pointed end and twist.


Some people staple it at this point, but I find the twisting usually holds well enough.

Each rose takes 7-12 coffee filters.


Lay down one filter as the base.  


Glue 6-8 filters around the edge of the circle.


Finish with one or two in the center.


Now you can add them to a bamboo skewer, your wall, the cover of a book, etc.

For this banner, I glued 2 roses back to back with twine sandwiched between.

I used three different twin sheets from the thrift store.

Two were floral patterned and one was the palest blue.

The sheets were ripped into strips.

Then a pulled off the loose threads.

And I cut them the desired length.

For these, they were about 8-10 inches long.

I just tied them to the twine while watching TV.

I love how it turned out...


I am not sure where it will end up.

Maybe in the studio...


Maybe as a gift...


For this post, I clipped it to the fence in the back yard.


I hope it brightens your day....


Thanks for stopping by....
We will be linking up with these great blogs....

Thursday, August 7, 2014

A Wooden Tote Makeover...

This spring my in laws came to visit. 

 They brought all sorts of treasures.

One of their friends is moving and she is getting rid of a lot of stuff.

Among the goodies was this broken tote.


Actually the tote is good.

The handle is broken.


I like the lettering on this side.


I love the weathered look of the wood.


Then there is this side.

I was not-so-much loving this side.


No worries...

DecoArt Chalkboard Paint to the rescue!


Just add two coats brushed in different directions.

Allow it to dry in between.


Then rub with chalk to condition.


Wipe it off and you are ready!

I also replaced the broken handle a branch from a tree that needed to be trimmed anyway.


White Stampin' Chalk Markers from Stampin' Up are such a great way to add chalkboard art or lettering.


They do wipe off with a damp rag but do not wipe off if you brush against it.

Plus I like having more control with the pen tip since chalk does not leave a crisp line.

Now it is all ready for my herb collection for the fair....


Thanks for stopping by....

 I received  free products to use in my designs from both DecoArt and Stampin' Up.

My designs and opinions are purely my own...

You will always hear my honest assessment of the products I use.

I will be linking up with these amazing blogs.