Showing posts with label nest. Show all posts

Monday, June 6, 2016

Collector Series-Running in Circles

I am deep in a major project that I will be sharing with you soon, but for now, let me show you this fun necklace from the Collector Series.


I added handmade, vintage and purchased components and charms.

Then I filled in the spaces with extra jump rings.


There are some fun goodies on this one.


Hope you are having fun creating as well.

Thanks for stopping by....

Friday, June 3, 2016

Midnight Prowler...Wings Series

I love my new determination to use the wonderful bits and pieces I have been saving.

It makes it so much fun to get things out to create.

I know anything could end up in a design instead of just the things I have plenty of.

Typically I can be drawn to a piece of jewelry that has just one component that I love....

In this piece, I love them all.


Which is your favorite?


I definitely cannot choose just one...


Well, off to make something else.

Thanks for stopping by....

Wednesday, June 1, 2016

Shabby Chic purse

I have always wanted to make one of those great shabby chic purses...

You know...the ones with whites and creams, lace and more.

So last summer I made myself one.


I had tons of fun getting things out and layering them onto my bag base.

For the base I used 2 quilt squares that have button holes around the edges.

I also re-purposed some pretty sheets from the thrift store for the fringe on the bottom and the strap.


The strap is long so it can be used as a cross body bag.


I printed a few fun images on muslin.

When I do that, I make tons all at one time and then use them as inspiration strikes.


Time to make another purse soon I think....

Thanks for stopping by....

Monday, June 29, 2015

Making your Own Polymer Clay Stamps/Molds

One of my favorite recent projects was polymer clay related.

While I was playing with the silicone molds, I made some molds and stamps with my own designs.

First I made a small sketch of what I wanted for the design with pencil.


Next I rolled out a little slab of clay.  
I laid the design down on the clay and burnished it with a ball tool to transfer the design to the clay.

Then I used my clay tools to  trace and make the design.

I decided not to add the word to this one.

Doing it backwards on the design would make it backwards once stamped.

Bake your mold in your toaster oven according to the manufacturer's directions.


Then I began stamping away.


You can use your stamp over and over again.

You will notice, however that the stamp starts to soften a bit as the mold absorbs some of the oil from the clay.

No worries.

Just pop the mold back in the oven with your next batch of beads and you are good as new.


My daughter wanted me to make her a thresher shark.

So my husband found an outline online. 

 I could not shrink it enough with my computer so I had to make my own sketch from it.  

You can see my erased first attempts.


I followed the same process for transferring the design and tracing the shape.


My daughter has not seen these yet but I like the way they turned out.


I hope she does too.


Next I wanted to play with just different textures.


It is not my favorite, but I do like the idea.


I can utilize different parts of the mold depending on where I press the clay on it.


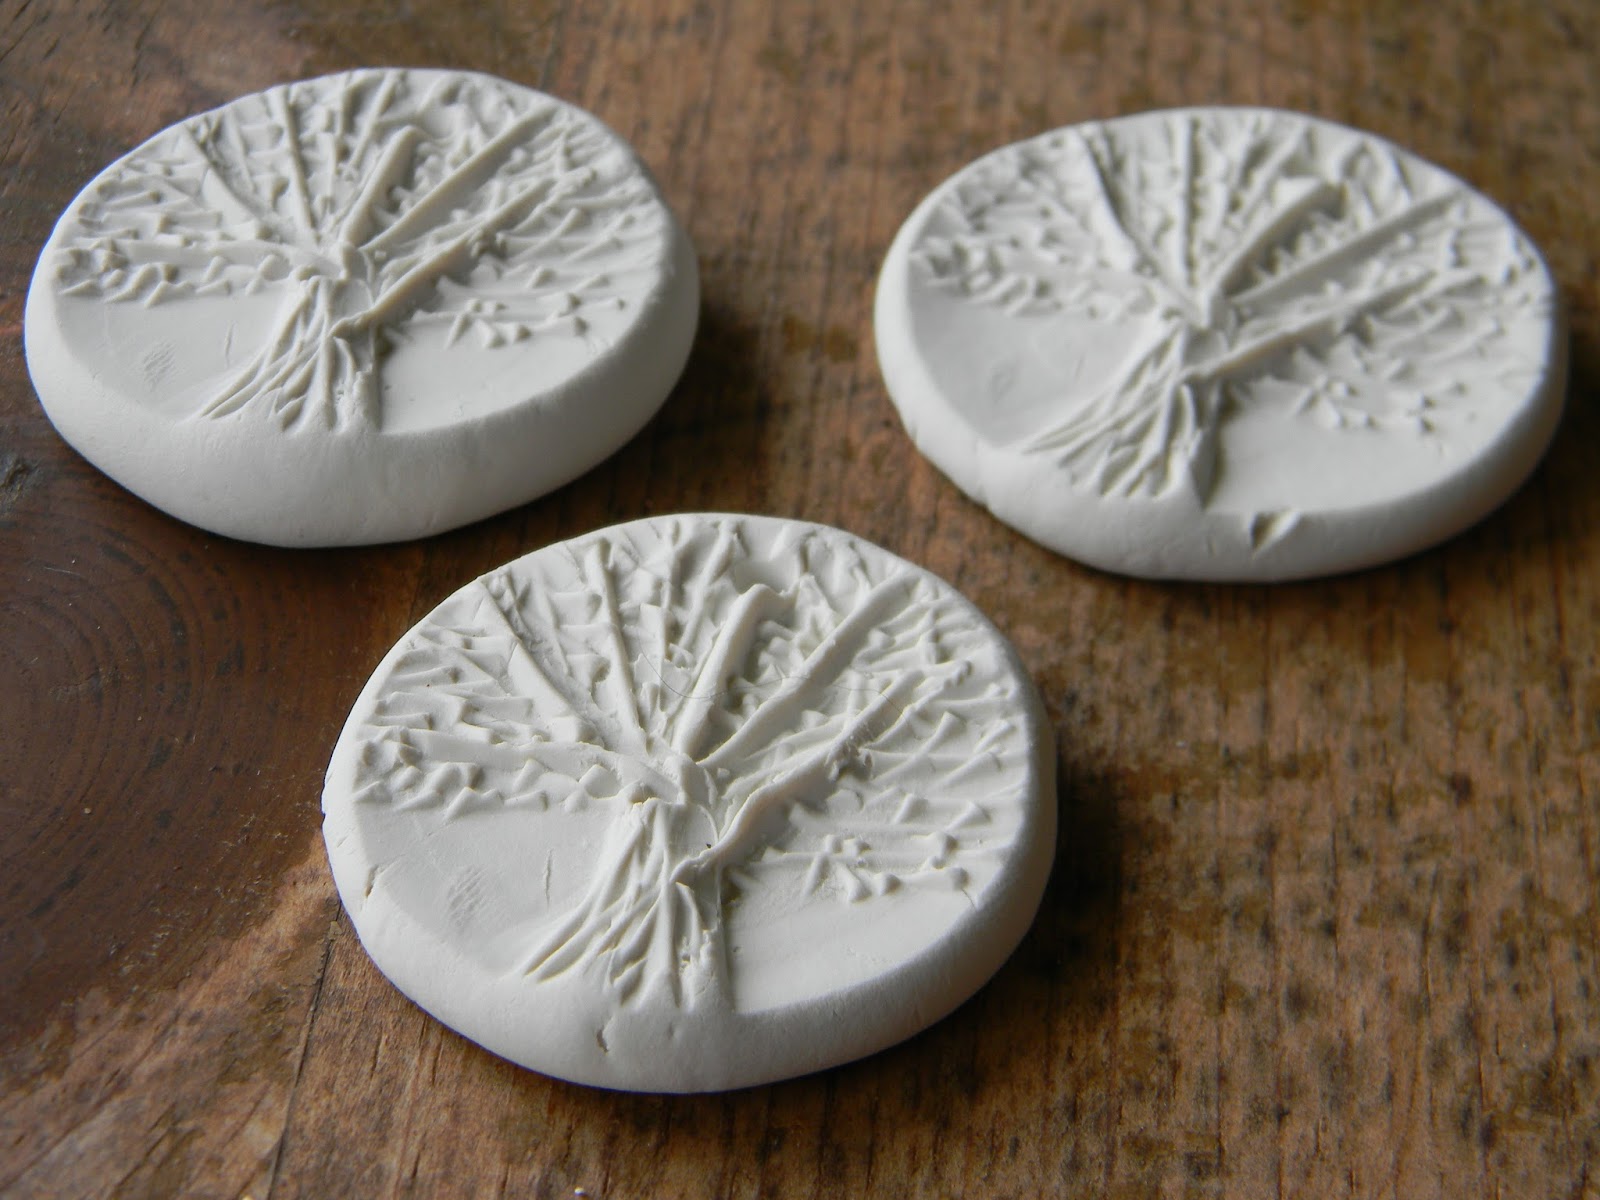
I saved my two favorites for last.

I did a tree.

I love how they symbolize life and family.


I intentionally tapered the edges of the mold down towards the table.

Check these out!

How cool are they?


I made a ton of beads and pendants from the tree mold.


I ended up making bigger ones for pendants and smaller ones for possible earrings.


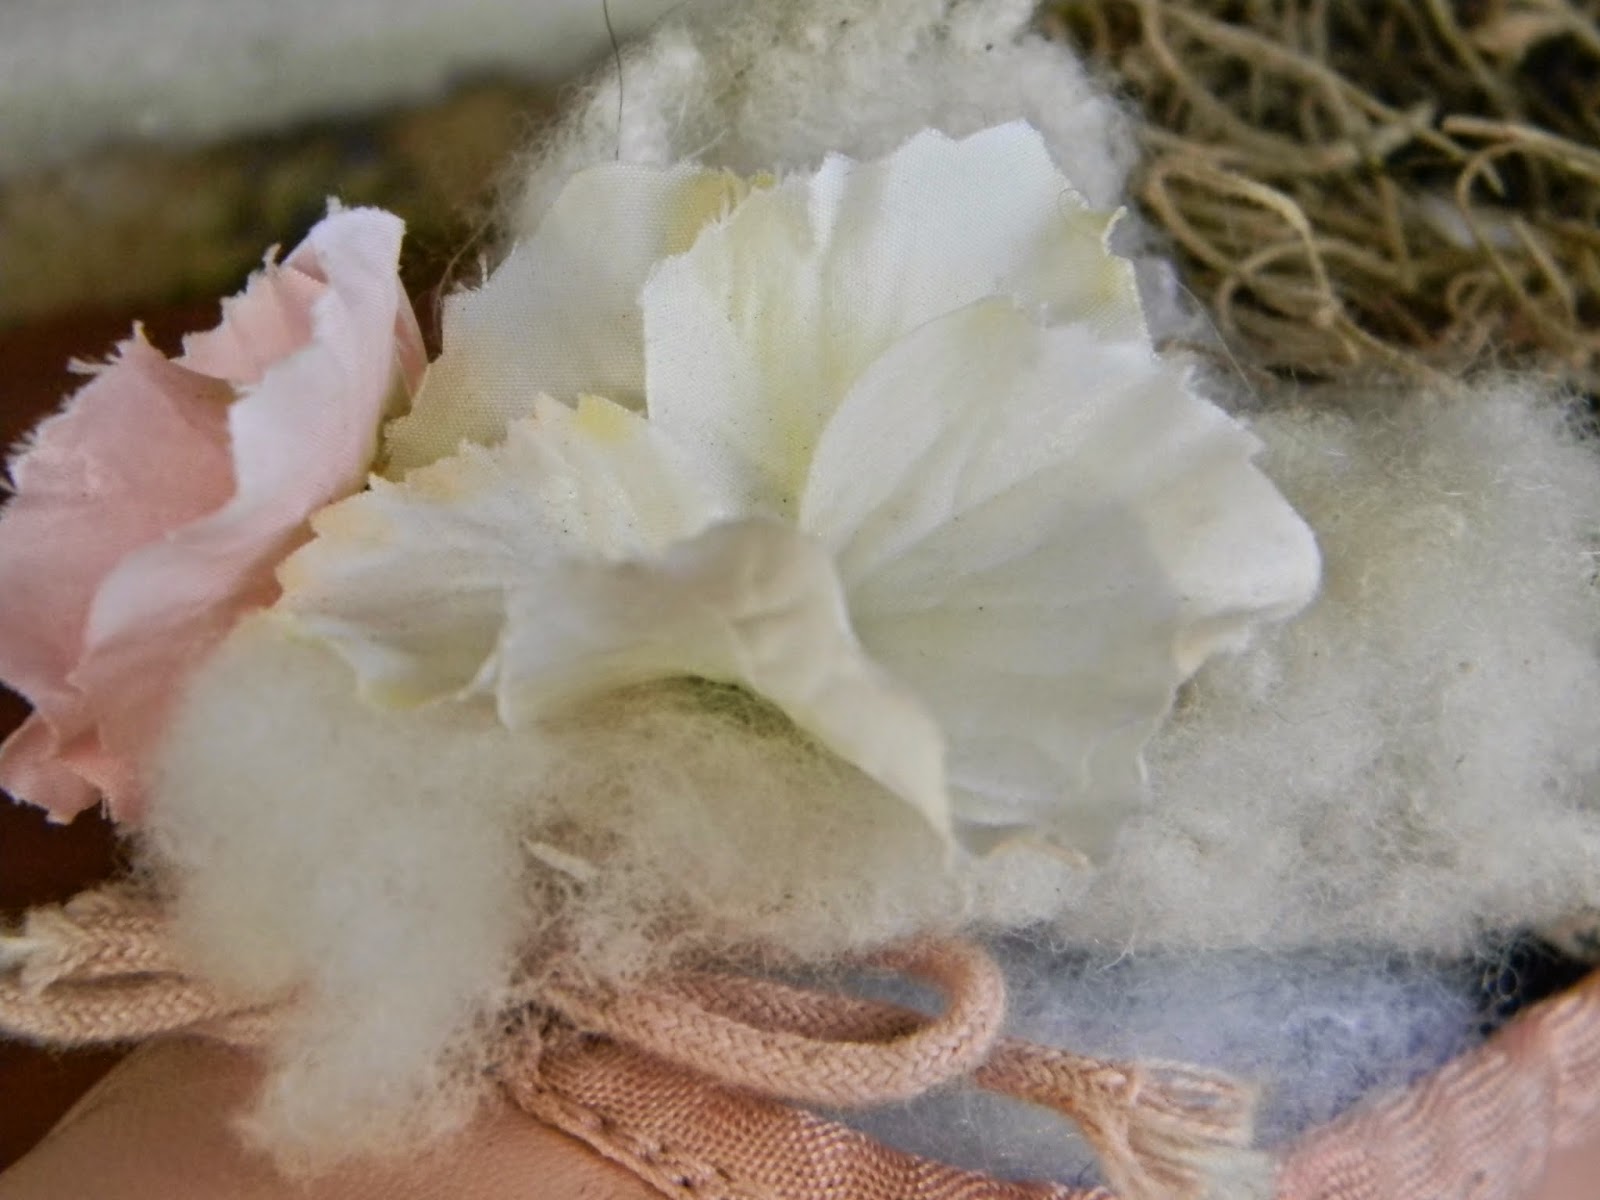
My favorite mold was actually the first one I made: a nest.

Also a symbol of family, birth and renewal.


There is something so satisfying to seeing designs come from something that came originally from your own head and hands.


I could not get enough of playing with this mold.

Big chunky pendants...

In a variety of shapes.


Some pieces that I gently curled up to be three dimensional nests.


Some with bails...


Some just the eggs....


I can't wait to start playing with the finishes.

Thanks for stopping by....


Sunday, February 22, 2015

Be Enchanting

More polymer today...

This necklace does not have the crackled primitive look that many of my pieces have. 

 These have a touch of shimmer.


These beads and focals already have wire connectors.

I connected them with heavy steel wire links.


Be enchanting...

If only more of us tried to do this....


My Nest necklace seems like a fairy forest piece.


I picture a lovely woodland pixie wearing this...


That tiny blue fairy hut makes me smile...


Silk strips weave in and out of the beads.

Thanks for stopping by...


Saturday, January 17, 2015

Sweetheart Tiny Vial Necklaces

Valentine's Day is just around the corner.

Here is a sweet gift idea for your special someone.


Head to the craft store and buy a pack (or 2) of those little  mini glass vials.

Pick up a couple squares of Sculpey polymer clay too.

I like Sculpey the best because it is easy to work with.

Make tiny contents for your vials.

Here I made some tiny mushrooms with red and white Sculpey.

Bake them in the oven according to the package directions.

I have a toaster oven just for clay baking.

I keep it on our covered back porch to keep any fumes out of the house.


I added a bit of Spanish moss to the vial as well.

Use a piece of wire to push it down in there.


You can add a chain, silk strip, seam binding or satin cord for your necklace.


I use a bit of glue when I put the cork in.

A tiny piece of lace added gives it a sweet touch.


Hearts are easy to make.

Pinch off a little piece of clay.

Roll a small ball and then roll it into a point at one end.

Use a knife or a straight edge to put a small slit in the wider top.

Then gently roll each side to get the rounded tops.


I also made some tiny eggs.

I love nests and eggs.

To me, they symbolize life and family.


Add a little Spanish moss to these too.


These hearts look a little toasty.

Sometimes there are cooking/baking issues.

I like them though....

For that person who has been burned by love...


These are  easy and fun to make.

I love playing with polymer clay.

Takes me back to my childhood and playing with Play-Doh.


Thanks for stopping by...

Linking up with these great blogs...

Tuesday, January 6, 2015

A Ballet Shoe Keepsake

Do you have a ballerina in your life?

I do not, but I always dreamed of dancing.

This is as close as I will get.

I found some ballet slippers at the thrift store and snatched them up. 

 I transformed this one with a little nest and some sweet touches.

It would look so sweet on a dancer's shelf or nestled among the branches of her tree at Christmas time.


To give it some shape, I stuffed it with polyfil stuffing.


I built a little nest in the heel with Spanish moss and some polymer eggs.


Beneath it, some tea stained strips of newspaper peek out.

I ran some newspaper through the shredder and then sprayed it with very strong tea.

  I turned it and resprayed it until it had the look I was going for.


The nest was constructed in a small grapevine wreath lined with delicate lace.

The Spanish moss sits atop the lace.


I love the textures...


In front of the nest, I added some natural sheep's wool.

You can see it resting on the polyfill here from the side.


I added a couple little blossoms to finish it off.


This would be such a great little memento for a dancer, her mother, grandmother or teacher.

I hope maybe you decide to create one of your own...

Thanks for stopping by....

Linking up with these great blogs...