Sunday, July 31, 2016

Gnome and Wool Flower Card

I am so tickled to be a part of the Susan K. Weckesser design team for the remainder of the year.

I love her stamp sets. 

 Many of them are whimsical.

One of my favorites is the What's up Gnomey set.


So I wanted to share a little card I threw together with that set yesterday.


I stamped and cut out the gnome.

Inked the edges of my cardstock.

And cut a few flower shapes with my Sizzix and the Sizzix Flower Layers 3 die.

The flowers are cut from scraps of felted wool sweaters.


And then I dug into my extensive vintage button collection...

I sewed the buttons onto the centers of the flowers before I mounted the brown card stock with 3-d foam squares.

I like the texture.


Thanks for stopping by....


Wednesday, July 27, 2016

Workbench Wednesday...Box of Possibilities...

As you know, I collect many things.

One of the things I can't seem to resist is industrial-type storage.

If it is old and grubby with chipped, scratched paint...I am in.

My father in law brought me this box a while back.  

I think it held screws and such.

I am using it for some of the handmade components I collect.


Sometimes when I am working on a project, I don't finish it or have extra components when I am done.

Some of them ended up in here....


There are also jewelry bits and game pieces that I have plans for.


I feel like this could be a jewelry maker's "I Spy".

Don't you agree?


Balled wire, fiber wrapped beads, stamped leather components, bottle caps, pencil bits, moss/twig bundles, felted wool, etc....


Little bits of leather, polymer faces, pretty beads, washers, chains, silk strips....


Resin wonders, escutcheons, film bits, pencil beads, wooden spools, keys, feathers....


What do you keep all your bits and baubles in?

For me half the fun is seeing them all grouped together in unexpected ways...

Makes my imagination race...

Thanks for stopping by....

Wednesday, July 20, 2016

Craft Lightning Scout Crafts

I was a Girl Scout and so was my daughter.

I actually spent a summer in college as a Girl Scout Camp counselor.

It was a great summer.

I made friends from all over the world since we had international staff from countries such as England, Australia, Greece, and Denmark .

I recall learning more that summer than I suspect each of the campers did.

So I was totally on board with this Craft Lightning of Scout Crafts.

Let's make a Paint Dot Pendant.


Gather your supplies:


Paint
Q-Tips
toothpicks
cork circles
drill
Piece of scrap wood to drill on
paper plate

Squirt a little paint out on the plate and begin to make dots in a pattern on your cork circle.


I started out with the Q-tip to make bigger dots as bases so I can add smaller dots on top when they dry.


If you want fairly even concentric circles, start in the center and as you add the next round, do your dots at the 12, 3, 6 and 9 o'clock positions first and then fill in the rest.

Next make dots between the dots you just made.

Continue to add colors.


Set aside to dry.

Time will vary depending on your humidity level, the temperatures and the sizes and thickness of you dots.

Add more smaller dots on top of your first dots.

Set aside to dry again.

Drill hole in the top of the pendant.


Add silk cord, leather cord, ribbon or a chain.


Ta-Da!


This could be done on rocks instead or you can cut a slice of a cork from a bottle for a smaller pendant.

Hope you are going to give it a try.

Head over to see all the other great projects this week.


Thanks for stopping by...


Friday, July 15, 2016

Shed/Studio Makover

I am a very lucky girl.

I have multiple places to store and create on our property.

One of my favorites is this shed.


It is about 18 feet across and shaped like an octagon.

It has an upstairs.

It is all my junk.

And when I say that, I mean it.

I have been creating my whole life and doing craft shows for almost 20 years.

I have collected items I thought I could use for booth display.

I have collected multiples of materials to make things.

And I just kept sticking them in the shed.

 For Years.....

This winter my husband said, "What we should do is take everything out and I will build you work benches around the perimeter."

And that idea stuck in my head.

My brother said he would come to help.

So I began planning my attack.

I have not really gone in there for over a year and it was REALLY piled up.

So I chose a long weekend and put it on the calendar for the clean out.

Then I scheduled the following weekend for my brother to come.

Then I spent months planning...

What will I keep?

What can go away?

How do I want it to look?

Doing this for months, made a very clear picture in my head of what the end result should look like.

Then I got ready.

I planned with my husband and we figured out dimensions and materials.

I bought totes so they are all the same size to go on the workbench shelves.


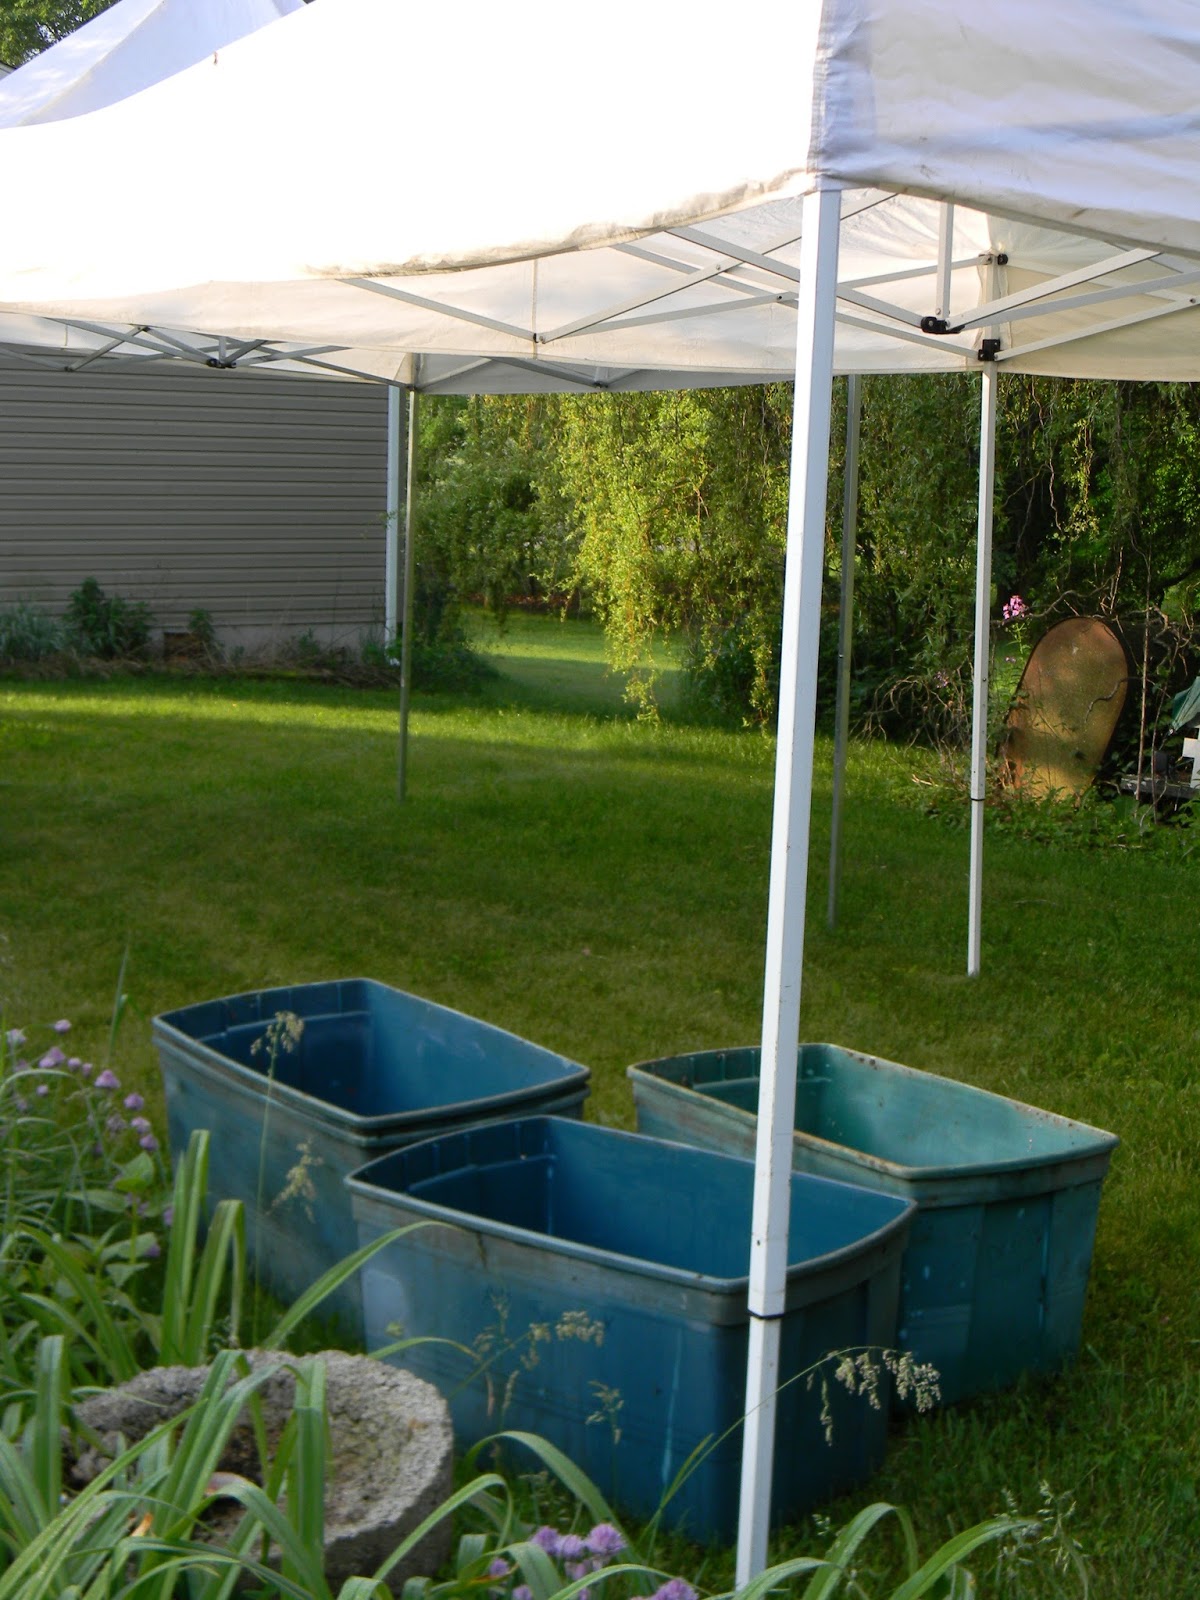
I set up my EZups so I could pull everything out to sort.


A lot of things were given away or donated.

I was merciless in the purging process.


My sweet husband and brother put in a new window for me.


This will be a huge improvement.

I will have light and cross ventilation.


Here is an "In Progress..." shot.


My husband also replaced my doors with Dutch doors that he built.

I have always wanted Dutch doors...

Then came all the sorting.


So much sorting...

I worked for a couple weeks on the sorting.

My husband and daughter installed another window on the other side when it arrived.

I made curtains from burlap coffee sacks to cover most of the boxes and totes and create a less cluttered looking space..

I used more burlap sacks to cover the Tyvek on the inside walls.

And finally it is ready.  

Want to see?


This shed has not been this empty since we moved in...


Those counter spaces are awesome.

The area below houses ribbons and trims.  

Some are on spools so they are on the dowels where I can easily see what I have.

All the loose trims are in the cheese boxes above.


This space is a seasonal space. 

It is, after all, a shed.

So no heat or air conditioning.  

That helps to determine what and how things are stored out here.

The sewing machine will come inside when it gets colder.

I brought it out to make all the curtains and found I actually enjoyed standing to sew.


The mannequins are awaiting a makeover.

I promise to share them when they are done.


Previously my storage consisted of wooden crates around the perimeter.

I wanted to minimize buying for this project so I reused what I had as much as possible.

I used the crates to make movable storage.

I built bases from pallets and added casters.

I made two bar-style storage units for in front of the back shelves and a square unit for the center island.


My band saw lives in this corner.


This side is the more hardware/machinery related side of the shed.  

There are lots of goodies in all those little drawers.


And here are those coveted Dutch doors.

As soon as the wood cures and dries I will paint them and add Tyvek and burlap to the insides.


 My husband helped me move my belt sander and grinder out here.  

I so love that they have a nice little home.


That is my space in a nutshell.

I will be showing some of the details another time.  

I hope you will stop back to see.

For a peek at other amazing work areas/studios/spaces, head over to My Desert Cottage for "Where Bloggers Create 2016".

Thanks for stopping by....


Friday, July 8, 2016

Metallic Lustres On Polymer Clay

As you know, I love to play with finishes on white clay.  

In some ways it is silly, really.

I could start with a color then play with it, but NOOOOOO!

I will start with white, paint it a color and then mess with it again.

That is what happened with these pieces.

I used white as the base...

Painted them black and then rubbed them with Metallic Lustres paints from DecoArt.


I love the way they turned out.


But i am thinking down the road to make my life a little easier, I will start with black clay, then use the Metallic Lustres.


Work smarter not harder...


In all fairness to me, when I make polymer pieces, I never know how they will be finished down the road.


I do things in stages....


I make beads and components for a week.

Bake them all.


Then I divide them into groups for how they will be finished and start working on them in those groups.


Lastly I seal them.

Once they are sealed,  they wait to become a necklace, bracelet or earrings.

Anyway, Metallic Lustres are one of my favorite ways to finish beads.

I love rubbing them into the pieces.

Have you ever tried them?

Thanks for stopping by....

Tuesday, July 5, 2016

Black and White and Gorgeous All Over....

A while back, my daughter and I tried making some pieces for a specific color challenge.

The challenge was to use black.

My daughter came up with some stunning pieces.

First up, this complete set.


Love the necklace focal and the earrings.


Our styles are so different.


                     I love how she thinks.


I am not a matched set kind of gal, but I love these pieces because they very much go together without being all matchy-matchy.


I really like her twisted wire with the focal.


Perfect!


I love this piece.


These are something I would definitely wear....


I love the movement the chains create...


This bracelet is so sophisticated.


This is the perfect dress up accessory.


And then there is this last bracelet.


The elements she combined are so interesting together.


The chain next to her beaded chain compliment each other.


These little pounded wire pieces add a rustic organic element to the piece.


Would you wear this one?


I would!

How fun is that?


Just for fun today, try something totally different and see where it leads you.

Limit your color palette, materials or style.

See what happens.

Then tell me all about it.

Thanks for stopping by...