Showing posts with label dyeing. Show all posts

Tuesday, December 23, 2014

Dyeing Pine Cones with RIT Dye


Last year, after Christmas, I bought some cinnamon pinecones at the craft store.

My daughter and husband do not enjoy the super strong cinnamon smell so I stored them in the shed.

I wanted to do some crafts with them.

Recently, I wondered how they would take dye.

I assembled them, some RIT dye (Scarlet) and an ice cream bucket.

I was trying to enjoy the last of the fall weather before the flakes start to fly.
.

I also bought a whole basket of pine cones at the thrift store recently.

Some of them have been sprayed lightly with white paint.

I wanted to try Dark Green Dye as well.


I followed the directions on the dye bottle for mixing.

In to the dye bath they go.

The burlap is another post.

You can read about it here if you missed it...


I left them in the dye for about 30-50 minutes.

At this point, I cannot really see much of a difference.


I added some more to the dye.


I removed them and let them drain in the grass.

Then I put them on a box lid and took them into the house.

I put them next to the wood stove to reopen fully.

It took about a day to fully dry next to the wood stove.

  I have also read that you can bake them at low temperatures in the oven. 

 Or you can wait.

A long time.

I am impatient but cautious so the wood stove seemed the least dangerous and quickest method for me.

Once they opened they have a faint tint. 

Here are the green ones.


 I like it. 


 It is subtle.


I only soaked mine for about 30-50 minutes. 

 For deeper color, I am thinking overnight would work great.

  I am going to have to try it out.

Also keep in mind, someone lightly painted these with white paint before I picked them up at the thrift store.


Here are the red ones.


I think the red ones are my favorites....


I already have an idea of what to do with these....


Soon all of those cinnamon pine cones will be on clearance...

Pick up a bag and have some fun...


Thanks for stopping by...


Tuesday, December 2, 2014

Dyeing Burlap Ribbon with RIT Dye...

My apologies for the lack of a Mason Jar post yesterday...

We have a Christmas open house coming up this weekend and I miscalculated the time it would take to do the outdoor decorating, clean some brush and debris, clean out the building where we hold the open house, get the trailer, unload the trailer and do silly things like eat and such...

And none of that includes  ANY set-up.

Once we got it unloaded, we took the trailer back, parked it and locked the door for the night....

I have a couple mason jar ideas almost ready to photograph and write, but it was a no-go for Monday... 

 You will get one next week...

So, for now...

Recently I was shopping and saw some really neat colored burlap ribbon.

I had gathered a handful of colors  and then saw the uncolored burlap on another shelf. 

 It was twice as much ribbon for the same price....

Now, you may not know this about me...

I am thrifty.

I am cost-conscious.


am 

.....

cheap.

I could not bear to pay more for less.

So I bought a couple rolls and brought them home to dye my own.

I gathered supplies on one of the last nice days....


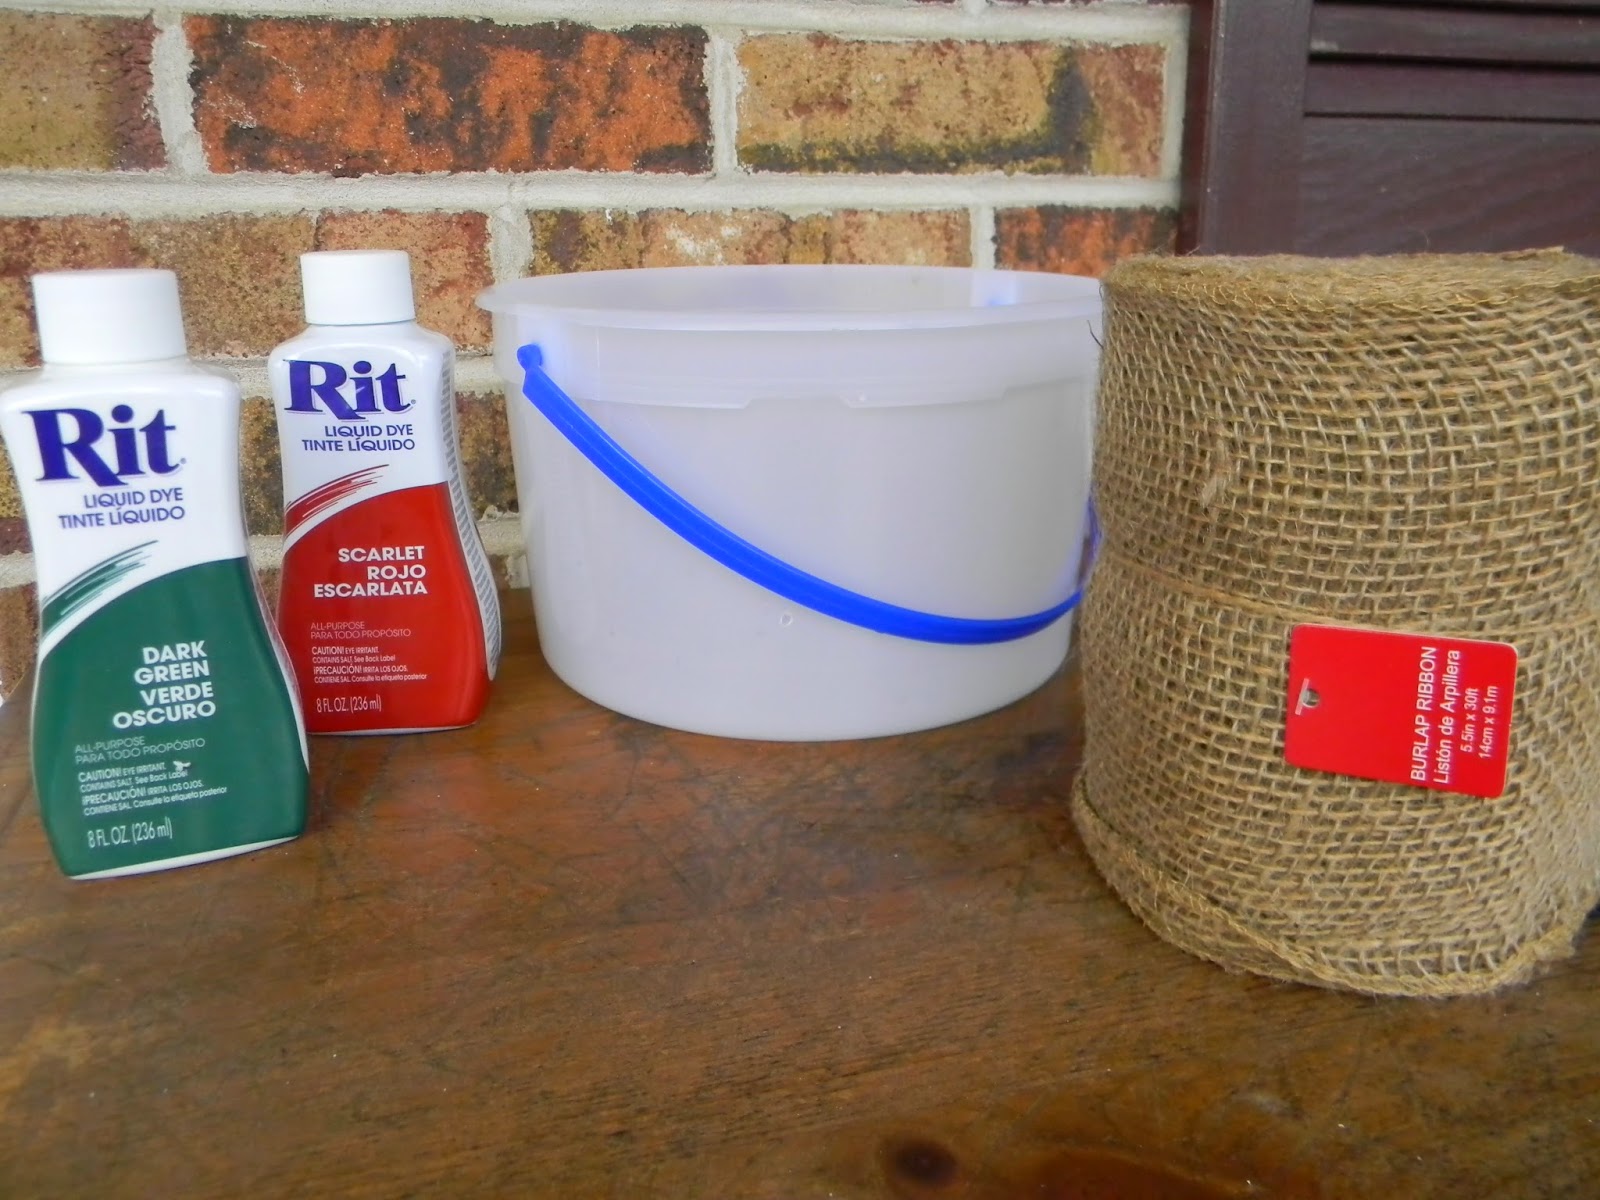
I mixed some Scarlet dye in an ice cream bucket with water.

I wanted to dye just one half of the ribbon red....

So I only filled the bucket half way.


I did another bucket with Dark Green.

You can see some pinecones from another post took a dip too...


I lifted the ribbon from the dye and let it drip back into the bucket.

Once it had mostly drained, I set it on this container to finish draining.


Once it stopped dripping, I flipped it over and set it in the bucket of green dye.

Half green, half red.


I removed it and let it drain as well.


I set them by the wood stove  for an evening.

The next morning, I rinsed the roll with cold water in the sink until the water ran clear.

Then I unrolled it and let it dry over the fence in the back yard...

Something cool happened....

Once I unrolled it, there is a tan stripe down the middle that did not dye....


What do you think?

It was an accident....

I LOVE IT!


I love the half green ribbon too...


I can't wait to show you some of the things I did with it...

Hint.

Most of it will be making an appearance for our open house....

Stay tuned...

Thanks for stopping by....

Monday, September 22, 2014

Dyeing Silk Strips....

I love using silk strips in my work.

Silk is crazy expensive...

So I buy silk clothes at the thrift shop and tear them into strips.

I have a large variety of colors and textures.

  But I wanted to play around and see how I could make them more me...


Enter RIT Dye!

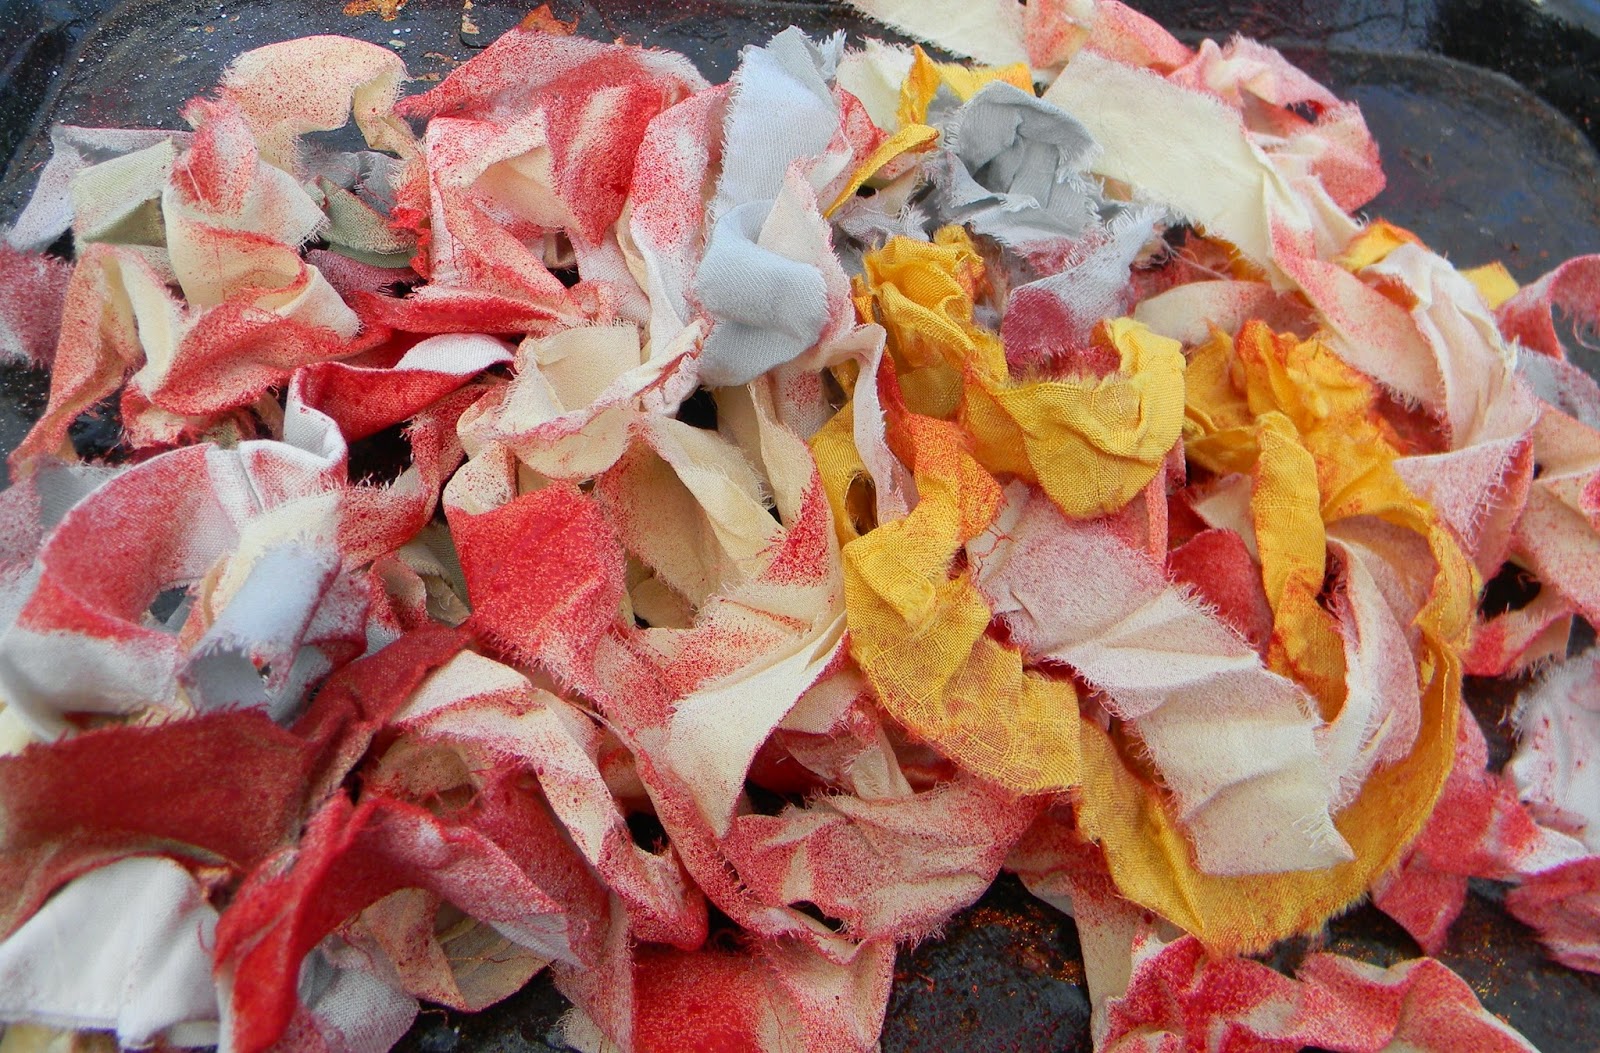
I used the Orange Color Perfect kit with the sprayer.


I sprayed the silk on a plastic tray.


Once it dried a bit, I turned it and sprayed it some more.


I just kept doing that until it was mostly sprayed. 

 I did not want all over color.


Now the hard part...

Patience..

Waiting for it to dry...


I wanted to try some of my homemade alcohol ink too.


Same method...

Spray...turn and spray some more...


This looks a little lighter than the Color Perfect.


This where I forgot to take pictures...

Once dry, I rinsed the silk under cold water til it ran clear.

  Then I squeezed it out very well in a big ball and let it dry.

I have been trying for awhile to get that crinkly texture to my silk strips.

This finally did it...

Here are some finished pieces I used them in...


I am planning another post on these necklaces...


I adore the way they turned out...


I get the same joy I did from the other etched bullet casing necklace I showed you.


These little vials are capped with shotgun shells....

Really!

How cool is that?


If you want to make your own, pick up the Autumn issue of Belle Armoire magazine for complete instructions...

on newsstands now...


That is just the beginning of what these dyed strips can become.

I highly recommend giving it a try yourself...

I will swap one of these necklaces over at Swap and Tell  at Tarnished Royalty.

Thanks for stopping by...
Linking up with these amazing blogs...


Thursday, September 11, 2014

Got Old Sheets and Coffee Filters? Make this Awesome Shabby Chic Banner...


This sweet banner is made from old sheets, coffee filters and twine.


The coffee filter roses are a cinch to make.

Just dye your filters like I described here.

I used Fuchsia RIT dye and lots of instant coffee granules in the dye bath to get the muted grubby rose color.

Next, loosely fold your coffee filter in half and in half again.


Pinch the pointed end and twist.


Some people staple it at this point, but I find the twisting usually holds well enough.

Each rose takes 7-12 coffee filters.


Lay down one filter as the base.  


Glue 6-8 filters around the edge of the circle.


Finish with one or two in the center.


Now you can add them to a bamboo skewer, your wall, the cover of a book, etc.

For this banner, I glued 2 roses back to back with twine sandwiched between.

I used three different twin sheets from the thrift store.

Two were floral patterned and one was the palest blue.

The sheets were ripped into strips.

Then a pulled off the loose threads.

And I cut them the desired length.

For these, they were about 8-10 inches long.

I just tied them to the twine while watching TV.

I love how it turned out...


I am not sure where it will end up.

Maybe in the studio...


Maybe as a gift...


For this post, I clipped it to the fence in the back yard.


I hope it brightens your day....


Thanks for stopping by....

We will be linking up with these great blogs....

Saturday, August 2, 2014

Dying in the Yard....


 I love that my daughter is a creative person.

She is very logical and bright but also creative.

So, she decided she wanted to make a rug for the fair.

She needed fabric to tear in strips.

I was hesitant to rip great fabric we just bought into strips when it could be used for something else.

I also did not want to go spend more money on fabric than 3 rugs would cost.

So I suggested we use some old sheets I got at the thrift store and dye them.

Such soft muslin and the price was very right.

She agreed and chose some dye colors that she wanted.

Then we spent the afternoon with her learning to dye fabric.


  She wanted blues, green, and purple.


I love her color choices.


We mixed all her dyes.

I love ice cream buckets for this. 

 They are big enough to accommodate most things I dye.

 They have lids so unused dye can be saved til later.


She tore her sheet into equal size pieces. 

She wanted light and dark of each color.

It is key to wash and wet the fabric first. 

 Washing removes sizing.

  Wetting makes sure they dye takes more evenly.


That purple was so deep and beautiful.


She worked all afternoon.

She waited 30 minutes before removing each piece of cloth.

She rinsed until the water ran clear.

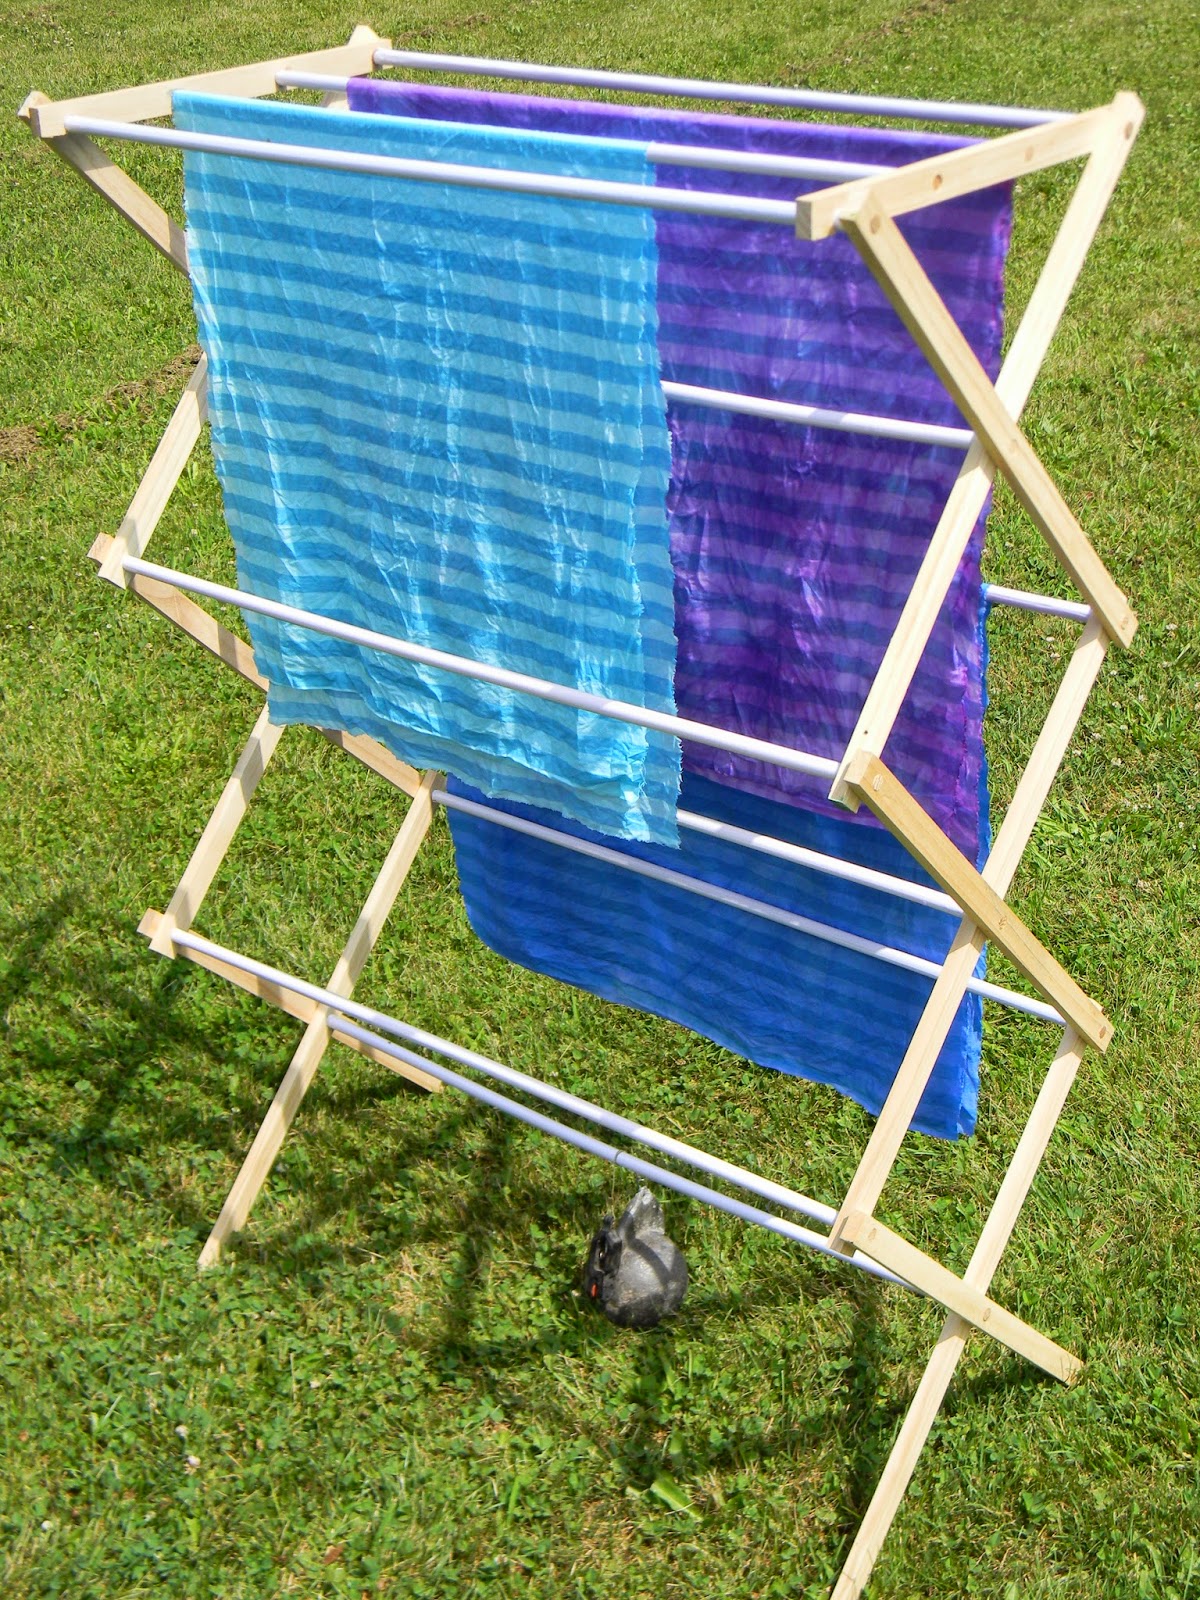
Then she hung them on this drying rack I got this spring at the thrift store.


I also found a striped sheet and she snagged that one.


It was neat to see how the stripes turned out in each color.

Note my husband's help in the picture below.

The rack kept blowing over so he hooked a very large fishing sinker to the bottom of the rack.


See it?

VERY LARGE....

Once she was finished with the dye, I dyed some things I wanted to do.

Coffee filters.


They fit perfectly in those ice cream buckets.


I leave the coffee filters in for 5 minutes or hours depending on how intense I want the color.


These were less than 15 minutes.


I put them over a tin to drip in the grass and then I hang them in my garage on a little rack by my sink.

They can stay there until they dry.

I also did a couple bags that I want to alter.


That purple is still pretty strong.

I like the splotchy look.


Then I did lace.

I recently bought yards and yards from a thrift store.


It is fun to see how the different laces take the dye in the same dye batch.

Green.


Purple.


I did lots in the purple.


You can see the synthetic lace takes the color differently than the natural fiber lace.


I love how these turned out.


Well, when my daughter gets her rug finished I will show it to you.

Thanks for stopping by....