Sunday, April 24, 2016

Cleaning the Greenhouse....

Seems like it has  been a very busy spring.  

I knew it would be so I decided to tackle one project at a time.  

The first was my green house.


A couple years ago I shared my clean up with you. 

Well, a lot of stuff got piled in here last summer and fall.

Watch out!

Scary!


So the first weekend I carried everything in the middle out.

Sadly, I did not get done.

A storm was coming with 50 mile an hour wind gusts and rain so I covered the pile and hoped for the best.

I did not want to have to carry it all back in and back out again...


I had piled some pots to donate behind my shed.

The winds tossed them about a bit...


Round 2!

I had put some things back in that I did not to get wet.

So I started by carrying them out again....


I did make a couple dents in organization last weekend.


My husband always suggests going vertical when you need more space or storage.

Those little chairs were made by my great grandfather and I used them as a child.


My sweet husband helped to organize and move our tools.

My goal is to keep it neat but just in case....

The tools will be ready to grab right inside the door.


The space on the floor in front of them will be kept clear except for my little rolling cart.


Work continues...


Now that is a welcome site!

These shelves have not been clean in forever....

They are ready for some plants to be started...

I am thinking herbs this year...


I cleaned off my display shelves...again.

Pared down a few things.

It could use another go around for cleaning out but it is getting better.


We save pitchers and bottles for flower arrangements for the fair.


Again, to maximize storage, go UP....


The plant shelves look better.

Underneath I got rid of a bunch of stuff. 

 Now my extra glass scraps are there along with some pots.


This wall is much better. 

 I sorted through my books and kept my favorites.

There is a great mix of informational and some fun junking books.

My hat collection from high school is in here on the wall.

I also have my flower frogs on the shelves.

The green laundry bags up high hold light botanicals that I collect: pine cones, gourds, pieces of bark....


I gathered most of my clay pots in one spot.

Now they are handy and lovely under the potting bench my husband made me about 20+ years ago.


This is the cleanest the top has been forever.

Room to plant.

Or dream...

Or ponder...


Here are the display shelves from the other side.
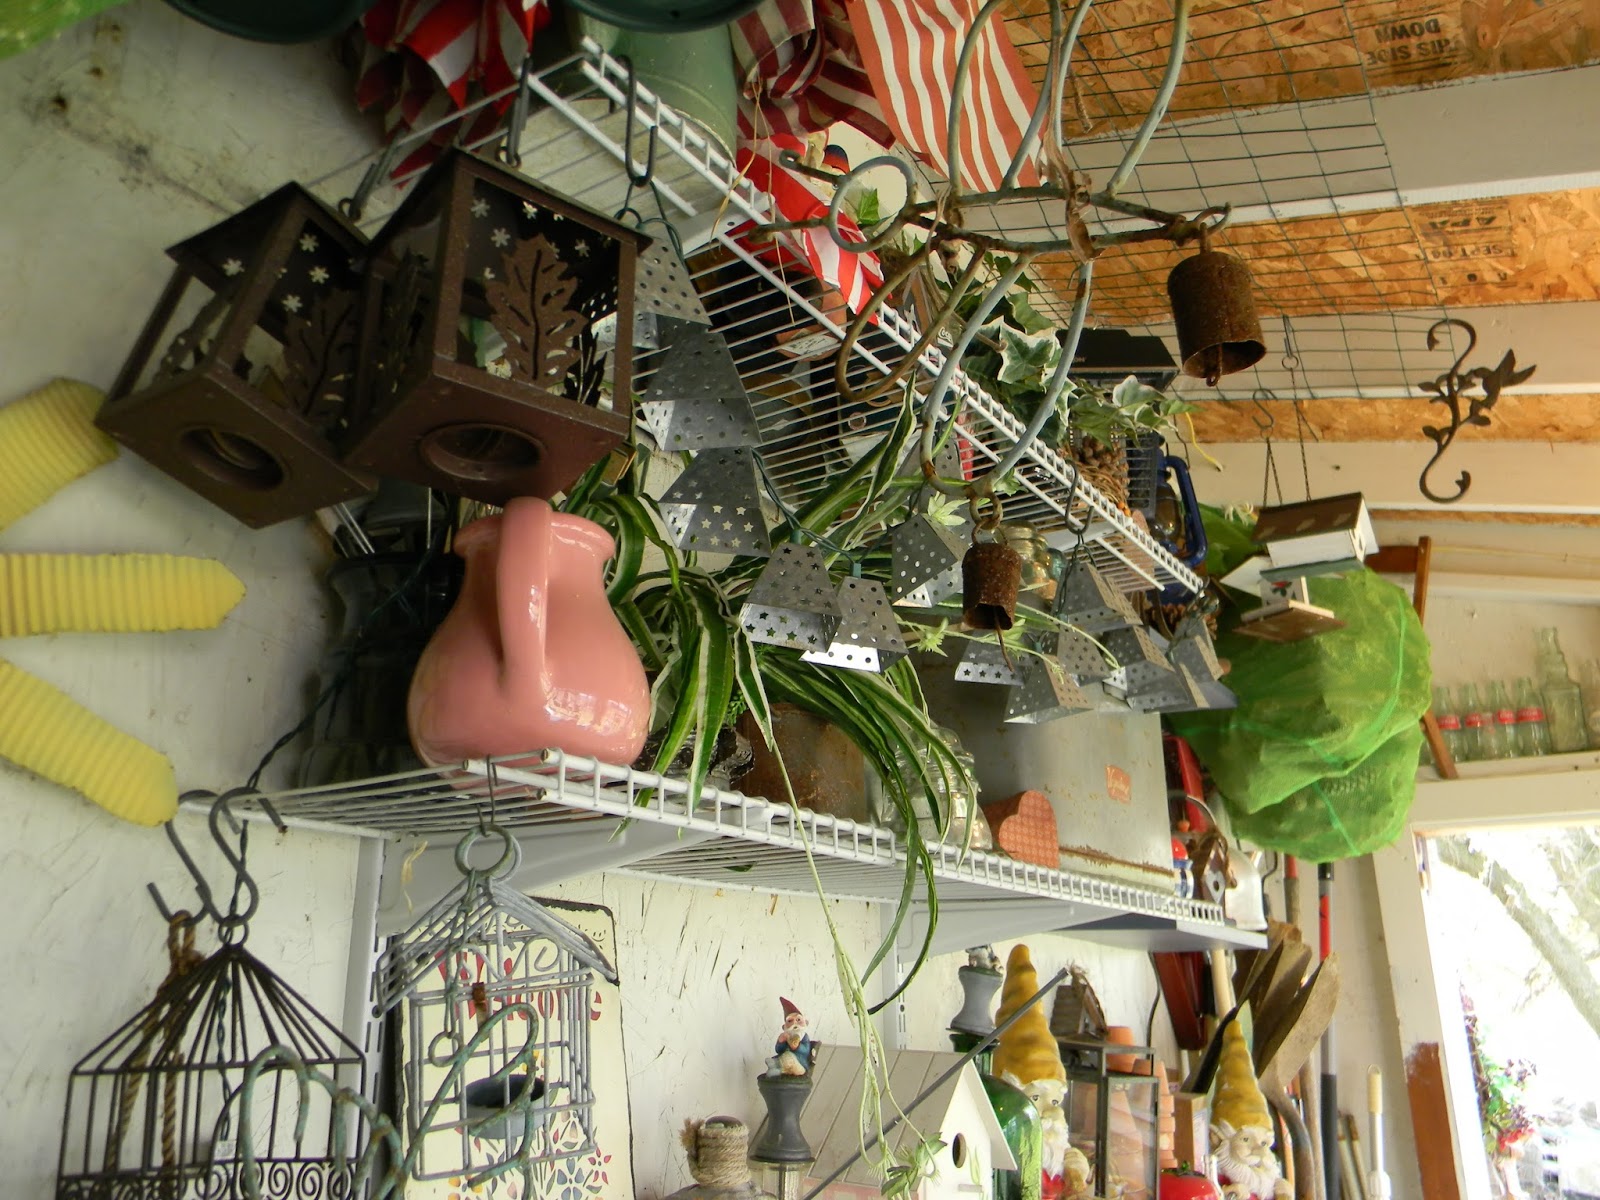

I don't waste any space...

Above the door there are a few glass bottles.


I ended up putting one of the chairs I showed you before back here.

When I hung up some more bags of pine cones, the chair did not fit.


My chicken wire dress forms will sit here until I get them out into the garden.  

I have to start cleaning out the flower beds next.


Later I will show you a few of the collections that get stored in my green house.

Thanks for stopping by...


Saturday, April 23, 2016

And the Winner is.....

I am so delighted to announce that the winner of the free issue of Jewelry Affaire magazine is....


Gwen Simmons!

I have emailed Gwen to let her know her weekend is off to a great start.

Thanks to everyone for your sweet comments.

It is a great issue.

I hope you get a chance to look at it.

It is available at most craft stores or on newsstands. 

You can also get it directly from Stampington.

Thanks for stopping by...

Wednesday, April 13, 2016

Workbench Wednesday...making soap

Happy Wednesday.

The project I am sharing today you can find in the Spring 2016 issue of Willow and Sage.

I figured I better share it before the summer issue comes out.


Last summer I spent a morning making melt and pour soaps.


Looking at the pictures, I can almost smell them.


Complete recipes and directions are in this issue of Willow and Sage.


The great thing about melt and pour soaps is how easy they are to make.


And you can use just about any container for a mold as long as you treat it to release the soap.


Once the soap is made, the best part is the packaging.


I wanted my soaps to have a rustic look.


This is the Gardener's Delight bar.


Off to the woodshed for a log....


Then to my husband's garage to use his saw.


I ended up using his drill press too for the holes.


His suggestion and it made the process much easier and faster.


All the rest of the packaging details came from my studio/garage.


Sometimes the prettiest pictures take in the tiniest details.


I gave a bunch of these soaps to my dear friends at work at Christmas time.


Looking at these photos makes me long for summer days.


They will be here before you know it.


In the summer, anyplace is a work area for me, especially outside.


Our days are getting longer.


It is not warm enough consistently to feel like spring is definitely here to stay.


But there are other signs...


Our grass could use a cutting.


In the morning I can hear the birds singing.


Some flowers are coming out and blossoming.

And the fish in our pond come lazily to the surface and swim about.

We are almost there...


To finish the packaging, I made tags for each kind of soap with polymer clay.


I love the way the tags turned out...


I used the silicone molds from a former workbench Wednesday.


And then I just stamped them with tiny alphabet stamps as well.


I used a bit of watered down black paint in the letters to make them stand out.


 And rubbed the tags with some DecoArt Metallic Lustres.


They are among my favorites because I use my fingers and get dirty when I use them.


So, before it is no longer available on the newsstand, run out and pick up ma copy of Willow and Sage Spring 2016 issue to see how to make these and many more fabulous bath and body products.