Showing posts with label makeover. Show all posts

Saturday, July 18, 2015

Over Dyeing a Thrift Store Quilt with Rit Dye

 A couple years ago I found this sweet quilt at the thrift store for a few dollars.

It has been washed and worn so it is soft and just the right weight for summer.


I love the white color but am not a fan of peach.

I apologize to anyone who loves peach.

You may want to stop reading now, before it it too late.


I have been wanting to overdye it....Blue.


So I washed it, dried it and hung it here to take pictures for you.


Then I took this in and threw it in the washer and turned it on rinse to wet it.

I did a cold water dye bath right in the washer.

I chose cold water and the correct water level.  

Once the washer filled to that level, I added a cup of salt since the quilt is cotton.

Then I added one box of Royal Blue RIT powder dye.


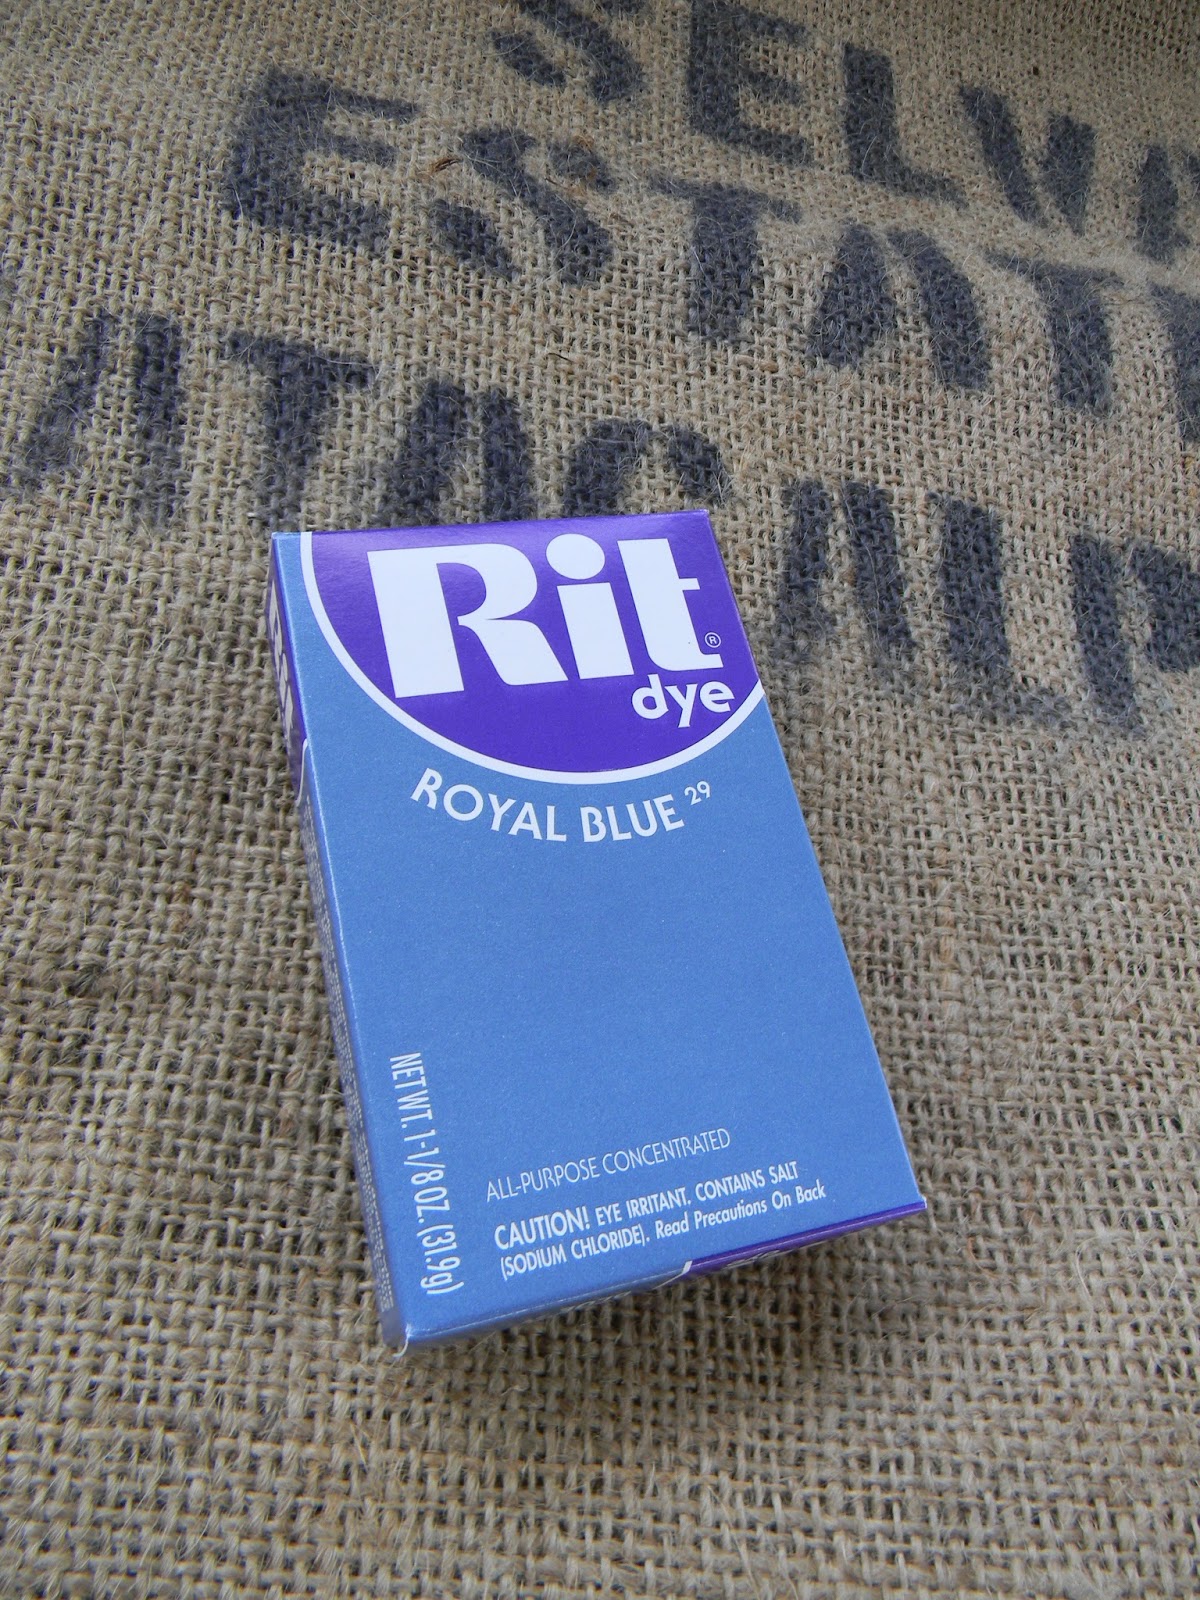
I wanted a very pale blue.  

For a darker blue, I could add another box of dye.

I let the machine agitate for a few minutes to insure dye water was swished in everywhere.

Then I lifted the lid to stop the cycle and let it sit about 20 minutes.

I let it agitate again for a minute or two.

  I used an old butter knife to poke all the fabric down into the water when it was done agitating.

Then I let it sit another 30 minutes or so.

Then I closed the lid and let it finish agitating and rinsing.

I ran it through the washer with a little soap 2 times to remove all the extra dye.

I wanted a pale blue.

And I wanted to be sure there was no more dye anywhere in the washing machine.

Then I hung it on the clothesline to dry.

I love how it turned out.


The color is exactly what I hoped for.


It was easy peasy.


I think this would work great on a blanket with stains too.


  You could just over dye it a darker color.


Keep in mind when over dying that it will follow basic color mixing rules. 

This worked out since the quilt was white. 

 I tried it with a yellow blouse too and got a green I did not like.


The hardest part now is deciding where to use it.

Maybe in the back porch on my reading chair.


Maybe on the swing out front....


Thanks for stopping by...


Sunday, September 21, 2014

A Rolling Cart Makeover


My neighbor periodically rolls into the driveway with goodies in the back of the truck. 

 This summer he pulled in with this ratty metal cart in the back which I quickly took.


It was covered in contact paper which someone has spray painted green.

I picked my paint colors and did not want to ruin the look of the finished piece with contact paper lines.

So I began trying to peel the paper off.

Not going well...

I spent about 30 minutes and only got off about  6 x 8 inches of contact paper.

I was even using a razor blade to get under it.

Now here is a killer tip for removing old contact paper.

Leave it in the direct sun for 30-45 minutes.

Now start to peel it.

After warming in the sun, I was able to remove all the rest of the contact paper in about 15 minutes.

Once warm, it easily peeled off in big sheets.

Those green strips were the metal, not contact paper.

So first I painted the posts in the corners.

I used Krylon Color Master  Paint + Primer in Almond.

I did 2 coats.


Then I used newspaper and painter's tape to tape off the posts and wheels.

You can see my daughter's tin ceiling tile from its makeover
in the background.

We both painted the same day.


Then I sprayed the shelves with several light coats of Krylon Color Master Paint + Primer in Island Splash.


I love that color!


I especially like that the paint and primer are all in one.

  I like a quick project.


Then I pulled off the newspaper and painters tape...


As much as I love the colors, I feel like it is not quite where it should be yet...


Break out the DecoArt stencils.

Their new line is my favorite...


A little bit of painters tape and some chalky finish paint in Primitive...

Here is my confession...

I am stencil challenged...

I think I load too much paint on the brush or swirl it too much or something.

So I am feeling some apprehension at this point...


I can't really tell with the stencil on still...

Deep breath...

Here goes...


Hey!

Not bad!

I love this stencil!


There is some texture where the cart was a little rusty.

You can see it under the paint but I am still pleased.

It looks so much better.

I wanted to make it so the bottom can be hidden storage.

I took a burlap coffee sack my daughter brought me and cut it to fit on the cart.

This was a No-Sew project.


See  how I just cut the bag and then used clothespins to clip it together....


I love the makeover.


A quick couple of coats of Krylon Clear in Satin to protect the stenciling.


Now it is all ready for whatever I want to use it for.

See it on the back porch here...


I think it is going to move around quite a bit...

Thanks for stopping by....