Showing posts with label #decoart paint. Show all posts

Sunday, April 5, 2015

Craft Lightning! A 15 Minute Teacher Appreciation Gift...

I am pleased to participate in the newest round of Craft Lightning....  


15 Minute Teacher Appreciation Gifts...


Teachers hold a very special place in my heart.

I hope they do in yours too.

They work hard every day (even in the summer when they are off).

They really care about your children or grand children.

So let's show them a little bit of appreciation.

Here is a sweet and quick gift jar you can fill with anything.

Start with a mason jar with a lid.

Give the lid a few coats of Chalky Finish paint in Carbon from DecoArt.

Let it dry thoroughly between coats.

Give a fake apple a couple coats of Chalky Finish Paint from DecoArt in Carbon.

Let it dry between coats.


Using a Chalk marker, write your message or teachers name.

Use your best printing!
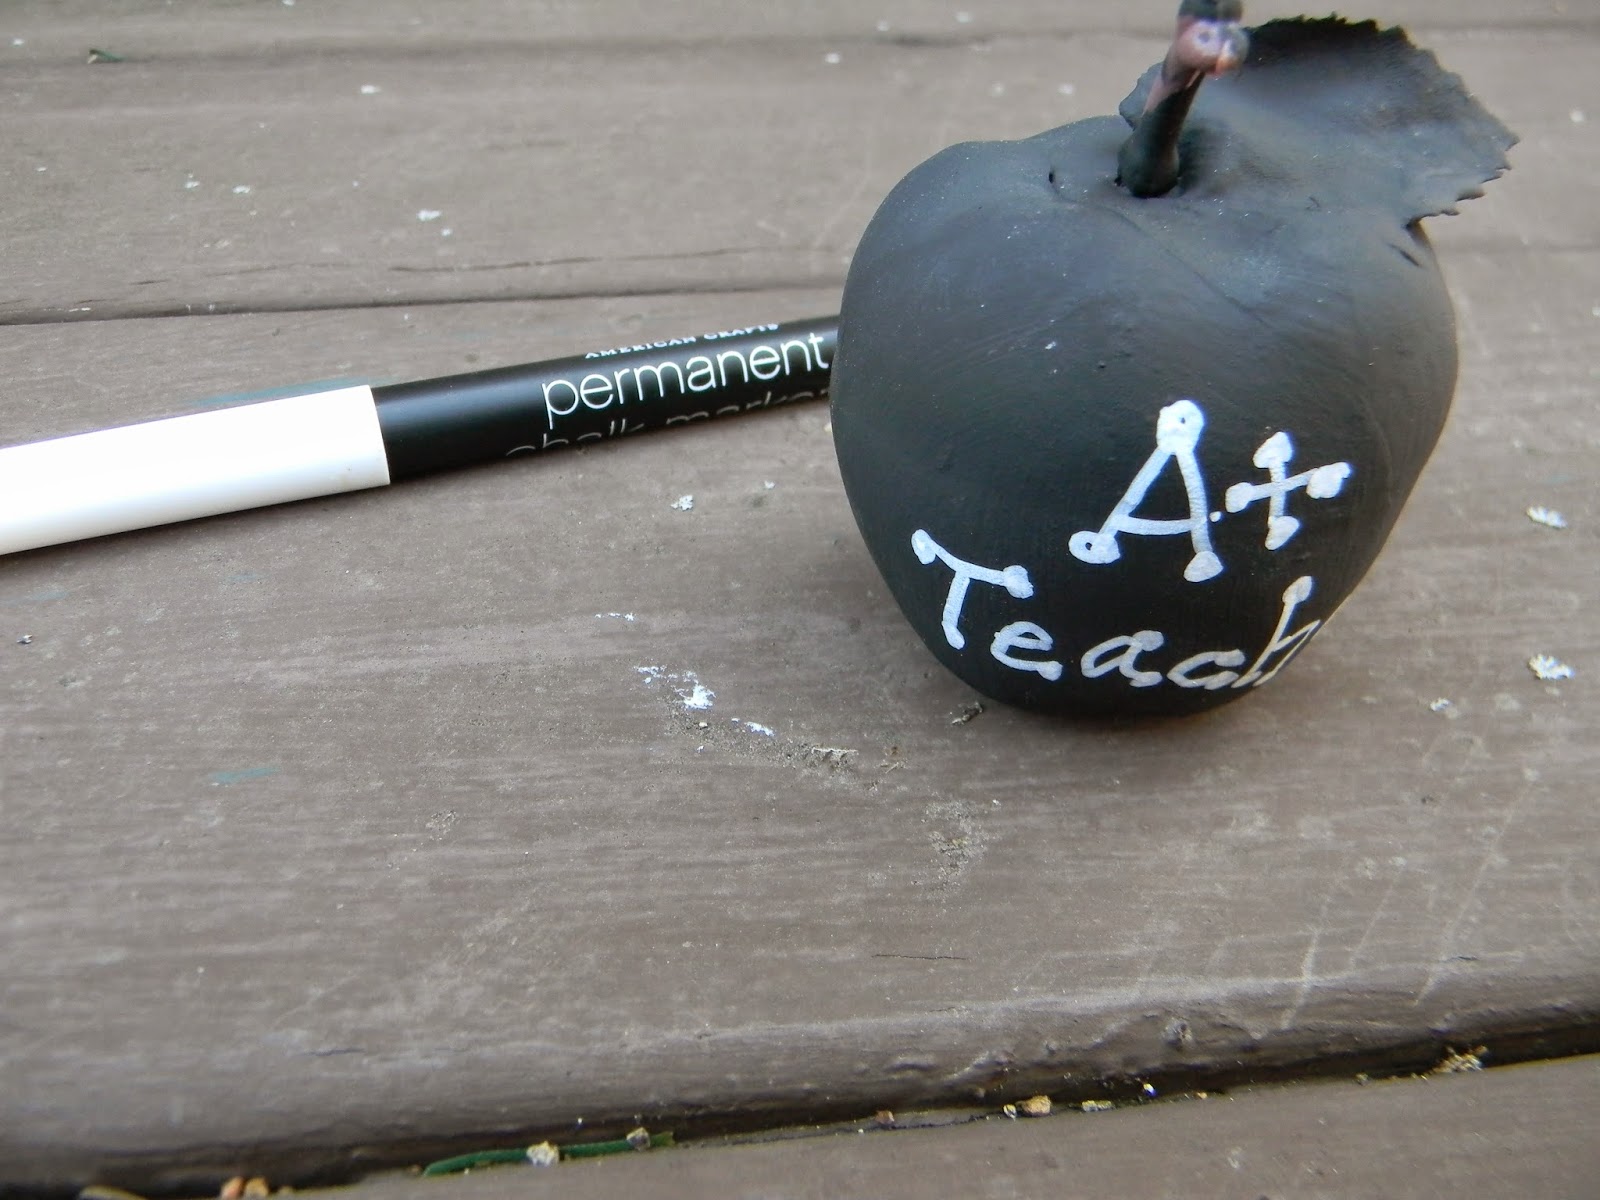


Hot glue the apple to the lid.


Tie some red baker's twine around the lid.

Fill it with anything your teacher loves.

Chocolate.


Markers or highlighters.


Tea bags.


Or a gift card to her favorite store.

Your teacher will appreciate anything you put inside.

To make it extra special, write her a note of thanks and have your child do it too.

Cite a specific time she made your child feel special.

She will save the note  forever.

Be sure to swing by our three hosts to find all the other great 15 Minute Teacher Appreciation Gifts.


Thanks for stopping by....


Wednesday, December 3, 2014

Polymer clay Snowman ornaments


I was playing with polymer clay recently.

I wanted to make some fun Christmas ornaments for the tree.

I rolled a little ball of Sculpey Original white clay into small balls and pinched and rolled to make a little nose.

I used a skewer to make a more defined edge at the bas of the nose.

I cut a small piece of wire and bent it into a U shape.

I pushed it into the top of the snowman head.

I also pushed 2 half round eyes into the clay.

Then I followed the manufacturer's directions to bake them in the toaster oven.

I have one dedicated to clay only on my covered back porch.


It was really cold when I baked them.

This caused two issues.

Some of the noses got a little singed.

And the eyes got a little melted if they touched the tray.

They each got a quick touch up for their noses with DecoArt's Tangelo Orange.

I added a little twine loop for hanging.


This little fellow is so cute.  you can see his eye was touching the tray.

Gives him character.


These are little.

They would be perfect for a mini tree.

It is a great craft for kids and could be done in an evening.

They would also look sweet as a package tag...


Thanks for stopping by...

Linking up with these amazing blogs...


Thursday, October 9, 2014

Spider Spells Book Tutorial

I have been wanting to make a Spider Spells book for some time.

Actually, I had started the book last summer and recently found it when cleaning.


I just started with a discarded hardcover book with a plain cover.

I hate to cover amazing graphics with paint.

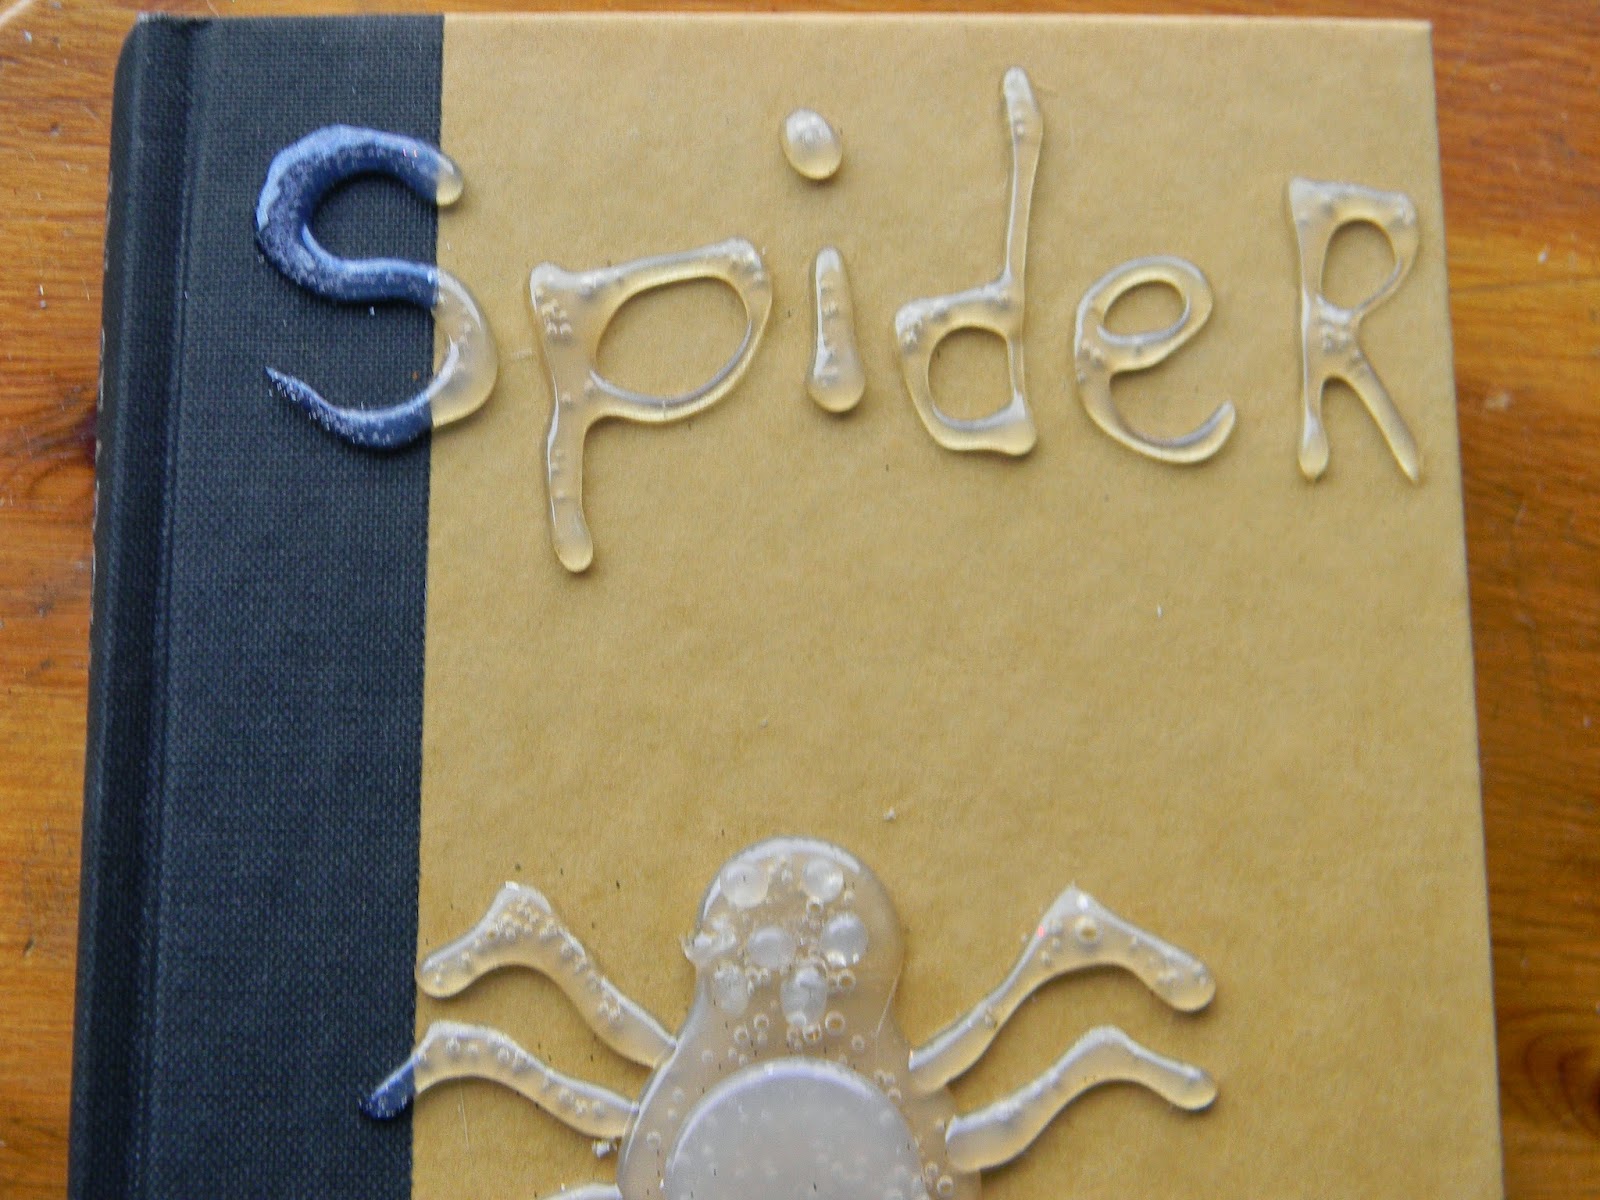
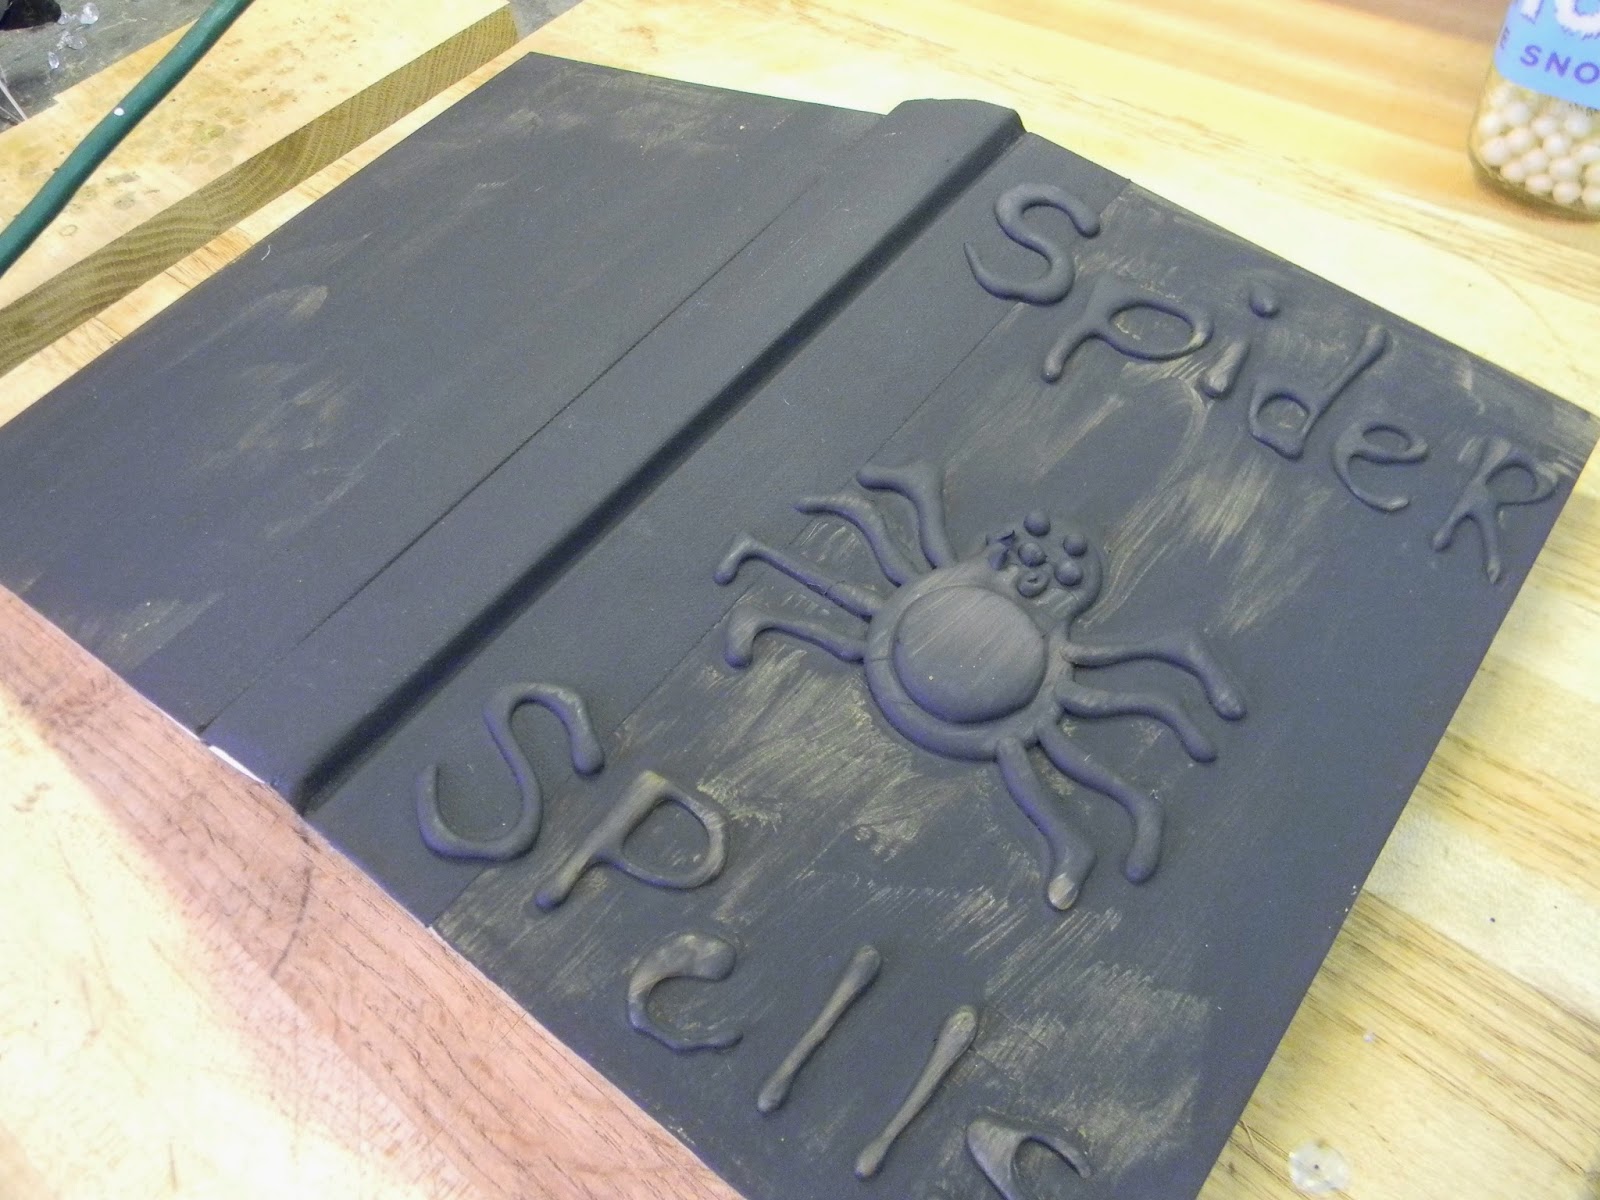
Using my hot glue gun, I wrote "Spider Spells" and drew my spider.

Once it cooled and hardened, I added a second layer on the spider's body for dimension.


And a second layer for the eyes.

If you look close, this fella only has 7 eyes....

Sorry.


A layer of Americana DecoArt Chalky Finish paint in Carbon is added to the front and back.


Because I was dry brushing more color I was not worried about perfect coverage.


I dry brushed some Whisper Chalky Finish paint on also by DecoArt.


I love dry brushing.

I load a bit of paint into the bristles, swirl out most on a paper towel and then work the paint where I want it.

I increase pressure as the paint becomes fainter.


I also gave it a light brushing of Chalky Finish Remembrance.


I love purple and black for Halloween.

I like the outside but thought the pages looked too new.


Time to "drop it in a mud puddle" as my daughter says....


I mixed my witchy aging brew.....coffee, cinnamon and hot water...


Looks bubbly amd spooky....


Then a dunked all the pages in the aging bath.


I wiggled it around a bit to make sure all the edges got wet.


Then I took it out and put it on a tray in the sun.


I checked every few hours and fanned pages to get them dry and wrinkled looking.


Now  it makes the perfect accent for Halloween.


It looks great with some spooky spiders and stained cheesecloth.


I think I will make a whole library...


I like spooky but not scary.

This is just right for me... 


Thanks for stopping by...

Linking up with these fabulous blogs.


Tuesday, August 26, 2014

A Wooden Box Beachy Redo....


I believe this box was in the throw away pile at school.

It had some stains in the wood but I thought it just needed a little makeover.


If you visited our mosaic series, you might remember it from here:


I never did show it to you all finished up.


This was it before the final grouting.


Here it is after.


Do you notice a problem?

One of these things is not like the others....

My daughter noticed right away when I said that to her.


One of the corner shells fell off before I grouted it. 

 So I put it back on. 

 I did not notice the problem until it dried.

Now I am just going to pretend I did that on purpose so it would be easier to lift the top....

The inside and outside of the bottom of the box got a couple coats of Americana Chalkiy Finish paints in Escape and Primitive.


I am loving tan and beachy blues together right now...

The stains are all gone...


Here is the back of the lid.


I added a little Sea poem from a discarded children's poetry book with Americana Decoupage.


Now it's ready to hold treasures.


A pretty good makeover if I do say so myself...


Thanks for stopping by...

We will be joining as many of these great blogs as we can.

Thursday, August 14, 2014

DecoArt Chalky Finish Paint for Glass...

This summer I got some Chalky Finish paints for Glass from DecoArt. 

 I was super eager to try them out.

Last summer I painted some jars with just regular paint and they did not turn out just how I wanted.

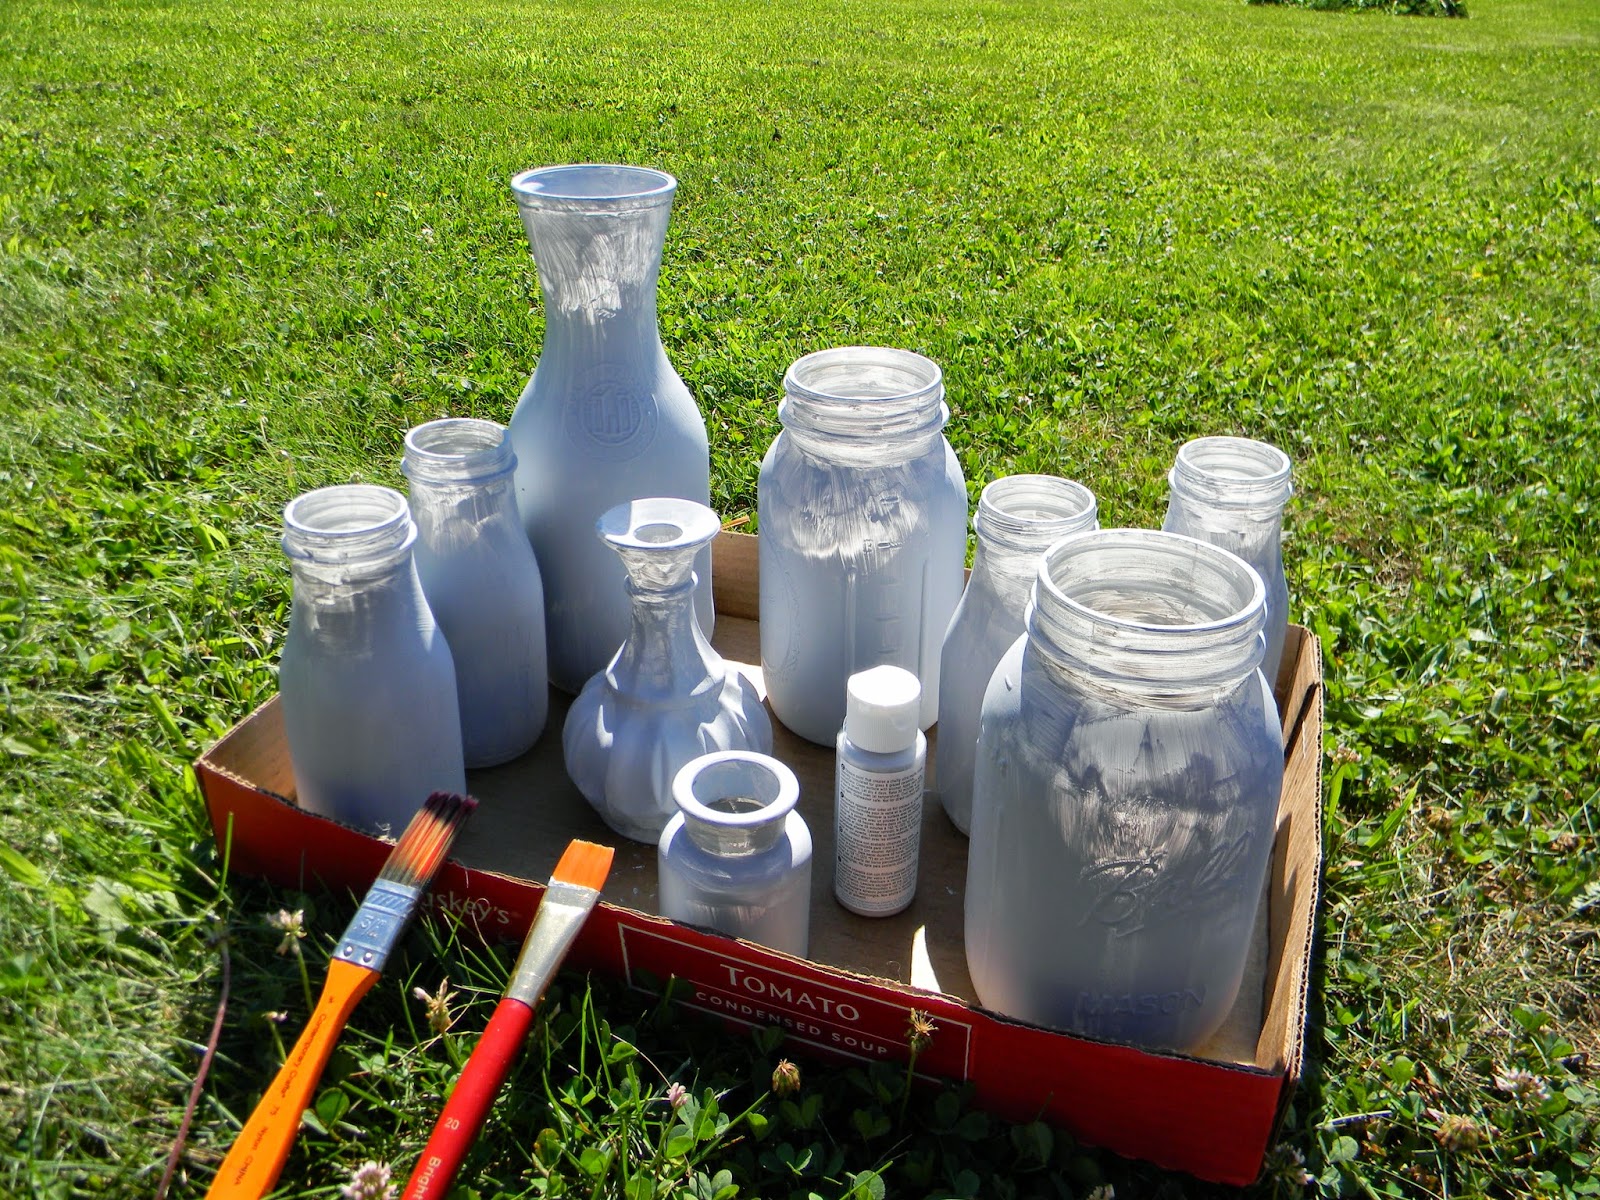
So I assembled a few bottles and jars to coat with the paint.


As suggested, I wiped each clean bottle or jar with alcohol.


Then I started painting the bottles.

The first brush I tried had bristles that were too coarse.


So I switched to this one....

Much better.


The paint went on relatively smoothly.

You can see here that I did not cover the tops as well.


I did a whole bunch with the same color because I wanted to see how far one bottle would stretch.


You can see I did 9 bottles of varying sizes.

 This one little bottle is still almost half a bottle full.


I allowed them to dry and realized I had a cool mistake.

I removed the stickers from the Frappuccino bottles before they ran through the dishwasher.

But all the sticky residue did not come off with the washing or the alcohol.

Where the residue was, it crackled...

Which I loved!


I did go ahead and put a second coat on 4 days later to cover the areas where it was splotchy before.

I did NOT put a second coat over the crackled area.


I had also done some of the Chalkboard Paint for Glass by DecoArt on some bottles too.

I waited another four days.

I heated them all in the oven on two separate cookie sheets.

It did smell sort of bad but I had the house windows open...

  It seemed to be the chalkboard paint bottles that smelled the most.


I used these to take flowers to the fair.

It is easier to find all our entries if they all look the same.

Check out the repainted tote.


The herbs look a little sad.

This is after the fair.


I love the chalky finish on the grey bottles.

Some of the paint did chip off of them by the time we got home from the fair.

I am not sure if that was because I did something wrong.

Or if they bumped together too much in the car on the way there and back...

In either case...they turned out much better than last year's experiment with regular latex paint.

This would be fabulous for DIY wedding décor.

One little bottle of paint did those nine bottles in a variety of sizes.

With 2 coats each.

I have to say, though, that the Chalkboard Paint for glass was my favorite....


I love those bottles...

  I can't wait to use it some more!


Thanks for stopping by...