Showing posts with label spray paint. Show all posts

Monday, August 3, 2015

Outdoor Candle Holder DIY Makeover


A couple years ago, I bought this candle holder at the thrift store.

I knew I would do something with it for an outside DIY project, but I did not know what.

I recently decided it was time.


I gave it a couple light coats of pretty spray paint.


I often use an old bucket turned upside down out in the grass to elevate the item I am painting.


Next I took a solar light from the store.


I removed the base and the clear plastic.

I covered the lightbulb with painter's tape.


And I cut a piece of painter's tape to fit on the solar panel on the top.

I gave the solar light a  couple of light coats of spray paint as well.


I used some electrical tape to wrap the solar light so it would fit snugly into the candle holder.

Then I scuffed it gently with some sandpaper to give it the look of wear.


I was not crazy about it all black or all painted, but I do like the scuffed look.


All done.

Now I need to find where to put it....


Thanks for stopping by...


Thursday, July 2, 2015

Thrifty Thursdays.... A Sewing Box Makeover...

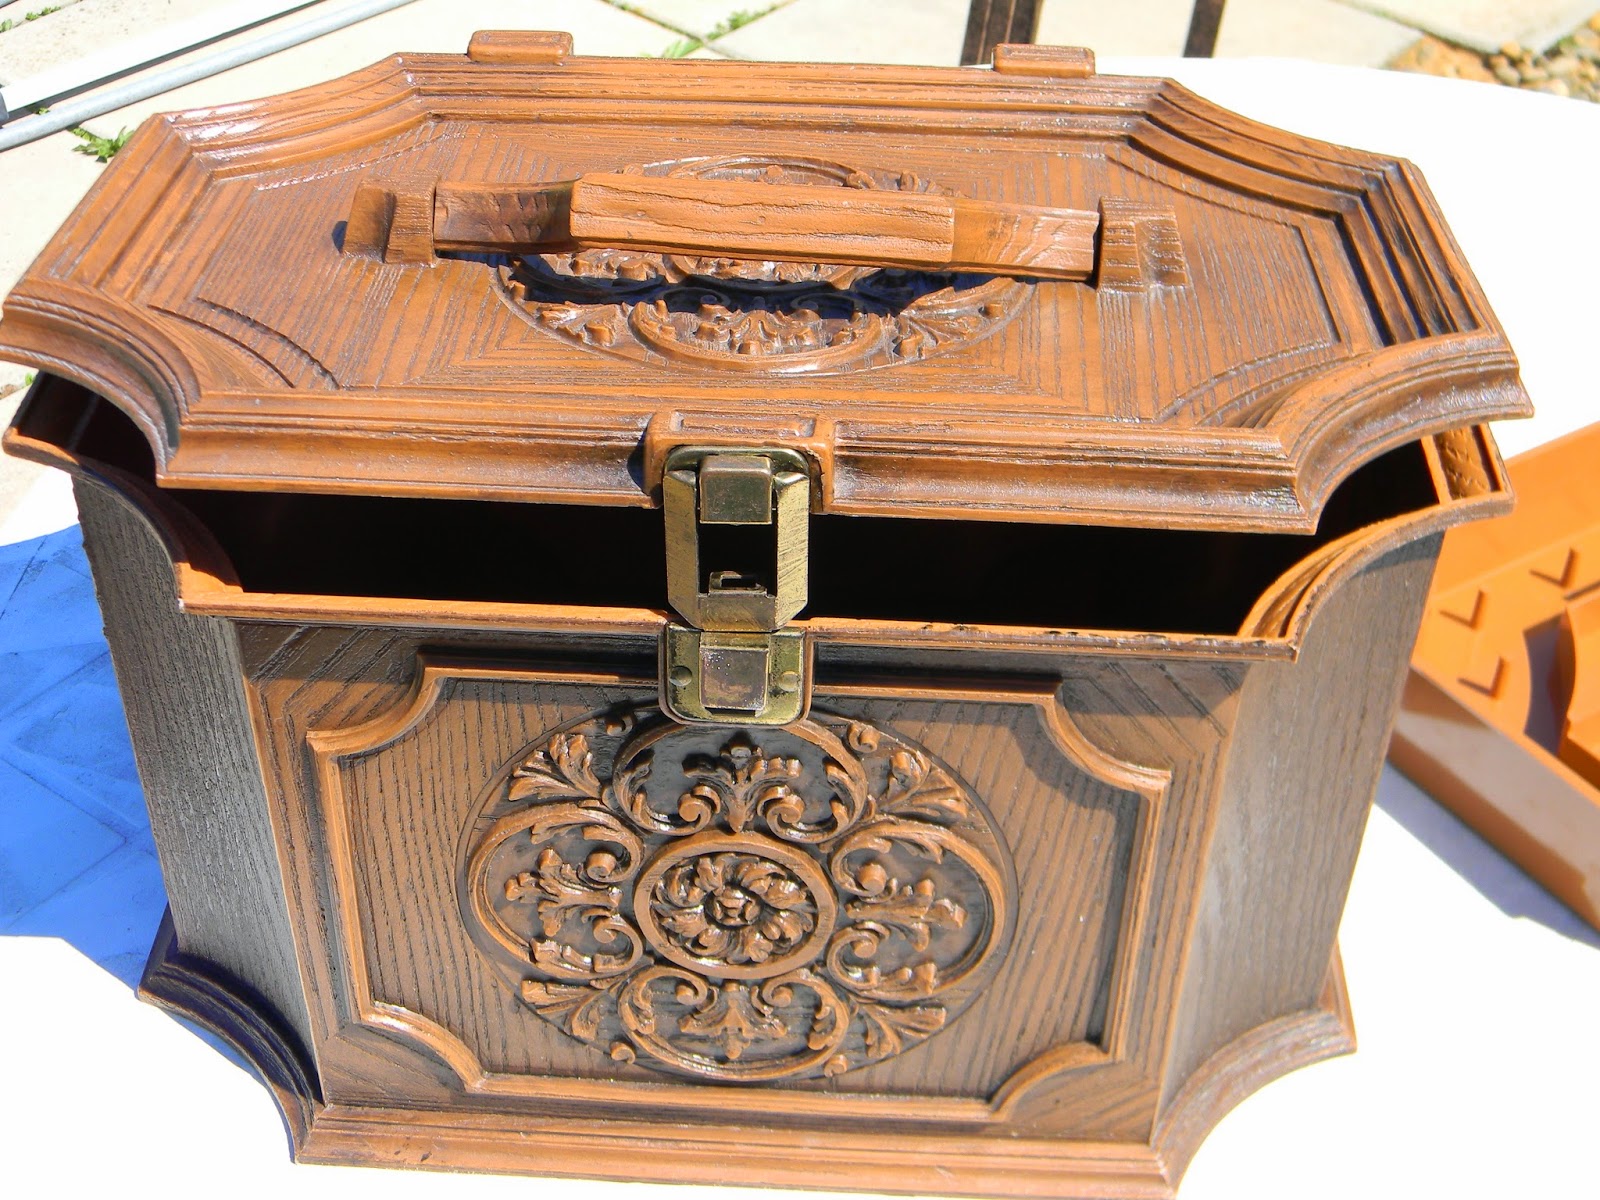
A couple months ago, I picked up this cute sewing box at the thrift store.

It is molded plastic.

I just really loved something about it.


It even has a neat tray inside.


So I gave it a couple coats of white spray paint.


Here it is painted.


Later on I may add some distressing or a color added to the design but for now, it is perfect for storing my wool roving.


I left the inside the original color.

Soon I will show you what I am doing with the roving too.

Thanks for stopping by...

Thursday, August 28, 2014

A Ceiling Tin Memo Board for the Dorm...

Early this summer while junking together, my daughter found this ceiling tile.

I bought it for her so she could turn it into a memo board for school.

She has scrubbed it several times with a brass brush to remove the loose paint.


I liked it the way it was but she was determined to add some color to it.

Here is the back...

It is gorgeous too.


Krylon Paint sent us the paint and sealer to complete the project.

We used the Color Master Cover Max Paint and Primer in Sea Glass.


At first she was worried she might have to go buy another can, but as she added her light coats, she liked how it was working.


You can still see some of the flaking paint looks loose.

She scrubbed it several times before painting.


She changed her angle often because there was so much texture to the tin.


I tried to take a picture after each coat.


I believe she did 3-4 light coats and let them dry 10 minutes to an hour between coats.


We set it up an a bucket so the overspray did not get all over the grass.


Once she was satisfied with how it looked ( we actually have some left in the can), she sprayed the whole thing with Krylon Color Master Clear Flat.

She is really liking the whole chalky finish look right now.

I was not sure how it would turn out, but it looks great.

Those loose paint flakes are not even noticeable now...


She took it to school with her and her Dad hung it over her bed. 


 The tile had little holes along the edge where it was originally attached to the ceiling so he just screwed it to the wood wall strip above her bed.

It looks awesome and it should not fall on her in the night....


What a great dorm decor project for my BoHo girl....


Thanks for stopping by....

Linking up with these great blogs.