Showing posts with label #halloween. Show all posts

Thursday, September 8, 2016

Halloween Craft Lightning

It is time for another Craft Lightning.

I love Craft Lightning.

This time is Halloween crafts.

So I made a cute little pumpkin luminary from a glass jar from the recycling bin.


Let's gather supplies.

Paper towel
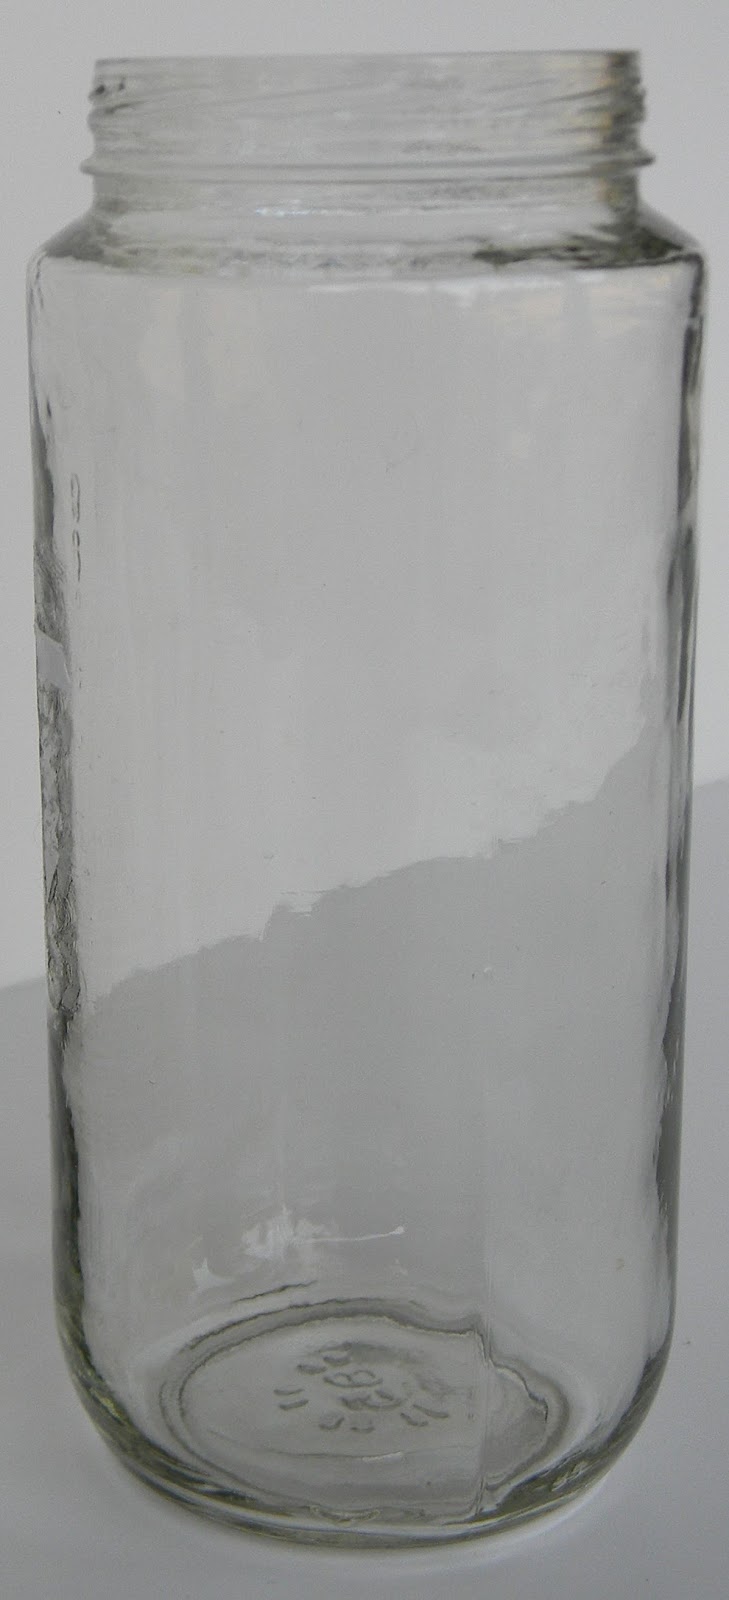
clean glass jar
Scissors
Masking Tape
Silver spray paint
solar light
(You don't need the spray bottle of water for this if you use this kind of paint).


Let's get started.

Cut the face shapes from your masking tape and put them on the jar.


Also tape off the top of the solar light where it catches the light.


Wrap the edge of the solar light with masking tape until it fits snugly in the top of the glass jar.

Flip it over and tape off the light bulb and the area underneath.


Spray paint your jar. 

 You can re-coat quickly with this paint.

Allow 2 hours to dry.


Paint the solar light too.


Once it is dry, remove the tape pieces from the face.

Also remove the top and bottom tape from the solar light.

Tuck the solar light into the top and you are ready to go.
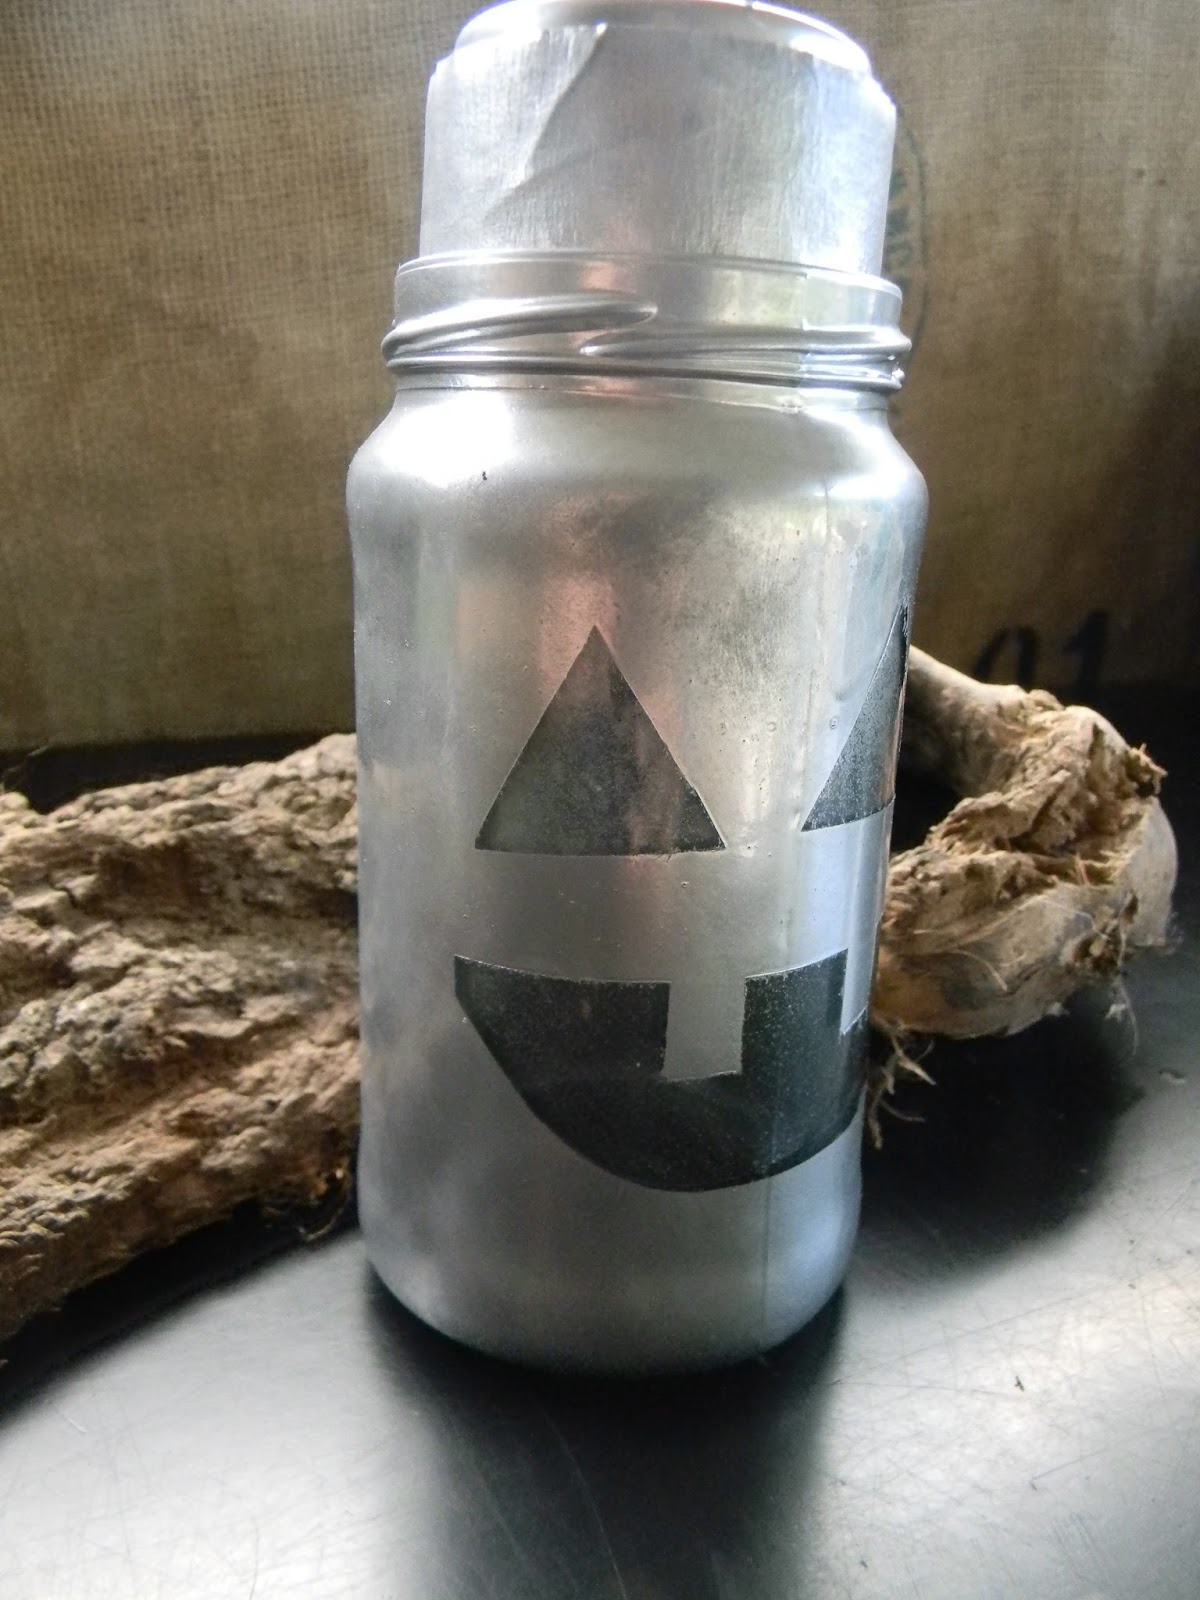

Enjoy!

Thanks for stopping by....

Monday, May 16, 2016

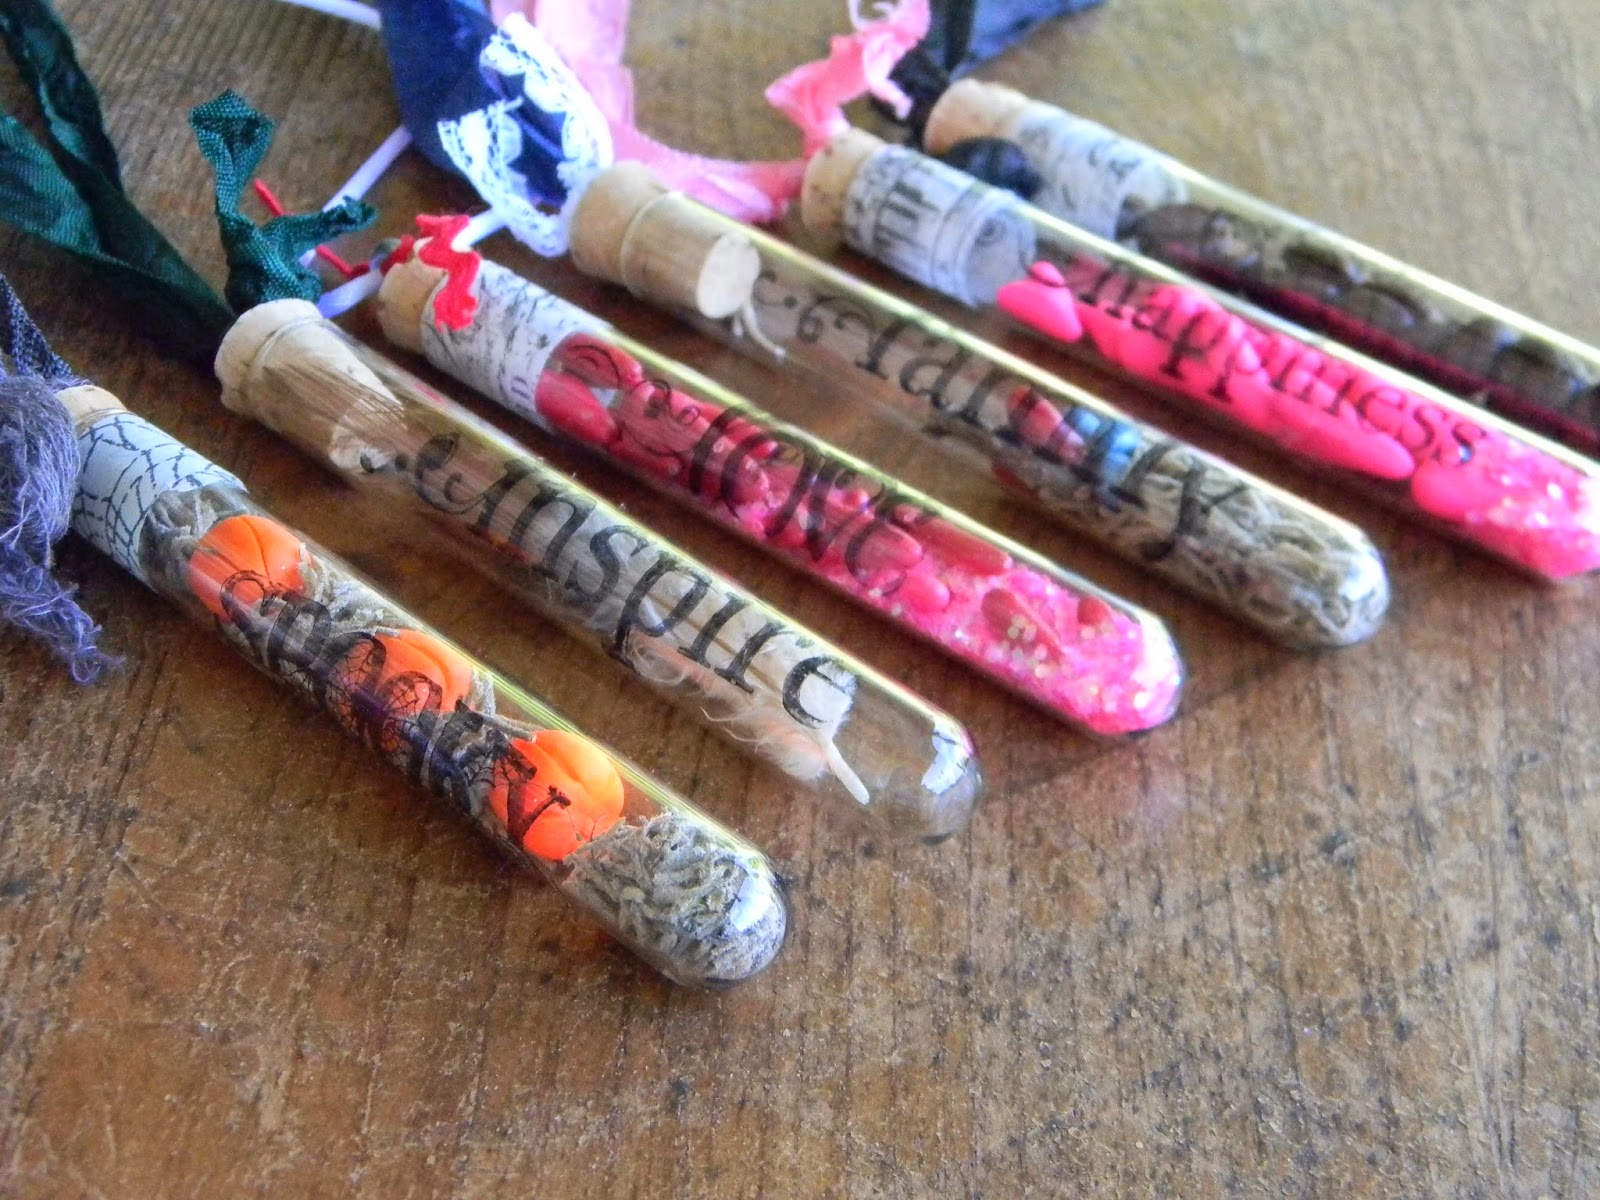
Test Tube Necklace/Ornamants

Just a quick peek today...

I love turning test tubes into wearable art or ornaments.....


How easy and fun are those?

Thanks for stopping by....


Monday, September 7, 2015

Mummy Treat Cans- 15 Minute Halloween Craft Lightning

It's time for Craft Lightning again!

This time, 15  Minute or Less Halloween Crafts.


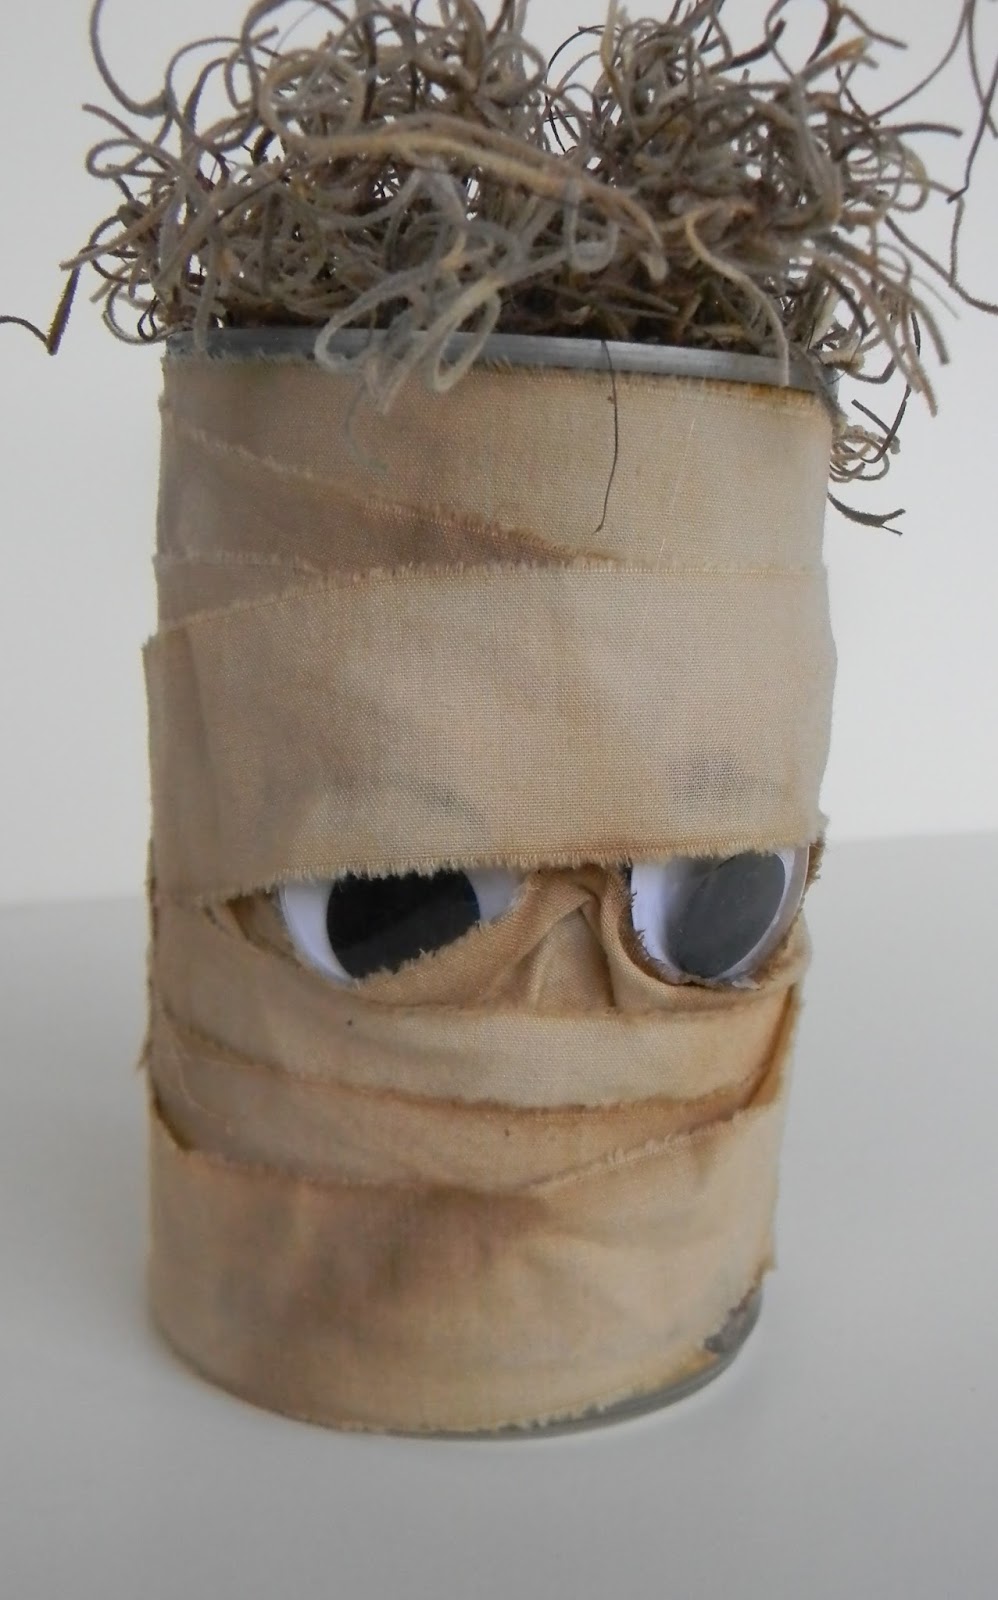
So here are some fun Mummy Treat containers.


Start with a can or bottle from the recycling bin.


Wash them thoroughly and let them dry.

Now gather your other supplies:

wiggle eyes


old white sheets (or muslin or fabric) and scissors.


And your glue gun and glue sticks.

Yup!

That's all. 

 Are you ready?

Great!

Snip cuts in your fabric about every inch.


Rip into strips.

Since I used a full sheet from the thrift store, one strip completely wrapped one can or jar.


Next glue your eyes onto the can.


Then glue one end of the strip at the top of the can and start wrapping.

I used a bit more glue to secure the fabric around the eyes. and at the bottom of the can.

I kept wrapping until I used the whole strip and then I glued the end.


How cute and easy was that?

You can make an army of these in an hour.

Here is the jar finished.


You could paint the lid and add goodies inside.

You can get a whole different look with smaller eyes.


You can also change the whole look by coffee staining your strips.

Follow my easy coffee staining recipe here.


The stained strips give your mummy a whole new personality.


Sort of menacing.


For other variations, drill holes in the can to add a wire handle.


Add candies instead of Spanish moss.


Want to learn how to make the cute canning lid pumpkin too?

It takes a lot longer than 15 minutes but it is so cute.

The post is here.


The pumpkin gets dressed up with some vintage book page strips added for interest.


Here is my little mummy family.


That pumpkin is a renegade from last year. 

 Where I threw the pumpkins after Halloween a vine sprouted in the weeds.

 When I was mowing past the area, I spied this little guy in the over growth.


What a great fall surprise!

And just in time for the mummy cans.


Thanks for stopping by....

Check out the other great 15 Minute crafts this week at


and