Showing posts with label #paper. Show all posts

Thursday, January 22, 2015

Sweet Handmade Valentine Cards

Let's make some valentines.

Handmade ones are my favorites.

This little card starts with two little cardstock bunnies.

I usually make a whole sheet of them at a time.

I printed my sentiment on some red paper and cut a heart shape around it. 

I used a marker to give it a stitched look.

Remember that old twisted paper ribbon?  

I still have some so I untwisted it and cut a larger heart from it.

I love the texture.


Are you wondering why I said cut out 2 bunnies?

Where is the other one?

He pops up inside of course.


To make him (or any other element pop up when opened),
cut a second piece of card stock a little smaller than the first.

Cut two slits about a half inch apart in the center fold.

When you fold the card, push the strip out and crease it with you fingers.

Glue this card inside your main card.

Then just glue your element to the bottom of the tab.

Easy and so cute.


For the last two cards, paper punches make quick work of them.

Punch out a ton of little red hearts.

You can use extras for confetti in the card....

I love when people open things and get a surprise.

I am not always sure they like them...

A long time ago, family members learned to open my envelopes outside or over the trash can...

I have not done that for years. 

 It may be time to try it again.

Emboss a greeting you like.

Die cut a bowl.

I have had that Sizzix die cut forever but I still love it.

Assemble your card and add a stamped greeting to one (or more) hearts.


Die cuts and punches make this go faster but this next card still takes a few minutes.

Punch your hearts from red and pink card stock.

I used a leftover heart from the card above to stamp a sweet greeting.

I have had this little heart and key punch for quite some time.

Tie the key to the heart with some thread.

Die cut and emboss your tree.

I layered several pieces of card stock to mat this card.

Then I just glued it all together. 

 I like using Tacky Glue for the little hearts.


You can do enough of any or all of these cards to send a sweet greeting to your favorite people for Valentines day in an evening or afternoon.

If you can get someone to help, it's even better.

My daughter and I often do assembly-style cards.

I love that together time....

Thanks for stopping by...

Linking up with these amazing blogs.

Monday, January 19, 2015

A Couple of Cards to Make...

Another post with handmade cards....

I tend to create designs that use paper scraps.

I keep my paper scraps in a couple of clear plastic shoe boxes.

Anything that does not get used in a card making session goes into the boxes when I clean up.

This means the next time I make cards, new items get paired together.

The first card today starts with a printed card blank.

I usually pick those up on sale or clearance.

They save a step of adhering a printed background.

I added an embossed red scrap.

I punched several flowers from tissue paper and crumpled them up.

Then I smoothed them out, layered them and glued them in place with a great big rhinestone for the center.

I stamped my greeting on a scrap of white cardstock.

I love the look of a little banner so I trimmed out a v of paper from the left side.

Pop dots are my best friend when card making.

I added the banner to the card with a couple to add dimension.

To finish it off, I glued another punched flower and small rhinestone to the greeting.


You can do any occasion or theme with the basic design.

Often if I am making cards, I will do a variety with the same format.

It saves time once I get going.

The next card uses little paper scraps to make a sweet banner.


Add a blue background a little smaller than your card.


Freehand cut a cloud shape from white card stock.


Cut it in half (It will do 2 cards).


Glue the half cloud to the top of the card and stamp the greeting of your choice.


Clip little triangles from paper scraps.


Glue them in an arc.


Cut a piece of cotton twine and tie a bow on each end.


The last card today uses a few die cuts.

I die cut a tree and embossed it first.

Then I punched a few circles and embossed them.

I tore a piece of green paper that was the same width as the card for grass.

Then I just glued them all together.


I hope you saw something you can use.

Sometimes the simplest thing can inspire me:texture, patterns, shapes, color combinations....

Thanks for stopping by....

Thursday, January 15, 2015

8 Quick And Easy Butterfly Cards

I really like butterflies.

They are delicate and beautiful and magical.

They add a sweet touch to an art piece.

Here are 8 Quick and Easy butterfly cards.

Most use scraps and paper punches or die cuts.

Paper strips and some letter stickers make this card easy.


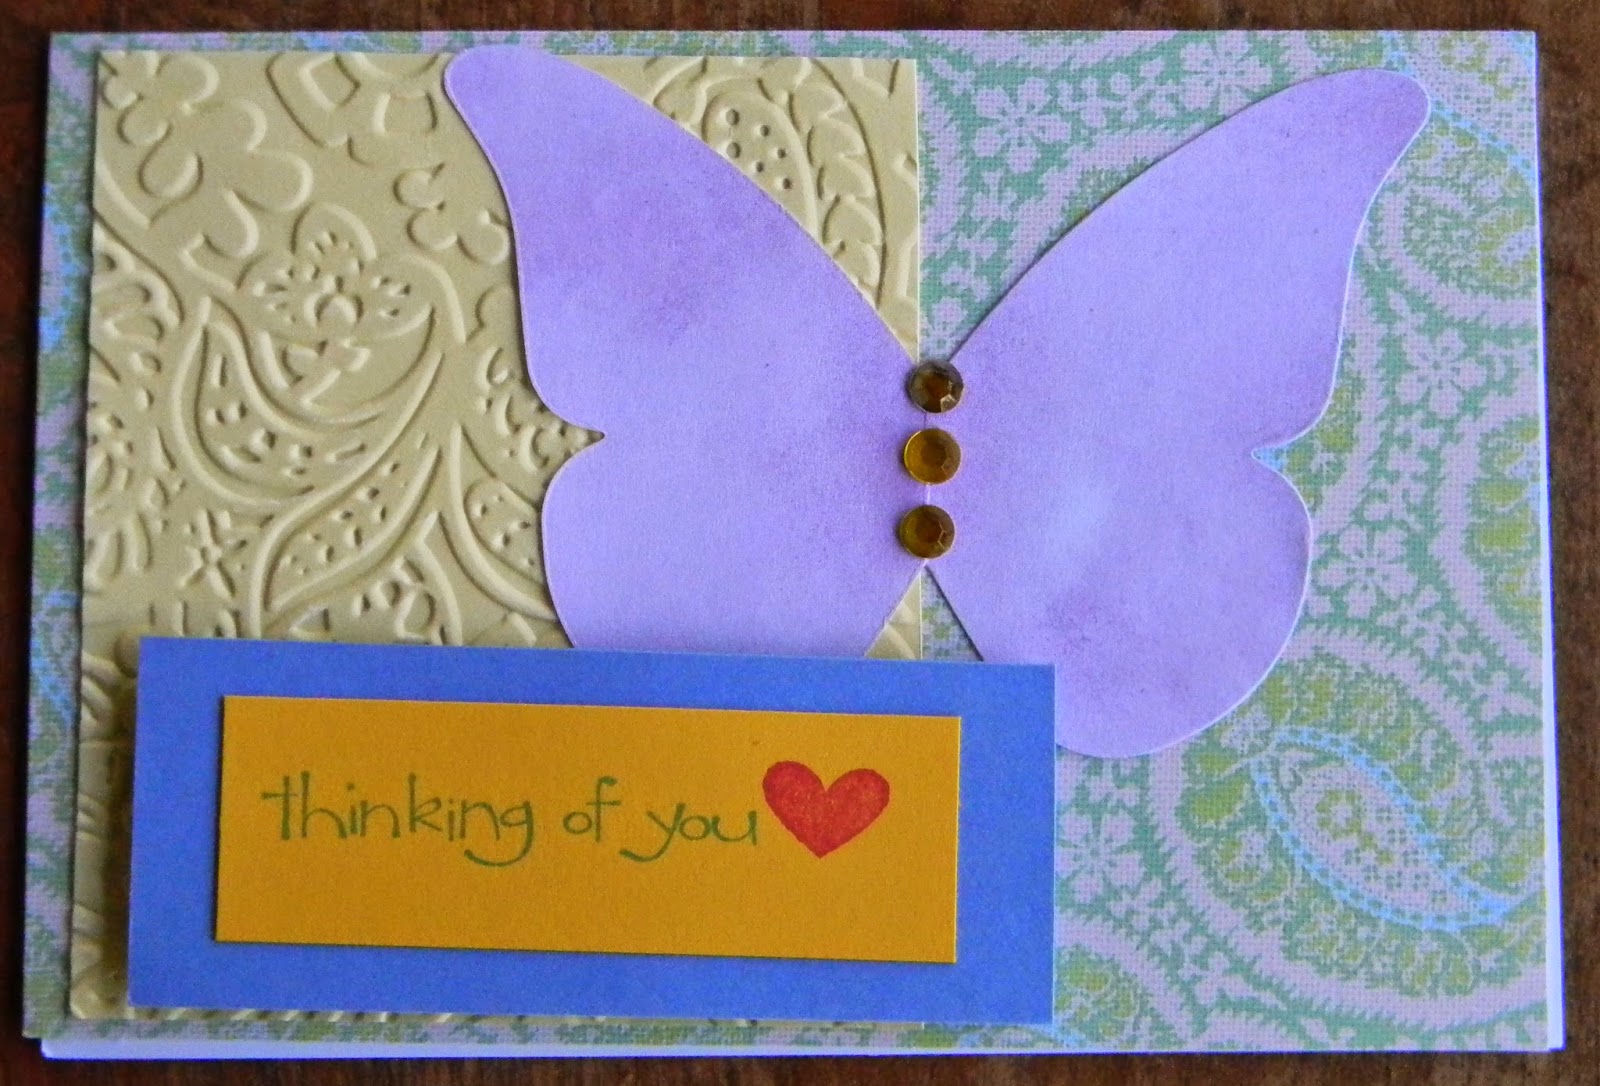
A little bit of twine and some embossed paper add interest to this card.


More embossed papers and a few rhinestones..


I love color blocked cards.


Some circle punches and a butterfly stamp get elevated to award status with the addition of some ribbon.


This technique layers several punched butterflies tied with twine.  

The twine ends become antennas.

The layers can be fanned out to give the card some dimension.


Here is a side view so you can see the layers.


This card has the embosed tree and a sweet quote.

It looks more time consuming than it is to create.


 And last but not least, another color blocked card.

I like the graphic appeal and the fact that they use up scraps.

Yay!


 Thanks for stopping by...